Sunday, May 31, 2015

The suicide tools

Today was a little bit of a disappointment. I didn't get half the things I needed to do done. The usual problems of heat and heat exhaustion combined with mosquitoes that infiltrated the bus with their subversive presence. I'm rather glad they don't carry malaria.

Despite the heat, I managed to put most of the wood I'd planned to install into place. I'm getting close to needing more 2x4 and more OSB. I definitely ran out of 1 1\2 inch self-drilling screws but I have plenty 1 1\4 inch self drillers that will do the job perfectly well. I only needed the extra 1\4 inch for the plastic planks I used on the bathroom floor as they were thicker.

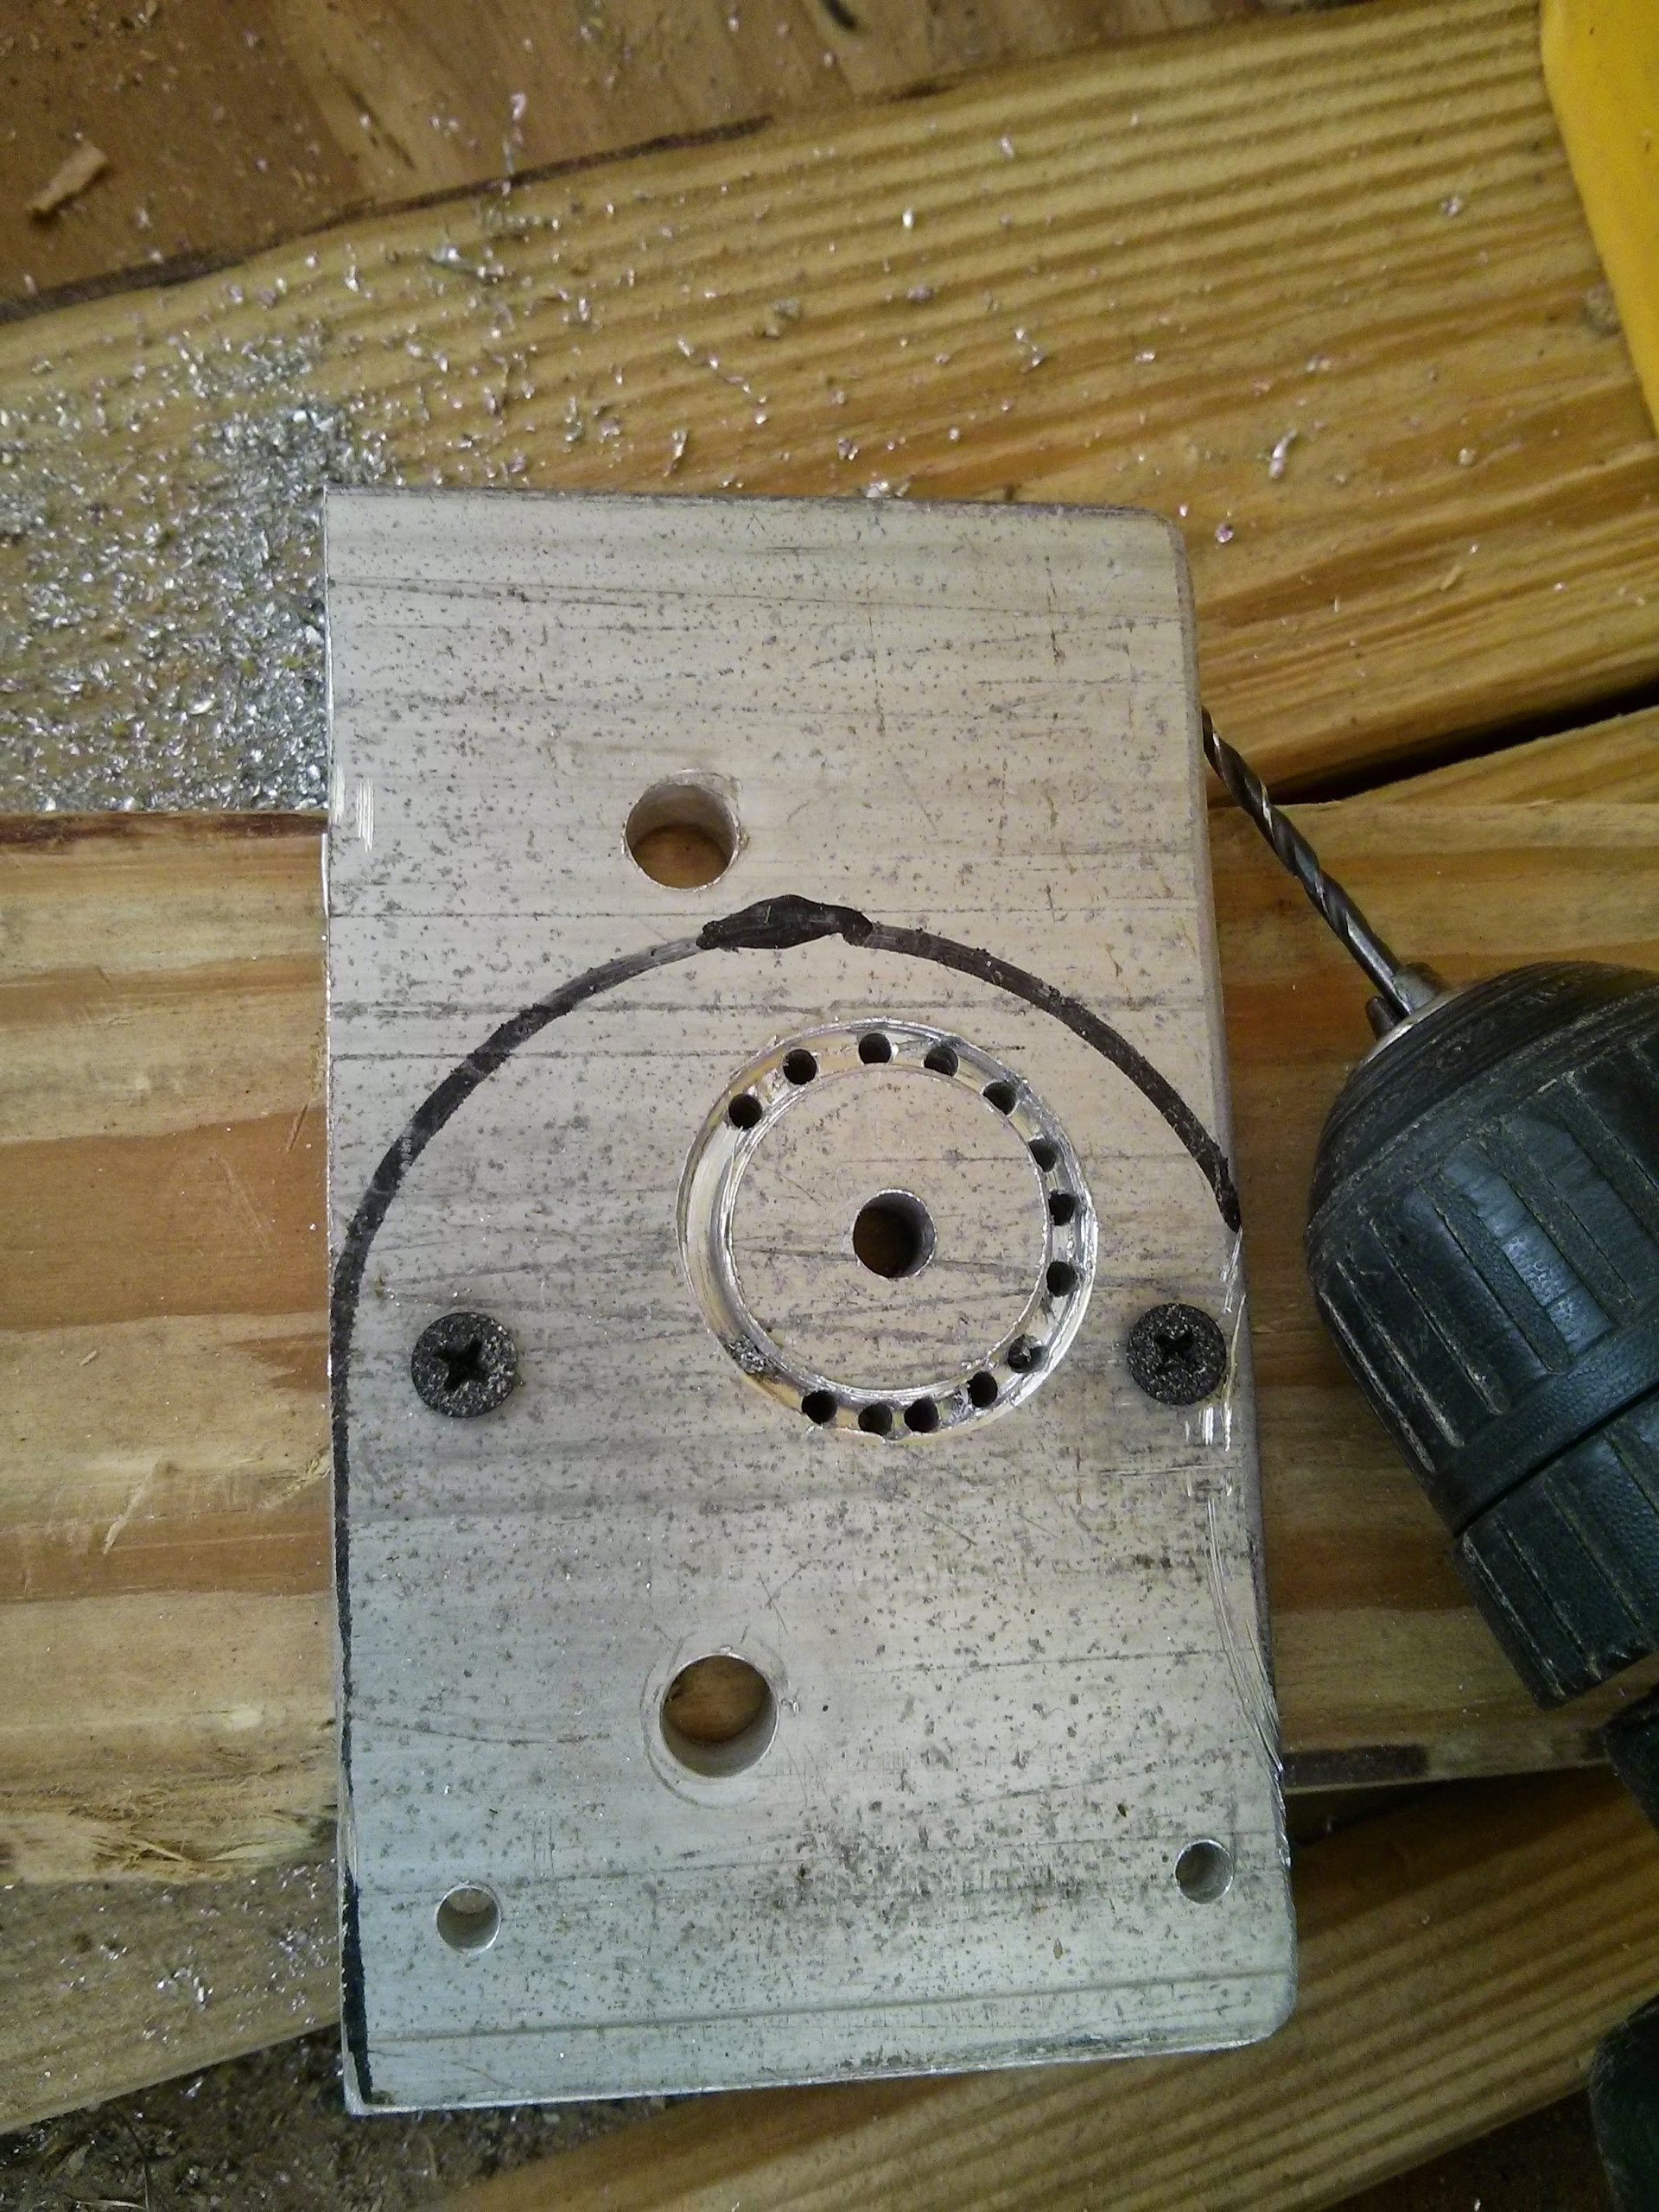
As can be seen from the photo above, the second box has been built though it's lacking the rear vertical. It's all perfectly symmetrical. My carpentry is definitely improving! The bottom bar is almost secured to the floor. The floor proved somewhat challenging to drill through. The aisle-side bracket was screwed down successfully. The far side bracket proved problematic. In one position I simply could not drill through the floor. Heaven knows what was up with that! Thus I moved a few inches and the first hole drilled through brilliantly. On the second hole, the drill bit stuck in the hole and the keyless chuck opened, leaving the drill stuck. In a moment of carelessness, not being able to find my pliers, I gripped the drill bit in the keyless chuck and the keyless chuck grabbed it off-center, spun and broke the drill bit. It would be so much less problematic if chucks with keys made a comeback. These keyless things release drill bits randomly. So my 7\64 drill bit died today and as I use a 7\64 to predrill all my holes before putting in my screws, that was pretty much an end to woodwork until I get a new bit.

It was still daylight and since there are other things I can do without a drill, I got on with them. It just didn't make sense to drive 20 miles to get to and from Lowes in order to buy a $3 drill bit when I'll pass Lowes tomorrow on my way to and from work. Thus I got on with some painting.
Two doors were up for painting. One door received its first coat and the other received its second. Some day I'll get to painting the other sides of the doors too. Initially I started painting with a 3 inch brush that I'd used before and which was mildly stiff and not that fun to use. It was a cheap dollar store brush. Getting a bit tired of it, I pulled out a mini roller and mini paint tray. That sped up painting no end then the roller disintegrated. I'm not surprised, really. It was a cheap dollar store roller.

Returning to the brush which had hardened considerably, I completed the task hurriedly. I'd employed the roller to speed things up in order to get away from the great outdoors as I was being eaten alive by mosquitoes, gnats and other insects.

The day hadn't gone quite as planned. I'd hoped to get the last couple of members into place in my dinette then put a temporary top onto which I would have placed the things sitting on the kitchenette. After that I wanted to dismantle the kitchenette and start to put the new kitchenette together.

Saturday, May 30, 2015

Cor! What a sizzler!


Today, what with the heat and a brief trip to the store for more brackets and some paint swatches, I didn't do as much as I'd have liked. Of course, I never do as much as I want to. The heat just saps my strength so badly.

I cannot imagine what the British redcoats must have thought when they landed. Here is a land of mosquitoes, swamps, alligators, crocodiles, venomous snakes and spiders, and toxic vegetation. Then the ever present and sapping summer heat. They must have considered this to be the gates to Hell. Between April and September, little can be achieved outside but I'm pressing on, doing as much as I physically can.

The goal today was to work on the dinette. It transpired that after a brief rethink, the section next to the shower would have a kneehole and would be my dining/desk area. This arrangement allows the back of the shower wall to have ventilation in the unlikely event that it gets wet.

As I did a lit of visualizing, I didn't do all that I wanted. I did put up the skeleton of the under desk partition between the knee hole and the next partition that will house a document fire safe. I've outlined where the next partition will be and found there's space above the document fire safe for a drawer.

On the other side of the drawer will be a plain Jane cabinet. Above the cabinet will be a bookshelf. There's a good reason my dining table looks outside - so I don't have to look at dirty dishes. It'll be quite reminiscent of the desk setup I had in my rented hovel.

Tomorrow, all being well, I should complete the second partition and maybe put skins on the partitions. The drawer might have to wait until I have some plywood. Somehow, I don't think OSB would be a good choice. The bookcase might have to wait until Thursday.

Once the bookcase is done, I'll be able to paint the dinette side of the bus. The plan is for brilliant white inside the cabinets and on the floor. The countertop will probably get woodgrain vinyl floor tiles and everything else will probably be lilac or green.

The kitchenette should be easier as I've already been there with the dinette. The only difference will be that the kitchenette will have far more drawers.

Thursday, May 28, 2015

Oh bugger!

There really isn't much to report today. I taped the lock to the door and drilled holes in the right places then discovered when the rivnuts had been inserted that my 40mm M5 bolts went nicely through the lock and aluminum plate but protruded masybe 2mm beyond the plate. That certainly won't do.

In desperation I ordered some 60mm M5 bolts from eBay. There will, of course, be a few days delay before they get here.

This is vaguely what it'll look like albeit hung straight and not dangling from a single screw.

All I can say is dammit and buggerit. I'd not thought my bolts would be too short. Everything has been long so far!

Wednesday, May 27, 2015

The fun of the chase


This is the inch thick chunk of aluminum that was defeating me yesterday. Today my resolution was to succeed. Thus, in the hour or so before work, I drilled a series of holes around the groove my hole saw had made.

Normally I regard tools as being sacrosanct. I maintain them in great condition and use them gently. The hole saw was designed for wood and I'm using it for metal. A real hole saw for metal would cost ten times as much and for the amount of use the saw will get, I'll just treat it as disposable.

Anyway, after work, I returned to my chunk of aluminum and used the hole saw. It didn't exactly go through as a hot knife would go through butter - it was a bit slower. Perhaps not quite as slow as an encroaching glacier but not far off!

The aluminum now having a nice hole in it of suitable size to facilitate use with my new door lock, my attention turned to mounting the receiver onto a sheet of 1\8 inch aluminum. The plan had been to insert countersunk screws out through the aluminum through the lock receiver and to fasten nuts onto fhd screws. That was the plan... It didn't quite work like that though.

Earlier - before work, I'd picked up some M5 coiuntersunk bolts. Needless to say, when I went to use them, they were M6. Hunting around, I found some countersunk M5 bolts. Then after inserting them, I found the nuts wouldn't fit. They were 10-24! Then I remembered I had a pile of M5 rivnuts and fastened M5 rivnuts to the receiver and bolted it all together.

It wasn't quite that simple though... One of the rivnuts overtightened and rotated freely. The only problem - it was attached to the tool and couldn't be removed easily. Eventually after much effort and trickery, the assembley was removed. Basically I had to disassemble the rivnuts tool. That left a rivnut spinning in a hole. With pliars and a drill, it was removed and a new ruvnut correctly inserted. Sounds straightforward now, doesn't it?

Nope - you've guessed... It wasn't! The bolts were 35mm whereas those M6 bolts were the correct length of 20mm. That meant the bolkts needed trimming so out came the angle grinder. As I have no vice and am quite attached to the idea of retaining all ten digits, holding the receiver while grinding was out if the question. Thus, the receiver was placed on the ground and held in place with a stout stick. The resultant cuts were rough and ready but the bolts are now acceptably short. Time to mount the lock...

And, as you've realized, there was a problem. Firstly, that great shimmering light source in the sky had been kidnappoed by the horizon. More importantly, because it had cooled down, hoards of mosquitoes were homing in on me. After beating off 5 or 6 squadrons of attack mosquitoes, I called it a day.

Monday, May 25, 2015

Cutting through metal

Aside from putting up the final supporting member for my dinette, I made a little progress on making the lock fit the side emergency exit. I made a tongue upon which the receiver for the lock in order to attach it to the bodywork. The mount for the other part is proving most challenging.

I'm using a hole saw and aside from having to fight to dismantle it in order to tighten the grub screw that's supposed to hold the drill but securely, every five minutes, its having a tough time getting through my inch thick block of aluminum. I think, after having to pause several times through the day, that I might be 1/5th of the way through. After that's done, I have to attach it to the door and use the same hole saw to bore through the 2 steel faces of the door. This could take a while!

I did intend to do some interior painting today but the only thing I painted was the bedroom door. The paint is supposed to be paint and primer. I wish somebody would be more honest on their packaging as that's very misleading. What paint and primer means is sure - you can use it as paint and primer but you're still going to have to put two coats. Defeats the purpose of having it all in one!

After fitting the final beam and finding to my delight that it supports my weight, I filled all the little crevices and areas where my workmanship had left gaps with foam sealant. I have a lot of trimming to do now!

One little issue surfaced - with the dining table in place I might not be able to open the cockpit door. Maybe the door will have to be made in two pieces using my cafe door hinges. I didn't want to do that but if its the solution then I may have to employ it.

The above is a photo of my dinette, taken from the driving seat. I must say I am feeling rather accomplished. I also note how much my carpentry has improved since I commenced my bus project.

Its becoming noticeable now that the heat is really restricting progress. I'm giving more thought toward installing a fan to extract the hot air. I'll probably have to install a solar panel to drive it. I really didn't want to do any more electrics right now - aside from fixing the CB radio so that it'd work. I did try the CB today. 40 channels of nothingness other than a couple of guys talking in Spanish.

My next task is to keep working on the door lock, complete the dinette and start the kitchenette. Some time or other, the project will be complete.

Saturday, May 23, 2015

Fighting heat exhaustion

Its been a few days since I posted. On a daily basis, not much has happened but over the period, a lot has been accomplished.

On Thursday I secured the two uprights in place that are shown, after trimming one a little and shuffling them around a bit. Then I cut a sheet of OSB roughly to shape to form the right hand lower.

On Friday, I finished trimming the OSB and fastened it into place and attached a top cross member. At some point I'd started to make a top for the drivers side partition but hadn't fitted it.

Today, Saturday, was a horribly hot day. I kept getting headaches and starting to feel unsteady which was my cue to down tools and head into the house to cool off. It took maybe 30 minutes to get that way and an hour to recover.

Needless to say, I didn't accomplish as much as I would have liked and some of the workmanship is far from perfect but progress has really ripped along since the last photo.

Having done all that, I shifted stuff around in what will be the dining area. My plan is to have a cabinet along the wall with a hinged flap that functions as a table. The plan was to start work on it but I felt exhausted. Instead I turned to making the mounting plates to install a lock on the second emergency exit. That will mean I can enter through either of the exits instead of just the one. My bicycle lock that keeps the one exit locked can be retired.

One of the messiest things I did today was to tidy up the edges of the OSB where it attaches to the doorframe. For this I used a sander and filled the bus with plumes of dust. Thank heavens I had the foresight to install a bedroom door and close it!

I'm sure Merry Maids would have a heart attack! Its going to take quite some cleaning to tidy that lot up. Its another task for me but no point in starting until the dusty parts of construction are over.

The next stage will be to build the dinette though I'll pause that until I finish adding the lock to the emergency exit. Part way through construction of the dinette, I'll have to paint the dinette area. While I'm doing that, I'll paint the bedroom doors since one has never been hung and the other is only temporarily hung.

Another thing (yes I was a busy little bee today) was to check on the hazard lights. I checked all over and eventually did find a hazard lamp switch. I tried it and it worked. Kinda! It turned on but not off. To turn it off, I had to whack it! Obviously it joins the list of things electrical that need fixing.

The electrical plan is... Replace the right wiper motor which seems to have seized, replace the left fan which seized, replace the left wiper switch which is broken (it turns the wipers on but needs to be whacked to turn them off), fix the reversing horn, fix the rev counter (which works intermittently), replace the alternator belt, finish wiring in the CB unit and wire the amber flashers so they'll work as indicator repeaters. The rear red flashers will become brake repeaters and the front reds will gain white lenses and will become flood lights.

And just before I dive into the soft arms of sleep, I'll show a photo of current progress as viewed from the front of the bus.

Wednesday, May 20, 2015

Journey to the front

I have reached the front of the bus. It has been a long journey - all 24 feet of it!

The two uprights on the right are secured in place. The old front seat back has been eliminated and I'm all set to put 3 cross members and the OSB facing on the right hand partition.

I started to cut the curve for the top of the other partition the other day and it didn't go well so I'll do what I did before and do all the remaining tops as a batch. This means that I have to do the bedroom sub partition as well.

The doors will be installed next. For the bathroom-dinette door, I'm going Wild West and will put batwing doors, just for fun. Aside from being a motorhome for me its also pretty much of a man cave. Its almost tempting to have a Flintstones moitif somewhere!

I'm anticipating completing the partitions and doors before the end of Memorial Day (5 days hence). I'm hoping I don't get the same problems I was getting today though! I picked up a cordless drill, drilled 8 holes and inserted 8 screws then the battery died. I picked up the other cordless drill and attempted to drill 4 more holes and half way through the second, the battery died! I turned to a power drill but I think it might have stripped the thread on one of the screws. I'll have to check in daylight with a manual screwdriver.

Sunday, May 17, 2015

Count the digits


Yes - you read that correctly... 138F (55C) inside my bus today. No wonder I was sweating streams!

This weekend has not gone quite as planned. The front partition is almost completed behind the drivers seat. Its mildly skewy but not enough that anybody will really notice. Its off 90 degrees from the side of the bus but only by a fraction of a degree.

I looked at the seat back that the handrail for the stairs was attached to. It took up an awful lot of space that didn't seem to achieve much. Looking at it showed it was bolted down by 4 bolts. The handrail was attached by 2 bolts at the bottom with Allen screws. The top was screwed to the back by 4 self tapping crosshead screws. Typical Carpenter workmanship! Not even the bolts securing the seat to the floor were the same.

The seat back was very heavy and extremely solid. The handrail by contrast was very light and flimsy. I was a little astounded by the contrast. The seat back was overbuilt. The handrail was bordering on flimsy.

Having removed the seat back, I spent quite a while fashioning an upright that would fit snugly between the floor and ceiling onto which I could fasten the handrail. Eventually, having got the upright vertical in both axis, I realized that there just wouldn't be enough space between that upright and the latest partition. In fact, I spent so much time measuring and fitting the upright that I just ran out of time on the curved section of the partition I built.

The upshot was that the space gained by removing the seat will be used for a small closet. It'll be big enough for tools and rain gear. With luck I might be able to slide a spare tire behind the drivers seat but I tend to doubt it. That might end up going under the bus behind the rear wheels, space willing!

Thus far I am pleased with what has been done but not by the speed of progress. On the other hand, with temperatures like 138F, progress will be slow!

Saturday, May 16, 2015

From November the first until today

Today I finally reached the front of the bus! Sure, there are little bits I have to return to but at the moment I'm conquering partitions.

The workbench as stated before will have to be replaced. My new construction methodology is much more solid. Mind, that bench was hastily erected to appease State Farm who then wanted ever more appeasement then shot me the bird when I couldn't do the impossible.

The front partition as shown needs a bracing beam at the bottom and a curved top. I'm getting quite adept at those now! Indeed, I completed one today for the previous partition. Mostly it was a case of a series of straight cuts followed by sanding. Quite simple to do though it looks fiendish!

Tomorrow's task is to cut the top for the partition and the bracing beam. After that I could either build a new worktop which would use most of my 2x4 and would give me something to work from or I could skip the bracing beam and build the basic skeleton for the final partition. I'm pretty sure to run out of 2x4 so it might be worthwhile to take a trip to get more tomorrow given that it takes a week or two for the stuff to dry properly. There are advantages both ways!

Friday, May 15, 2015

Water tanks

As I get ever closer to completing the first partition, my thoughts advance toward water tanks. Thus I had a look at some ideas and saw both problems and solutions.

Big problem - I have no idea how much water I use in a week. I know for cooking and drinking, my daily use has to be less than a gallon. For bathing and the toilet, I have no idea at all.

A smaller problem is that water tanks can be very expensive so I checked eBay and found cheap water tanks with postage that pretty much eliminated any potential saving. It didn't help with sizing that there seemed to be no minimum tank size.

Gambling that the tank size needed would be around 50 gallons, I found proper water tanks were ridiculously expensive. Checking around, I found 15, 30 and 55 gallon drums going for a song. Thereby hung two more problems - all the tanks bar the 15 gallon hung down below the skirt on the bottom of the bus, giving me visions of losing them as I passed over hump back bridges and the like.

The next thing I looked at was 12 inch water main pipe. That would have been great bar for the attachments such as end caps being $250 each. At that point it was time to head to work which I did. At work, as I pondered life, the universe and everything (Douglas Adams reference), the answer came to me in a flash as I flushed. 5 inch downpipe could well be my answer.

Returning home from slaving away at work, as I ate dinner I looked up my answers while my girlfriend's mother flashed me dirty looks for daring to use my phone at the dinner table. It turns out that a 4 foot length of 5 inch round tube will hold 4 gallons of water. Each gallon weighs around 8.35 pounds. Ten lengths laid parallel would take 50 inches of space. That's too much so laying the tubes 2 deep would take up 25 inches by 10 inches. That's much more doable. Add a 3rd layer and it would be 25 inches by 15 inches. Of course that is not optimizing the spaces between the tubes. 15 tubes would carry 60 gallons plus what would be held in the connecting sections. 60 gallons would weigh 501lbs or about the weight of 4 children.

Thinking further on plumbing, the grey tanks could be 20 gallon tube sets with the waste water being recycled to flush the toilet into a 15 gallon drum. Going on from the drum, two tubes could be inserted into the drum, one to act as a vent which goes to the roof to dissipate fumes. The other will also come from the roof but will have a small heater and fan. The warm air will evaporate the content of the black tank. When its time to physically empty the black tank, a removable, sealed end can be removed and the dessicated content shoveled out into a bag.

Running the system this way, the grey tank might need an occasional flushing and the white tank regular refilling but this should reduce the need to empty the grey frequently and the black. These are initial thoughts, of course.

Sunday, May 10, 2015

Something for the weekend, sir?

This weekend was very busy and almost everything that I desired came to pass. I'd wanted to complete the bathroom partitions between the bathroom and kitchen\dinette. I almost managed it too.

By a strange quirk during construction of the shower side of the partition, I had to turn the 2x4 beam through 90° with the result being a much stronger partition. This was copied to the other side. In addition, as by some miracle I'd got one doorpost vertical, I started the other side by installing the doorpost first and got it so accurate that if there is a difference, its less than 1/16th. My construction techniques are improving!

The difference is quite visible between before this weekend and after.

The downside is that the kitchen counter I constructed now seems to have acquired a nasty instability. I assume that as the wood dried (and cracked as it dried), the thing worked loose. Its not all downside though. I would feel more secure driving the bus if the kitchen and partition were strongly built together, thus reducing the minuscule chance of a partition breaking loose and falling on me during heavy breaking.

Another upside is that I have better ideas about how I'm going to build the kitchen and have worked out also a way of dealing with the front passenger side where the hillbillies left the original seat back and stair rail, both of which waste a lot of precious space.

I'm estimating that between now and the end of next weekend, I should finish the incomplete partition and construct the drivers partition. The weekend after that I might have made some progress with the passenger side partition. That might take a while as there's some heavy construction needed.

The kitchen counter will remain for now but will be dismantled eventually in order to make space for the new kitchen counter. This weekend was great because I didn't have to buy any new wood. I think I'm pretty much set for wood for the moment.

My new thought for the kitchen and diner are that they should be a combination of cupboards and drawers, utilizing my existing plastic crates for storage. The dinette will have swivel seats and the diners will face the passenger side windows. Basically that gives the opportunity to look outside rather than watching the kitchen counter.

Its getting increasingly interesting. A few days ago, the mechanic I know asked about the bus. He was impressed with my progress. Apparently a lot of people would just have given up by now. I guess most other people don't have much staying power!

Friday, May 8, 2015

Shocking DMV letter

The shower is advancing. I have the wall between the dinette and shower almost completed. This represents about a weeks worth of after work construction (30 - 45 minutes daily).


Meanwhile, today I had a very strange letter from the DMV. It appears that Progressive have failed to notify the DMV of the fact I have insurance on my bus through Progressive. It is apparently up to me to sort out somebody else's cock up. That pisses me off!

I spent quite a while on the phone with Progressive, sorting that out! The next step will be to repeat the process with the agent and then with the DMV and retaining copies of everything!

By the end of this weekend, I hope to have the entire kitchen-dinette/bathroom partition completed and possibly a door ready to put in the doorway.

The kitchen counter I built over Christmas break to pacify the State Farm plonkers will probably be dismantled. I think I can do far better with a real built-in kitchen and dinette that's built into the partition walls. Being built-in, it should be safer and more vibration resistant. I hate the waste of money and time but I have a much clearer view of how things should be now.

Thursday, May 7, 2015

How not to suck at customer service

Well, you certainly can't get any more sucky than the baboon that I met in Lowes in Red Bank, South Carolina yesterday. Well, maybe I'll take that back. This is South Carolina where customer service isn't so much a lost art but more one that's not been purchased by the big stores.

I walked into Lowes, looking for an electric shower. This is something that's simply plugged into both the electric and the cold water supply. The result is a nice, hot shower. They are available on the Lowes website and quite possibly in stores too. Not having much idea where to look, I approached two Lowes staff members, one of whom asked if he could help. The other took the opportunity to slink away.

Picture this - the customer asks a question and the Lowes baboon is standing right beside a computer with the Lowes search page on the screen. I asked about where I could find an electric shower and he shrugged his shoulders and started to walk away turning his back on me, the customer, while muttering over his shoulder that he'd never heard of one and Lowes didn't sell them.

What's wrong with this scene? More, what's right with it? Its horrible customer service! Most of the problem comes from the low caliber of staff that the stores drag out from skid row. There is a definite link between low wages and poor service. American stores in general are scared to raise prices and give the customer a good experience from well trained, happy, valued, well paid staff. They seem to prefer to give low prices with products hurled at customers by surly, sullen, rude and disengaged staff. As they say - pay peanuts and get monkeys!

What should have happened is that the staff member should have asked questions to ascertain what I was looking for. Then they should have tried it in their computer system. Had they not found it, a manager should have been summoned and the customer offered a cup of coffee while they waited for resolution. Had the manager been unable to find the item then corporate office should have been contacted - all in the presence of the customer. Now that's good customer service. Of course, this will never be seen in South Carolina because nobody cares.

Needless to say, I was so pissed off by the insolent customer service that I simply walked out of the store without buying any of the things I needed. I'll have to start shopping online since the stores are getting so unbearable.

In other news, I carried on with cutting the supports for the bathroom-dinette partition. I've got it pretty close but I'm not yet 100% satisfied with the fit. As I progress with my bus I seem to be becoming much better at getting things to fit.

Tuesday, May 5, 2015

How easy was that?

Yesterday was a day when I fitted the skin to the door skeleton I built on Sunday. Between arriving home from work and sunset there was sufficient time to nail two pieces of hardboard on, trim it to fit and to sand it all down.

Needless to say, I didn't hang the door because there's enough that could fall behind it that could cause major problems trying to open it. That would block my only entrance into the bus. Thus the door will be hung later.

Today I took four pieces of very mushy 2x4 and cut it down to fit the sides of the bus (63 inches) and to match the bedroom partitions (72 and 73 inches) since they're right for the bathroom side.

The wood was horrible to handle and horrible to cut but was better than when I bought it. Some sap had oozed out onto the bus floor. With luck it'll dry faster now its been cut. I almost cut the uprights for the cockpit end but didn't.

Sunday, May 3, 2015

The mysterious absence of the strange glowing orb


Today I fought the good fight and prevailed. The door was swiftly hung having had an inch chopped off the top and a piece of hardboard nailed on. After that, attaching the hinges, a doorhandle and a spring door latch.

Having hung the first door satisfactorily, I got ambitious and started the second bedroom door. I didn't manage to complete it due to the strange glowing orb in the sky choosing to leave me in the dark,

Tidying up, I realized that to be 100% complete, the bedroom only needs the second door to be completed, both doors to be painted, the closet rail to be installed and a shelf desk plus a sub partition. There will be a bit more paint needed but the bus will be 50% completed then.

The shower and toilet need the least actual construction. They follow the bedroom. The kitchen is already partly constructed. The dining area has yet to be designed but I'm leaning toward a cabinet with a fold out top that can be used as a table and some permanently mounted stools.

Saturday, May 2, 2015

Call the men in white coats!

Last weekend I had an abortive attempt at building a bedroom door. Then I built the basic frame of the door, while it was in the door frame. Needless to say it wasn't greatly successful. I've lost count of the number of times I've hung and rehung the door while trying to make it fit.

As I've said many times before, most carpenters would wet themselves watching me build things and get them right or wrong and trying to redo them the correct way. This bus is nothing if not a learning process. Of course, if I ever build another bus conversion, I'm pretty sure by then I will have forgotten how I did this one and won't be able to apply the lessons I am learning

The rule with doors seems to be to measure the space, build them then hang them. This build it in situ idea isn't really working even though the top can only be fitted in situ due to the curvature of the ceiling requiring the top to be shaped precisely to fit that curve.

Yesterday I went on a shopping trip to buy more 2x4 from Lowes. I bought enough for one full partition. Today as my lady wanted to go shopping, I paused at Lowes and bought 4 more pieces of 2x4. All the 2x4 is wet which means I will have to wait until next week before it is dry enough to use. This leaves me with Saturday and Sunday to build the two doors that I need. I have just enough dry 2x2 and hardboard to do that.

Today was not a great success. I will have to rehang the door yet again. The wall it hangs from seems not to be perpendicular so the door scrapes the floor when it opens. I tried sanding a bit off the bottom but that was not enough. I'd stood the door on a piece of 1/8 metal to ensure it swung easily. Clearly that was not sufficient. Tomorrow I will re-hang the door with 1/4 inch clearance. This will mean trimming the left upright slightly at the top but that's OK as it's not really supporting anything.


What I can say is this: The other doors are going to be far better built and better hung. I have only ever hung one door before and that was in a house. As I recall, I propped the door up on a one inch plank. As luck would have it, I fitted the lock so precisely that the door never rattled.

All these problems are enough to turn me to drink! Call the men in white coats!