Today I looked at the steel I'd bought yesterday then I looked at the bus and measured the distance between the rivets on the seams as being exactly two inches between centers. That told me how much distance I needed between my rivet centers.
The next thing done was to take the remaining part of the hardboard I'd bought from Lowe's (hiss, spit) some weeks ago when I made the template for the solar panels and made a template for the window cover panel. This panel needed a little piece cut from one corner to accommodate the door hinge. It's big enough that there's plenty overlap. I'd rather oversized than undersized. It won't be as "pretty" as I'd like but it's going to be very solid.

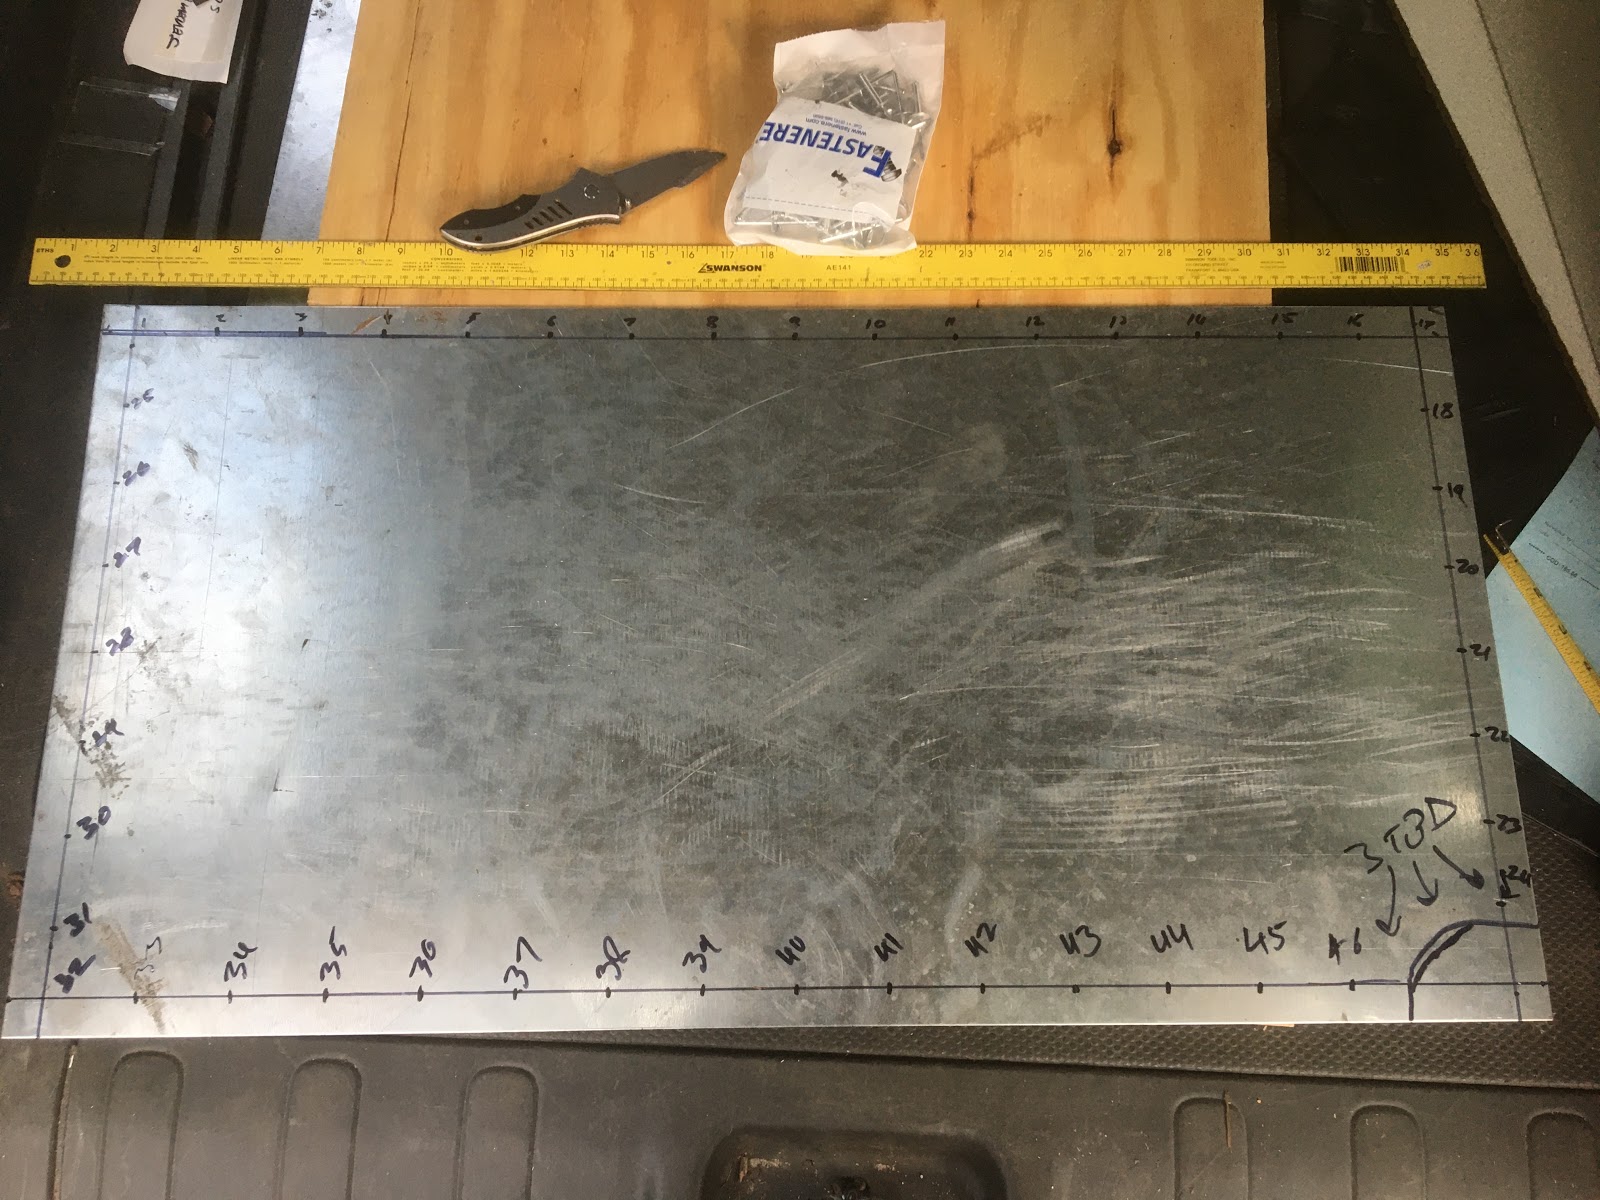
When I have drilled the holes, I'll bring my template back and drill two rivet holes in that, using the sheet of steel as a guide. That'll allow me to tape the template to the bus, even everything up to where it's supposed to be and drill two rivet holes in the door. Those I'll tape over for now.
The next stage will be to remove the old welded panel from the door. That'll take a while using my angle grinder. Actually I should have bought a wire brush disk when I was in the store last. That would get rid of the Bondo in a trice. Once that's all gone I can grind the welds to get the fridge steel off then sand blast away because there is rust.
Then I can slap anti-rust primer then topcoat on everything and rivet the panel into place. When I'm riveting, I'll caulk the heck out of the panel - going generously around the edges and rivet holes. Fortunately I have a big bag of broad headed rivets. They're stainless steel and are overly long. On the other hand, for this part of the door I have plenty clearance. Though I'd prefer regular steel rivets as the paint will stick to regular steel, it's fine.
Once the panel is riveted into place I can slap some paint over the rivets, clean up the excess caulk and then caulk the heck out of the valley between the panel and the glass retaining ridge. I'll regard that part as done and just rivet the steel in place on the inside over the back of the window.
The next step will be to do the panels for the side windows. That's going to involve buying another sheet of hardboard since I don't have enough to make another template. The window above the door will be more of a challenge since I noticed it is not flat. I suspect the answer there will be to fasten the bottom rivets where the curve is then push the top of the panel toward the door and rivet upwards on the sides, using the rivets to pull the steel into shape.
Again, for the top panel of the door, I'll likely need another piece of hardboard. Just as an afterthought, I suppose in bending the panel, it would be possible to rivet it to my steel bench and then pull it into shape. The bend really isn't very much. I probably have just enough steel left from the strange shelf the hillbillies put into the bus to make a proper bending apparatus. That way I could bend it properly. Food for thought.
No comments:
Post a Comment