I can't remember what the plan was for the day but it was a bright and sunny day with a light breeze and a blue sky. My girlfriend's sister's boyfriend decided it was time to unload the bus so I drove it down a narrow, winding track surrounded by tall vegetation and trees to the unloading site. There, the bus was unloaded and I commenced trying to fill some of the screw holes with screws and shower sealant. It wasn't very successful but as most of the holes are in the upper part of the body and there was tape over the holes anyway, the idea was paused for the moment.
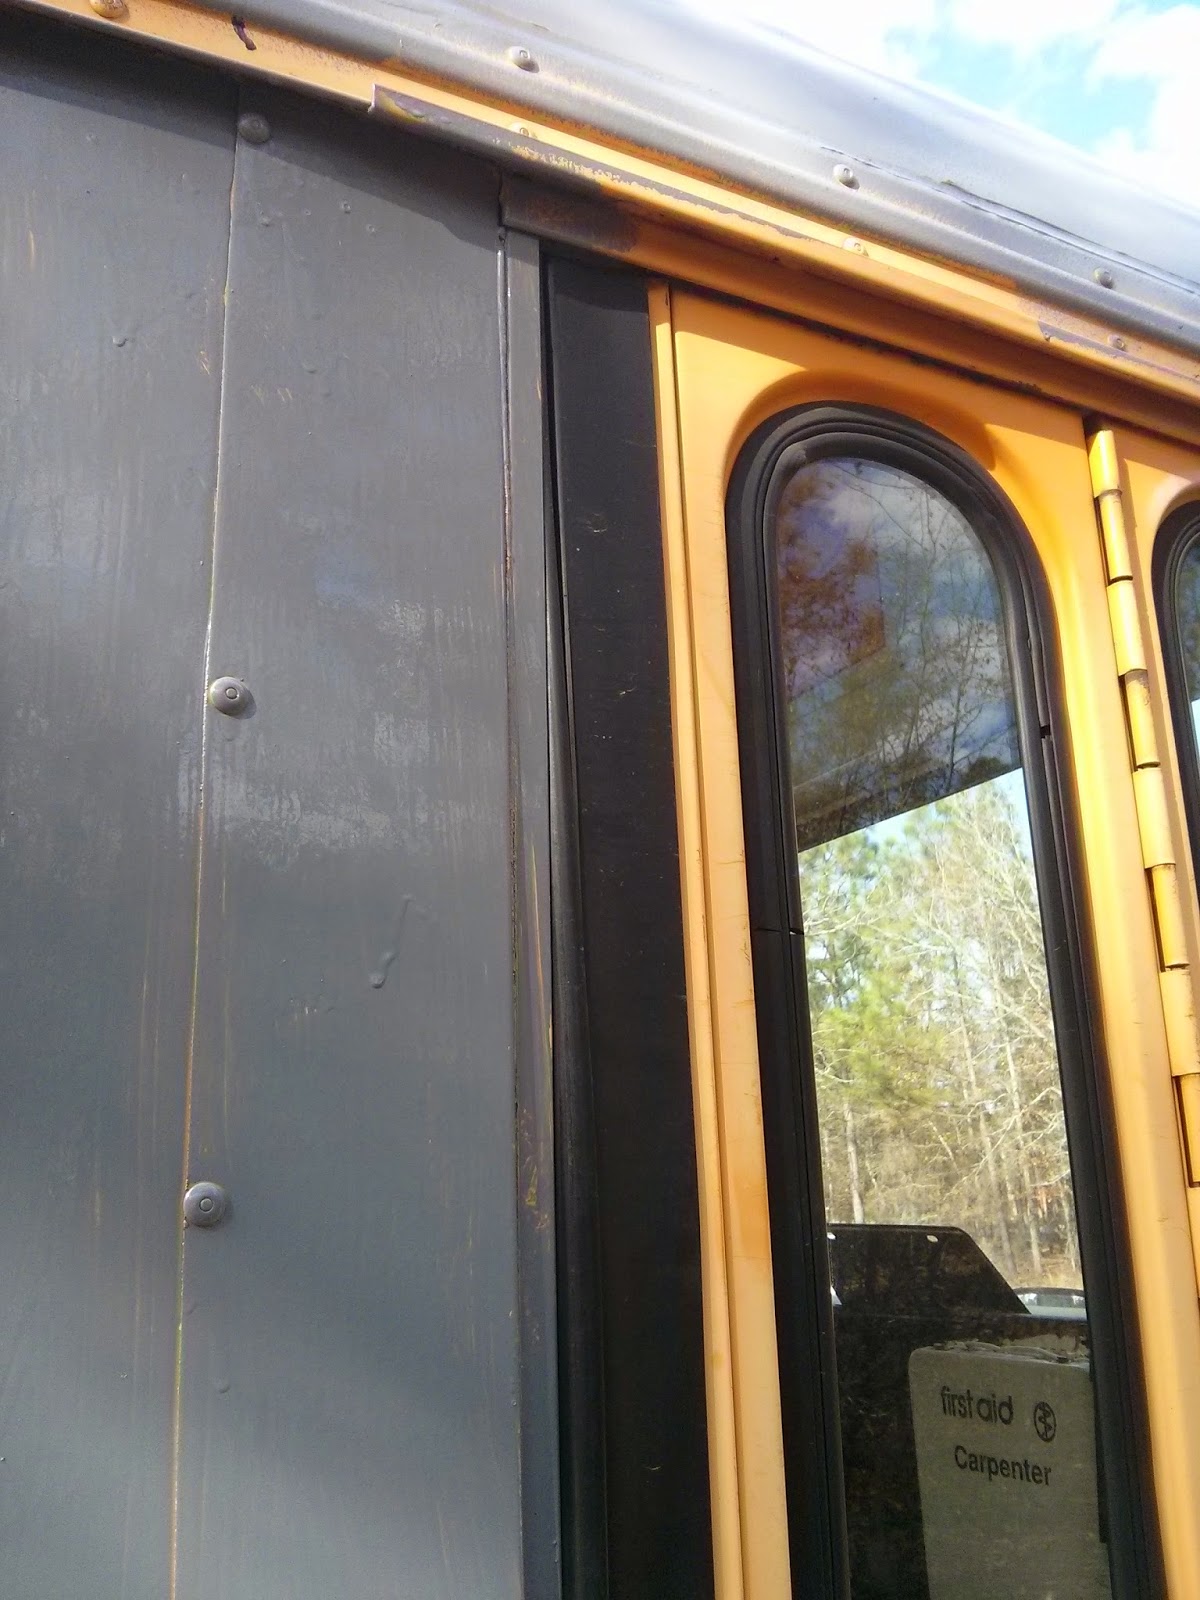
The beauty of an older bus is that the paint finish does not have to be perfect. Nobody cares. Thus with the bus emptied - during which I noted that the shower sealant seems to have secured the loose door gasket to the door quite satisfactorily, I pulled out a $25 gallon can of Rustoleum Smoke Grey paint and a brush. I started painting and basically just slapping a first coat onto the bus, expecting to have to do a second coat. Then my girlfriend's sister's boyfriend leapt into action and followed me as the paint dried rapidly in the sun to do the second coat.
Eventually, painting as high as the bottoms of the windows only for today, we made our way along the one side and the back with two coats. The second side has one coat along half the length and a second along the rest. I'd started on the front but the light escaped and the temperature dropped. As the wolves howled in the distance we cleaned our hands and the paintbrushes with gasoline and returned to the fold.
The paint has been mostly used but there should be enough left to complete the side and possibly one coat for the front end. For some areas, a spray will be needed. The roof can be done with a roller.
Meanwhile, two ideas came to mind for the holes (some of which have just been taped and painted). The first idea is to remove interior panels and put bolts through to seal the holes. The second is to use non-waterproof rivets and a dollop of sealant on the rivet heads. On the whole, the bolt plan is far more appealing.
Rustoleum was used rather than automotive paint because it's available in most hardware stores in tubs and in spray cans. As I'm not after a flawless finish, it really doesn't matter if it's applied with a brush, a roller or a spray. Brushes are $1.99 and rollers aren't much more. All the paint has to do is to protect the body from rust and to give it a color other than school bus yellow. It was mentioned that the bus now looks like a reformational institution bus which had me jokingly calling it the bus of the corrective institute for delinquent women.
Further thoughts came to mind about the windows and that was to apply a darkening film on the insides of the windows that will be used and black paint to the insides of the windows that won't be used. If there's an opaque black film that can be applied, that might be worth investigating.
Photos of today's progress are attached. In all, this was a day of great progress. The insides of the wheel arches desperately need to be re-coated. The coating - if indeed there was any has vanished. The yellow paint has chipped away and only the galvanized coating on the steel remains. Clearly I need to get underbody or wheel arch sealant on that desperately.
In general, I am happy with today's progress. One area I'm lagging behind badly with is financial documentation. I think I have most of my receipts but I'm not sure. I can definitely see progress with the bus. The interior will still be a kind of erector set but instead of OSB, plywood will be used due to its lighter weight and greater dimensional stability. It has a higher cost but the cost is probably worthwhile.
Originally the idea was to use waterproof rivets to fill the holes in the bus but at $138 for 500 the cost was ludicrous - especially when doing it either of the ways that I've considered today are so much cheaper though more labor intensive. The whole goal of doing this bus conversion is to save money. The bus cost $4,200. I'm trying to get the conversion in for $1,000 though some of the funkier aspects such as electrical supply, shower, sinks and toilet might go over budget a bit. Those problems will be surmounted when they arise.
Two windows are missing from the bus. Various ideas have come to mind to deal with this issue. One was to cut the aluminum folding table from the side of the bus into window-sized sheets and use it to fill the holes. Another was to search scrapyards and school bus depots for scrapped busses. Since Carpenter went out of business in 2001, school districts will be dumping old Carpenter stock when it needs major repairs.
A task for another day is to remove the crudely welded tow hook from the front bumper. That was a bizarre place to have a tow hook. The hill billies that owned the bus and converted it to a hunting lodge did a whole load of strange things. Craftsmanship was not high on their agenda as the crude welding on the tow hook demonstrates. It looks almost like a classic example of bad welding put together for welding students to see what not to do.


