Showing posts with label cockpit. Show all posts

Thursday, November 5, 2015

Aha or uh-huh or something like that!

On my way from the treadmill back to my bus, I paused as planned at the dollar store. Navigating around obstacles such as empty boxes, transport dollies, uncooperative customers, spilled nastiness on the floors and collapsed shelving, I located the battery rack.

The battery rack didn't have a great selection of batteries so I chose a PP3 9v battery. This was probably a mistake. I'd probably have been better off with 6 D cells though as yet I don't have a holder for 6 D cells.

The original idea for the magnet was to run two in opposition to lift the latch that locks the bus door. As 9v magnets were available, it seemed sensible to use 9v magnets and run them off a separate battery rather than use the bus battery.

As it turns out, the magnets do repel each other but the pp3 battery does not put out enough power to make the magnets work really well. As grippers, the magnets do an excellent job. They're supposed to be grippers. I need them to repel too though.

The next task will be to get 6 D cells and solder them together. That should provide ample power to work the magnets. Another idea would be to charge a capacitor from the 9v battery and use that to activate the magnets. That would involve fiddling around good a week or two with electronics and no guarantee of success. Keeping it simple seems best.

It might turn out that the magnets just won't work and I'll have to make my own. I'm hoping that's not going to be the case but it might have been better to do that from the start.

So, tomorrow's task is to get a pile of D cells. I can always use D cells for my lantern and my shower pump.

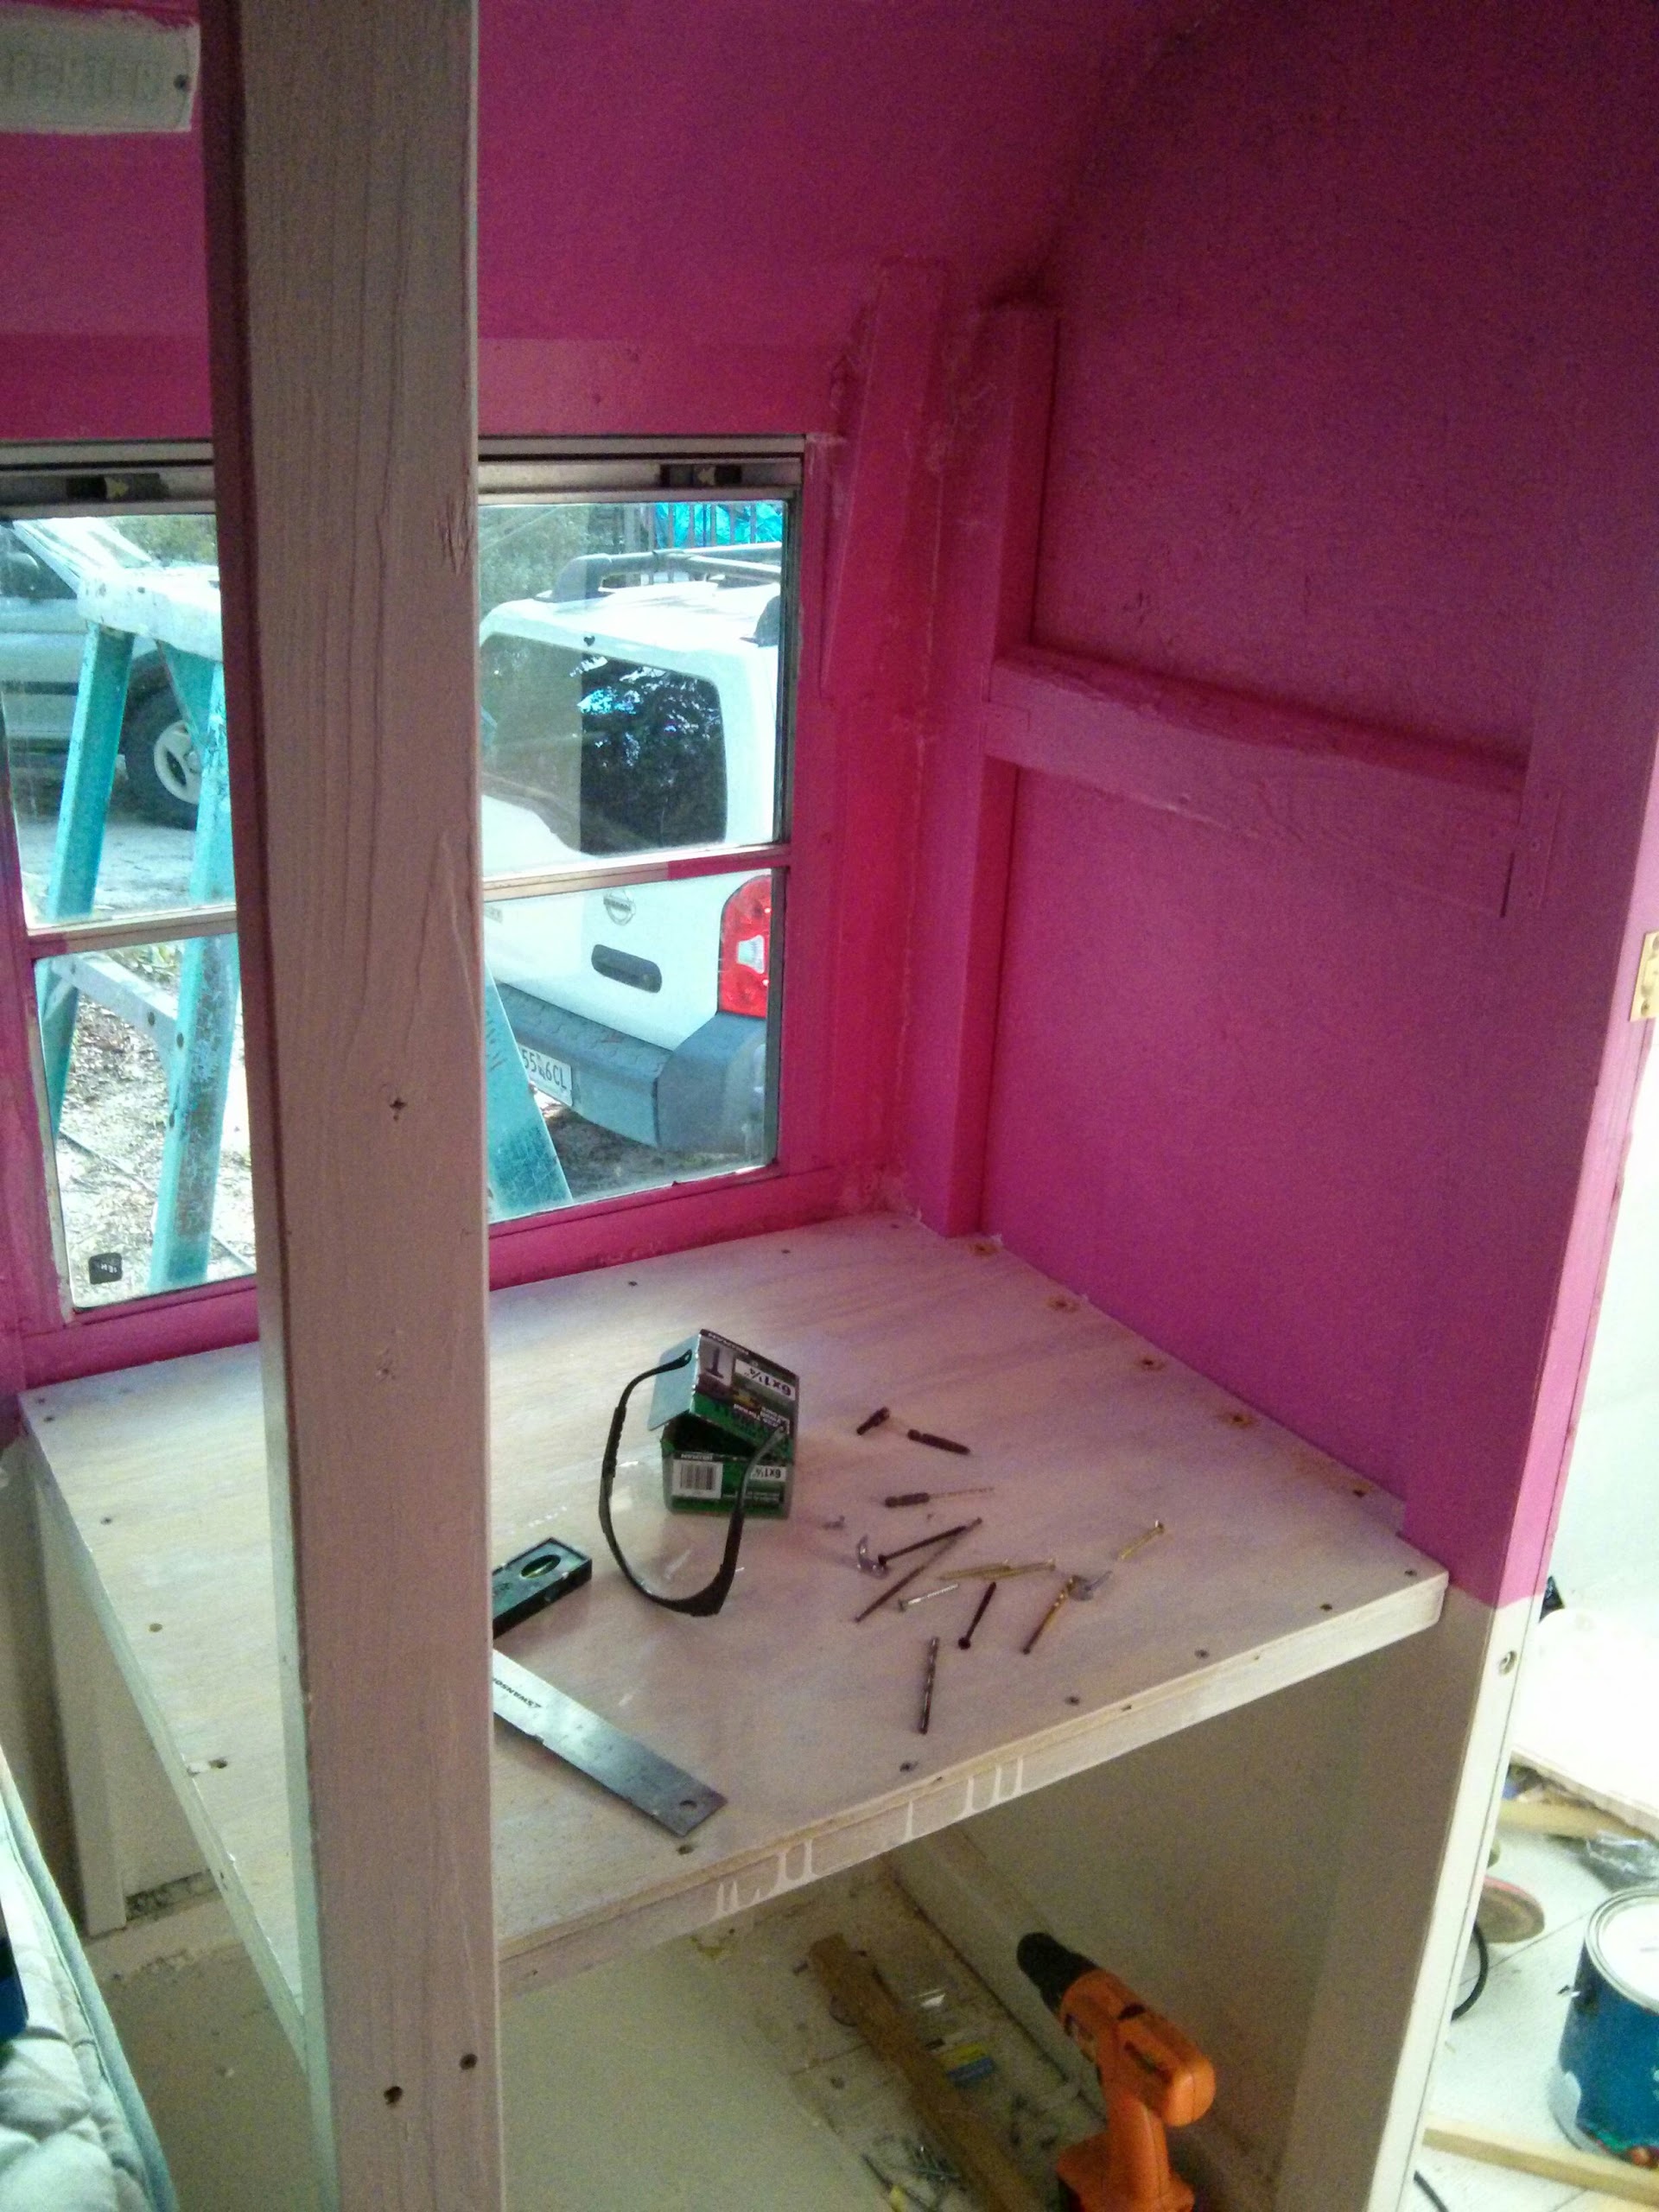
Meanwhile, I've got a slight dampness in the cockpit. I'm not sure where its coming from but I'll have to look at the roof seams again. Speaking of which, Eric mentioned roof flashing repair tape and yesterday I saw quite a selection of tapes available to repair roof seams. Some are quite expensive!

Sunday, September 13, 2015

Red letter day!

That's an old Chinese thing. In China, a red letter means good luck. Usually on a red letter day, children receive envelopes stuffed with money.

No money for me though. The nearest to a genuine red letter is that my electrics as installed, work. I tested each of the three sockets by plugging in a humble fan. The main breaker box is not yet secured due to my needing to rebuild the hillbilly battery compartment but this is how it looks.


The whole system is earthed and the white and black wires are in the correct places. This is a very simple system with 3 sockets only. There is room for future expansion on the breaker box and, replacing the inlet cable, the system can go to a maximum of 55A. If the cable between the breakers were to be replaced, 100A would be almost possible.

The ratings on my system as installed are:
1. Electrical sockets - 20A
2. Wire betwixt sockets and distribution panel - 30A
3. Distribution panel - 125A
4. Wire betwixt distribution panel and main breaker box - 55A
5. Main breaker box - 70A
6. Wire betwixt main breaker box and plug - 30A
7. Plug - 30A
8. Breakers in distribution panel - 15A (all six)
9. Breaker in main box - 30A - dual breaker.

So, my system can take much higher amperage assuming portions closer to the supply are changed. I regard this as being a safe system. Indeed, if anybody can see a problem, I'd like to know about it!

By the way, for anybody wanting to use 30A solid, 30A flexible and 55A solid wire, yes it is hard to work with! It took a good couple of hours to complete what I just have. Partly this is because I am still not 100% recovered from my virus but also because the wire was hard to work with and I was being very careful to get it right.

My bus electrics are now 100% complete on the 110v side. Next comes the plumbing. For that, I need a few things. As it is, it should pass inspection as a motorhome. And I'm only 8 months, 12 days behind schedule! Mind, my schedule was over ambitious.
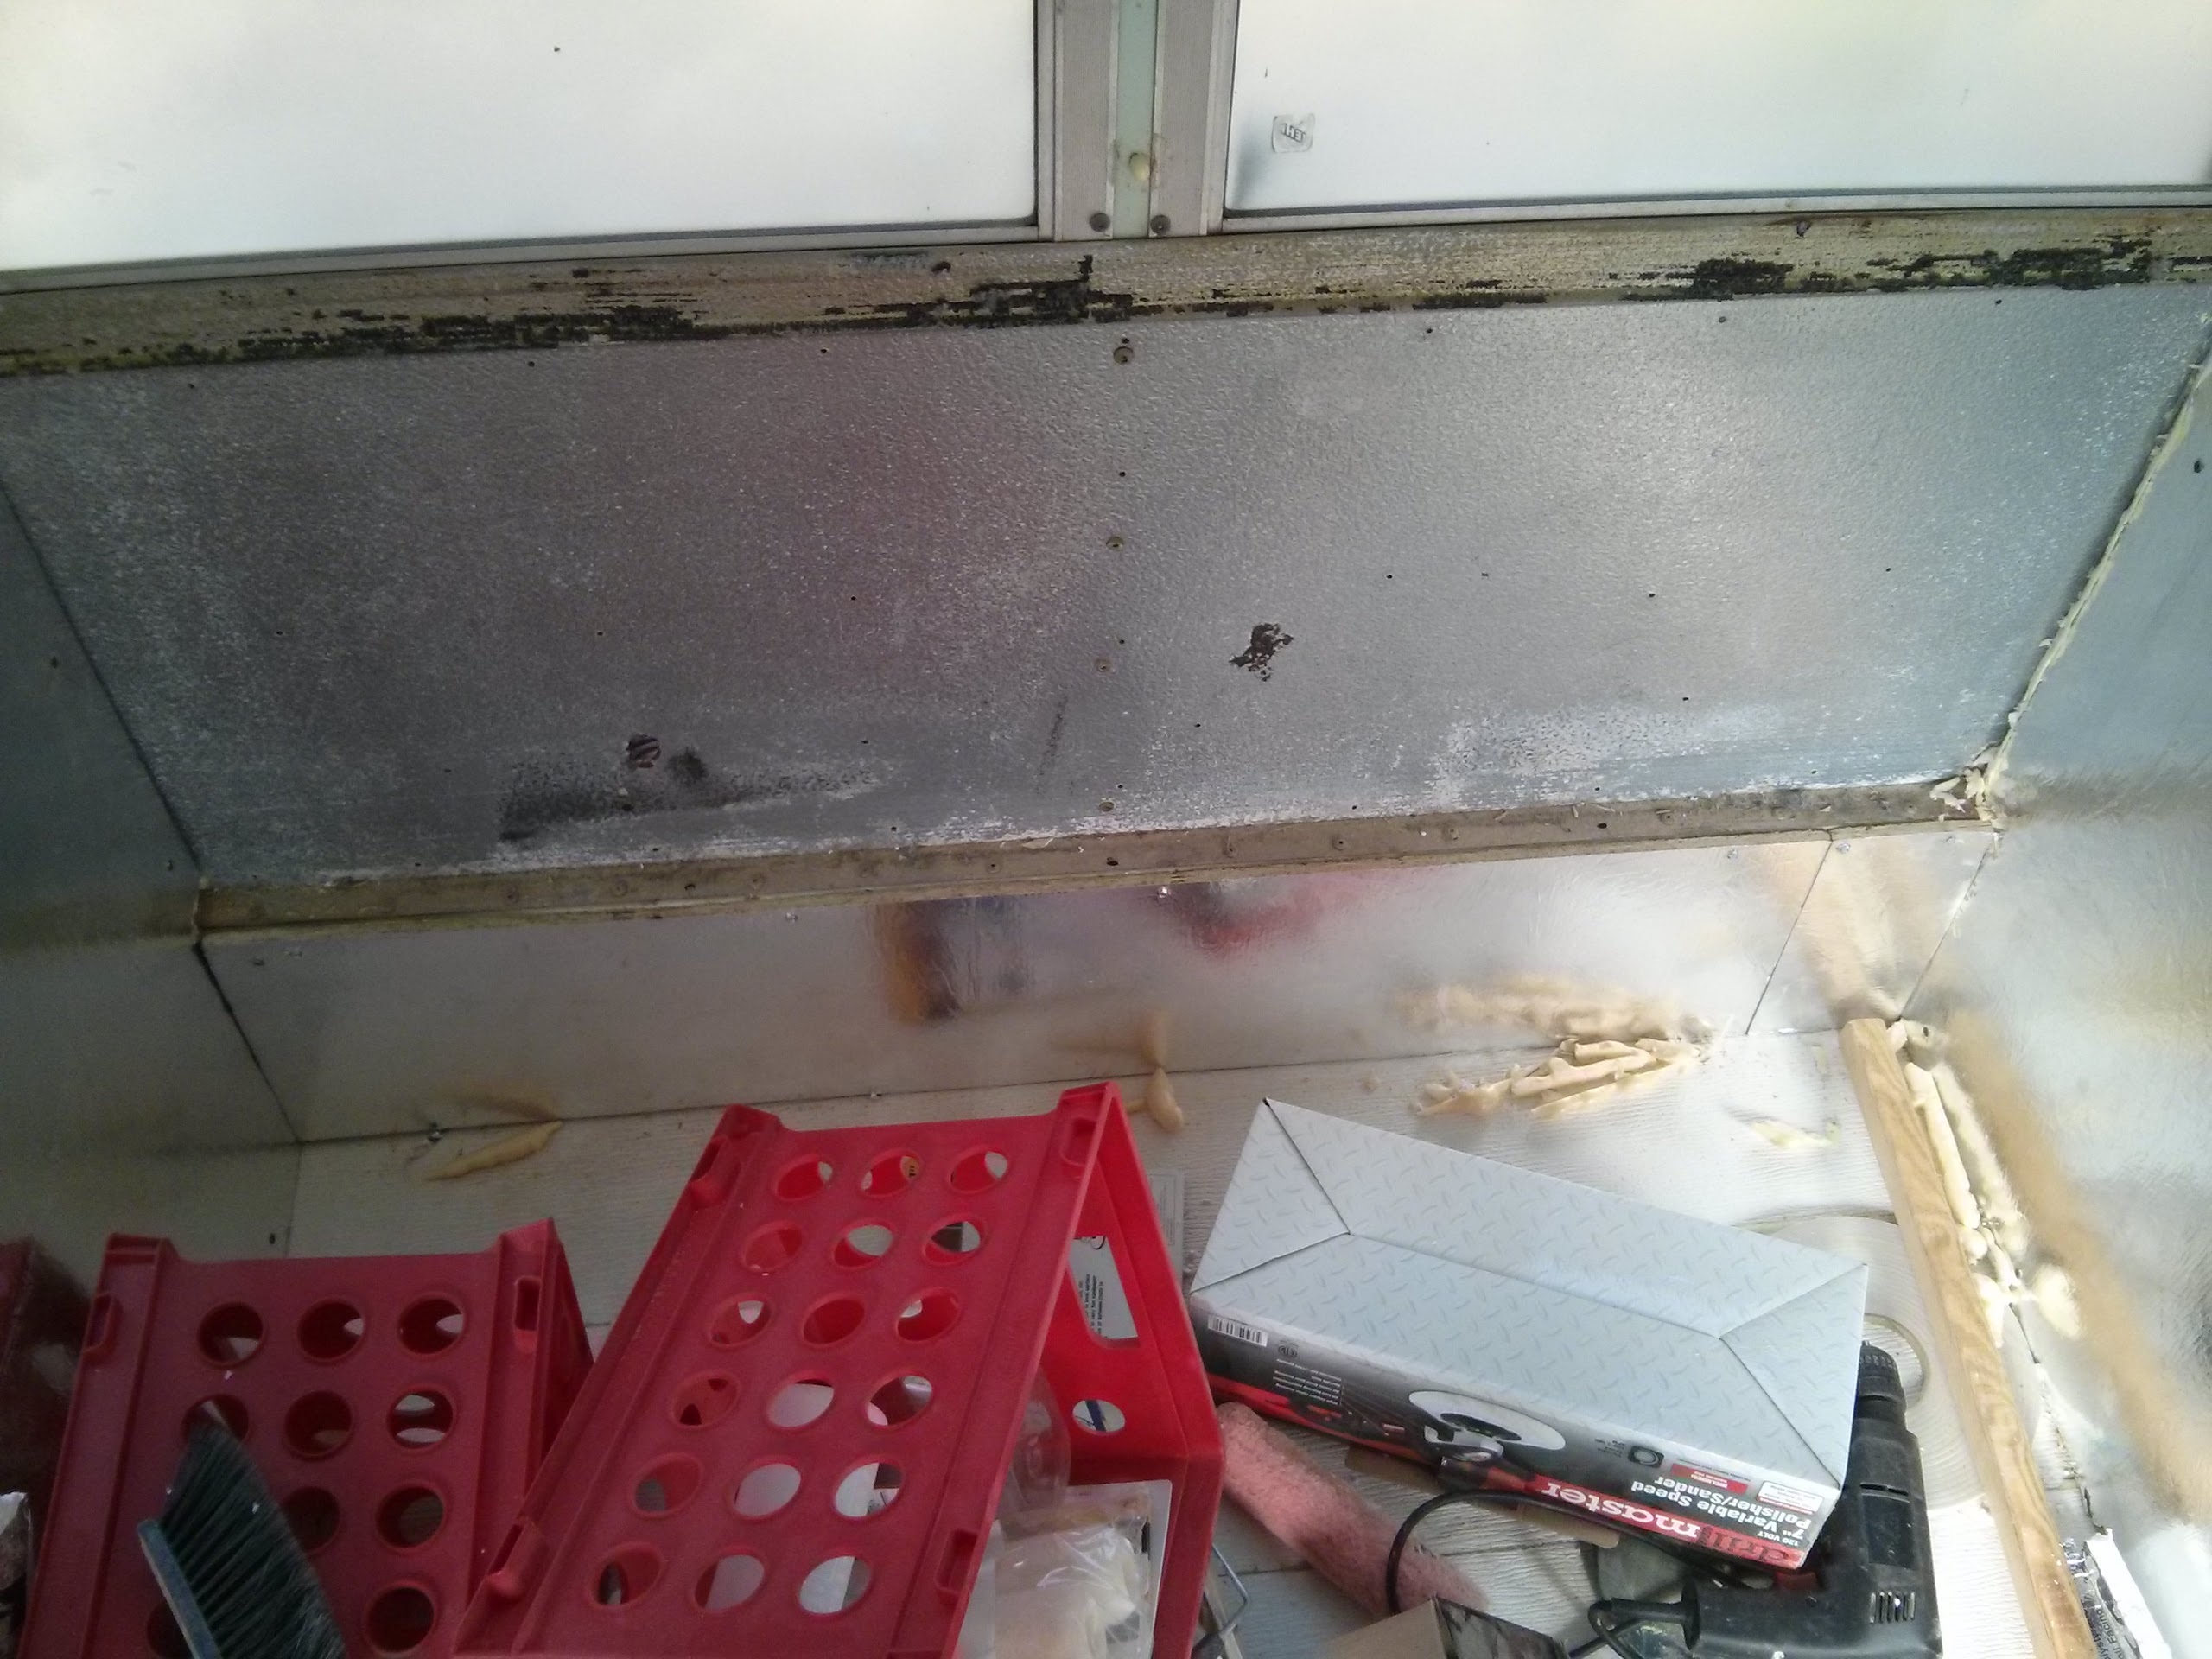
What followed the electrics was little short of a miracle. I removed the large pieces of construction debris and stored the surplus materials in a nearby shed. Given that I'm not over my bug, that was a lot of work. I can almost reach the driving seat now.

The hillbilly underbody compartment wasn't quite as bad as it looked. Certainly its badly installed and for that reason alone, needs to be replaced. It is, however made of inch thick marine plywood. I found that out when I drilled a hole through it to allow me to plug my electrical cable in from underneath.

Where the hillbillies went wrong was in not painting their plywood on the inside of the compartment. Having seen that, I'm minded to use plywood for my compartments. Mine, however will be painted white on the inside but with oil based paints rather than latex. Unlike the hillbillies, my compartments will have angle iron on the corners, strengthening and supporting them.

Thinking ahead to a 12v battery system which will power future extraction fans, charging ports etc, I'll have to find how much weight plywood will support to see how much bracing to use to support a battery. I have a feeling that just a single 105ah 12v marine deep cycle battery will provide for most of my needs. Of course, if later I use batteries to power my fridge, I might have to raise that capacity.

Thinking further, until I have sufficient solar and battery capacity to power a microwave, I could perhaps use a cheap generator to provide 800w to run the microwave while taking 240w from batteries to gain the 1040w needed. That would take me squarely into boondocking territory!

Later, after dinner, I returned to the bus and cut the PVC planking to the right size to fit my shower base. In a few days I'll have the base put together and the bus fully cleaned.

My favorite place at the moment is my bathroom as I can sit on the toilet lid and think. There, I had the idea that since my LED lantern has a loop as a handle, I could put screw hooks in the ceiling to hold my lantern. I'll have to see if Lowe's sells 10-24 screw hooks or bigger s-hooks to use with their existing screw eyes.

Some people might see my minimal electricity lifestyle as somewhat quaint. I regard it as practical. I'm just not a great fan of electrical appliances in general. This is why my forthcoming water pump will be manual.

Thinking about night privacy, I looked at my windows and measured them. The bathroom windows I don't give a rip about. I'll put pieces of shower curtain over the windows but that's all. No need for more than that.

The galley windows are doubles measuring 54 wide by 28 high. I figure a wooden dowel with a plastic fabric fastened to it together with a string could act as a roller blind. The problem would be what to use as bearings.

The bedroom windows are 54 wide by 14 high and 26 wide by 28 high. That's just 4 blinds needed. I've had various thoughts but I really like the idea of a DIY roller blind.

Aside from that, there's just the pool noodle needed over the doorway from the cockpit to the cabin and some form of lock on the front door. Well, not really a lock but a way of unlocking the existing door lock from the outside.

As well as that, I have to put my white and grey tanks under the bus and rebuild the hillbilly battery compartment. There's plenty to do and since I'm doing it all on my own, its taking rather longer than I'd like. The big thing is that I'm learning a load of new skills.

It's pretty astonishing how much I've done since I started the project in November.

Sunday, August 23, 2015

A day of small things and big plans

Today as yesterday, the major problem was rain showers. Even with my wonderful LED lantern, it was hard to see to work. The plan for the weekend was perhaps a little ambitious. The intent was to:
1. Finish painting the countertops
2. Install the shower base.
3. Complete the window tinting.
4. Install the closet chain.
The countertops never were completed. One was as was the bathroom vanity. Only one countertop was screwed down. All the windows were tinted and now look fantastic!


The batwing doors had a second coat of white on the edges. I'll still have to touch up areas where I screwed up with the white but that's small stuff.

One of the small plans had been to paint the wood floor inside the cockpit black to match the existing floor. It just smartens things up a little. I'd bought a small pot of black paint to do this but as I tidied the countertop a little, I found a bigger pot so I used it to paint the cockpit floor. It might need a second coat. That seems to be the way of things but it's beginning to look quite tidy.

That, of course, has to dry thoroughly before I dare walk on it. It's Rustoleum black anti rust paint but it should work and be more durable than my white latex paint. Inside the galley I had put a coat of latex primer. I'm not sure whether to put a latex top coat and just lay a black vinyl mat over it as I have in the bedroom or what. I suspect the mat will be the cheapest and most durable option.

After that, I had a look at my hand basin for the bathroom. The mixer tap is quite low so it looks very much as though it's not really suitable to fill jugs, bowls or kettles. That'll have to be done elsewhere. I did check on a spare mixer assembly lying in the yard but the holes were further apart. I'm still of the opinion that hot and cold water tanks might be barking up the wrong tree and that I might be far better off with a single hand pump, a bucket and a kettle full of hot water. If my ancestors could do it then so can I!

My thought is that simple is usually best. One drain for waste water, one source for fresh water. Here's my latest idea. Under the bus I have several 15 gallon water tanks, plumbed together for fresh water and another set for waste water. I choose 15 gallon because they can't be seen underneath the bus skirt.

Rather than having an electric pump to pump water, I have a hand pump. This eliminates problems with power supplies etc. Having just one water source eliminates many sources of potential leakage too. Having a suction pump eliminates wastage through leaking pressure seals and the big bonus - its cheaper!

The water can go into a bucket from which it can be used directly or even pumped straight into a kettle. Once in a kettle, it can be heated either electrically in an electric kettle or over a fire as a camp kettle. I could even connect a 120v bucket heater to heat it when the bus is connected to the mains or via a 12v heater such as this.

Once the water is heated to an appropriate temperature, it can be used straight from the bucket or via a shower attachment such as this.

Of course, its important to realise that as with a house, every option can be changed, improved upon or developed before or after implementation. With a drop-in heated element (the one depicted is for a static hot water tank), either a 12v or a 120v element could be used.

The element depicted is of interest on the basis that I could put a small vertical tank in the bus, fill it with cold water in the morning, let the power from a solar panel heat the water during the day and have hot water for an evening shower.

This all seems much preferable to pressure pumps etc. For the moment I have painted the existing bathroom vanity top. There's nothing to say I can't just put an ordinary plastic bowl and a straight, ordinary top instead. In fact, I would consider that to be far more hygienic!

As far as 120v power goes, I can't squeeze my breaker box into the space available. The new plan is to install the breaker panel in the rear storage closet with the input socket at the back, on the passenger side. The 120v 20A wires (all four) go in a conduit from the back of the bus to the front with the conduit riveted to the body skeleton (not the chassis).

The existing hatch the hillbillies built into the bus will be retained. A new battery compartment will be built that will house two 12v 105ah marine deep cycle batteries. These will power solely 12v equipment such as 120w 12v heating coil, fans and charging phones etc. Maybe a 12v cooler unit too.

Eric suggested a 12v fuse panel from a GM Astra but the guy in car parts store didn't have a clue. Maybe I'll have to visit a scrapyard when I next visit my parents in Britain and get a couple off scrapped Vauxhall Astras (same car, different country).

My diesel mechanic is still around so I might have him change my alternator belt and fix my rev counter. With luck, I might even get him to put in some trailer wiring and a tow hook. As I said to him, we'd have to wait until the hornets are asleep as there seems to be a nest under the bus.

Sunday, August 16, 2015

Disaster - the white paint ran out!

At 7pm with just about an hour before dark I'm not going to rush off to Walmart to bug more - not when I'll be right by Walmart tomorrow on my way to and from work!

I started the day, putzing around. The first thing I did was to scrape the frosting spray off the bathroom windows. It took a while and several razor blades but it's done. As the toilet, which I intended to paint, is currently sitting in front of the window it made sense to sit on it to scrape the frosting off. That was better done before painting. I have enough paint on my breeches.

After that I installed the catch plate for my cockpit door. I'd been unable to find it and had used a screw initially. Now it was found, it could be used. Needless to say, I had to space it off the frame with washers. None of my doors are a great fit but then as I keep telling you, I'm not a carpenter. If Jesus were here today, he'd surely roll his eyes at my woodwork! My woodwork is good enough for what I need.

The next thing was to retard one if my drawers. That was a task! I had to keep adjusting and now its 1/32 too low but it slides all the way back. Doing that, I found the bottom drawer also needs adjusting. I didn't do that though. That's a job for another day.

The saloon doors were next on the list. They were carefully given a coat of primer on both sides. Mostly I avoided putting primer on my paintwork. I'll have to touch up where I splashed primer accidentally though. Latex paint splashes are allegedly easy to clean up with a wet rag. That must be on some other planet though where it doesn't start to dry so quickly.

Having painted primer, I broke for lunch but not before taking a huge pile of wood offcuts and tint backing paper to the burn barrel ready for whenever. M'lady is getting restive about debris in her yard!

After lunch I painted the toilet. I'll have to return to that though since I had to paint around the seat. The lid seems stuck down. I might have to apply force to open it!

Following the toilet, most of the saloon doors were painted. The very edges didn't get paint but will later. The fronts were painted first.

Then the backs were painted. I must be some kind of sadist because it would be so much easier to paint them when they're horizontal!

Rather than painting the edges, my attention turned to the kitchen countertop. I'd screwed it down after attending to the top drawer. The bottom drawer needs a little adjustment but it's not bad enough to make it necessary. Seeing as how there was barely half a cup of paint in the pot, I simply poured if on the countertop and spread it around with the brush. By then it was getting pretty dark.

Finishing just before the light vanished, the paintbrush was plopped into a jar of water for later washing. I like that I can do that with latex paint. Tomorrow I shall buy more paint.

As of now, things remaining to do...
1. Finish painting the kitchenette countertop.
2. Finish painting the toilet.
3. Finish painting the saloon doors.
4. Put a protective sheet over the kitchen countertop.
5. Screw down and put a final coat of paint on the dinette countertop.
6. Put a protective sheet over the dinette countertop.
7. Finish putting up privacy film.
8. Put up the closet chain.
9. Touch up lots of areas.
10. Install the shower base mount.

Then it's all electrics and plumbing. I'll probably try to get the registration as a motorhome started before I do much with electrics or plumbing.

Sunday, August 9, 2015

Space - the final frontier

These are the voyages of the the good bus NSA 2011. Its five-year mission: to explore strange new places, to seek out new life and new civilizations, to boldly go where no Brit has gone before.

Well, I don't know about a 5 year mission but I do know I'm running out of space rapidly. After painting the green paint on the bathroom roof or rather, giving the roof a second coat, it was too soon to consider giving the lower wall a final coat of white as the green was not hard enough to take masking tape.

Clambering around the galley, I constantly tripped over pieces of molding. Thus, it was time to use them and use them I did. The first piece, I glued and nailed but it wasn't that great. The second, I just put the glue and nails away, drilled, countersunk and screwed it in place. Much more satisfactory and a load faster.

I noticed how warped some of my doors are and how off vertical some of my verticals are. All highly unsatisfying but they're good enough that nobody will notice and it'll all work just the same. The green paint could do with another coat in places but its not really enough to merit the time. I have until the 17th to have the bus ready. After that, woirk recommences and further construction will be relegated to weekends.

My biggest challenge right now is rehousing all my construction materials as its becoming somewhat challenging to find space to do anything. I've transferred my paint cans and long wood to the front closet but tools and supplies take up a lot of space.

In order to work in the bathroom, I'd moved the toilet to the bedroom and the shower base to the galley while the handbasin is in the cockpit. Moving two pieces of molding from the galley because I was falling over them to use them in the bedroom meant clambering over the toilet. It would be so nice to be able to do all this in a great big air conditioned garage where I could pile things ready for use!

I washed the somewhat mucky head protector from the emergency exit and replaced it after the paint had dried. There's now no Virgin Exit sign - they all left! http://schoolbushome.blogspot.com/2015/07/virgin-exit.html


I had a feeling I should be doing more painting and painted a cupboard door purple before deciding that my effort would be better employed marking where to put the drawer handles I bought last week at Ace. Thus, the drawers were marked and holes drilled. Now I can install knobs when I've finished the paintwork.

Tomorrow its probably going to be a good idea to paint the lower bathroom walls, washstand and some, if not all of the toilet. That way I can finish the bathroom then move all of the bathroom bits into place. That should give more room in the galley to work on the galley.

The batwing door hinge looks pretty straightforward. Looking at materials, I should have just about enough to complete the doors. They won't be a fancy shape - they'll be square but they'll be there!

I can see all the flaws in my workmanship and that makes me want to do better but honestly, I've done it just about as well as is reasonably practical given I need it completed by August 17th. Apparently I should be starting back to work about then.

Onwards and upwards! Completion is getting incredibly close. I look back to where I was just two weeks ago and progress has been little short of amazing!

Saturday, August 8, 2015

Painting yet again

Today started with giving the cockpit partition a second coat of blue paint followed an hour or so later by touching up the edges and corners. It now looks really good.

After that, the bathroom was cleared and plastic taped over the window that I'd tinted. Then green paint was applied. I quite like the green though it's more lurid than the color swatch said it would be.

Tomorrow the plan is to do a second coat of green paint in the bathroom then to do more tidying in the galley prior to doing the purple paint in the galley.

I still have a lot of white paint to apply but since the colors are above the whites, it makes sense to apply the colors first as then I can just paint over the splashes and drips.

It's quite exciting how close I am to finishing! I still have to put a shower base mount and to make my saloon doors but otherwise I'm almost done. After the painting which will probably take a few more days, I'll build the shower base mount and the saloon doors.

I have run out of suitable materials for the saloon doors, believe it or not! There are a few pieces of trim left to fit but that'll take a day at most as will the tinting. Another thing that needs to be done is the creation of a way of unlocking the front door from the outside. I have some ideas for that!

The ants from yesterday appeared to be dead in large numbers but there were survivors scurrying around so I closed the bus for the night and set off another bug bomb. I might have to keep doing this for a few days. The next thing I need to do is to spray all the crevices with bug killer.

Friday, August 7, 2015

Sherwin Williams horrible wrong color matching app

Being somewhat lazy, a few weeks ago, I used Sherwin Williams color matching app on my phone. To say the color doesn't even faintly match is very much of an understatement. It's kinda sorta the same blue but ten times darker than it should be. The app was trying to match the color of the paint Carpenter used on the inside. I used daylight and an open door to match the color. The paint was on the inside of the door and the door was swung wide open with sunlight directly illuminating the paint and the app still got it wrong.

The paint is very nice but way off the shade it should be. I'd have been better off using color swatches. Having bought the paint, which is non returnable, I used it. It's not right but it'll do.

So, aside from that, today I worked hard putting white paint on things. The bits missed by my roller inside my closet got painted. The underside and supports of the bedroom table were painted. The inside of the galley door was painted. By then there was so much fresh paint it wasn't really possible to do much more without waiting for paint to dry.

Having been indoors for a while cooling off, painting was resumed. The vertical beam of the table had the other two faces painted an the latest cupboard door was painted on the inside. Having compketed that, the accursed blue paint was put on the front of the front partition.

Returning after yet another break while the blue dried, the bedroom table was installed in its correct position. It's not really level and the column isn't quite vertical but neither are that far off.

It needs a coat of white paint on the top but it looks pretty good. As usual, the screws were problematic to put through the floor but it worked in the end.

In other news, I found I have a lot of tiny black ants scurrying around inside. From reading, its unlikely that they're termites or Carpenter ants. Mind, since the majority of my wood is treated, I'm puzzled as to why they're there. Still, I let a bug bomb off and closed the bus. If they're not all dead by the time I open the bus tomorrow, I'll be surprised. I'm prepared to have to do two or three treatments in order to nail offspring. Worst case scenario, I have to go and spray every crevice with bug spray.

Wednesday, August 5, 2015

More painting amid thunderstorms!

As I'm not doing anything electrical with circular saws, angle grinders, power sanders or power drills, the fact rain was falling didn't matter a tiddlers winkle. In fact,it was cooler with the rain falling if not comfortable inside the bus.

The first thing done today was to finish priming everything. The front closet had the areas untouched by the roller primed. Then the drawers had the final bits of primer then the toilet was mostly primed. Some areas are just very tricky to reach with a brush. That'll take some determined contortions!

After the priming was completed (bar the tricky bits of the toilet), the closet had a coat of topcoat. That'll need work with a brush tomorrow. After that the front partition might get a coat of blue paint. During that process it might be as well to paint the floor. Now that should be black to match the existing floor but by the time it's been walked on a few times, it'll turn black

Yesterday there was no blog entry. This was due to work commitments, an after work meeting and some shopping. Ace Hardware had a bargain bin that had brass drawer knobs. They look the same but there are in fact two varieties. One is fractionally larger. At less than half price it was impossible to resist the temptation. While there, a fire extinguisher caught my eye. As there's a plan to have six - two in each compartment, it seemed a good time to pick one up.

The one purchased yesterday claims to work with electrics and flammible liquids. That sounds like it should be good for engines, batteries and kitchens.

The bus came with one. It seems to be OK but with extinguishers its not possible to have too many. I'm not really sure which extinguishers are best so I'm fumbling around in the dark.

Monday, August 3, 2015

No pictures but a lot of work

Today got off to a late start but start I did. Going to the bus with the intention of doing something simple - putting green paint in the bathroom - I found as usual that I ended up doing something totally different.

Wanting to get the bedroom table done and out of the way, priming was the obvious thing to do. As the cockpit, closet, drawers and toilet needed priming also, I started in the cockpit. The closet was a bit rushed because it was hot leaning in there so there are gaps. I'll fix those anothger day.

The cockpit walls are well primed though perhaps I should also have primed the floor since it is bare plywood. After the cockpit I moved on and primed some of the toilet before printing the beam in the bedroom and the underside of the table.

Needless to say, as it was over 100F in the bus, I did take several breaks. At one point I had to add water to the paint to thin it as it was getting thick in the heat. I continued on and primed most faces of the drawers and the topside of the table. The new cupboard door saw primer too.

By the time the last drawer had received paint, the light was beginning to fade. I popped the brush in a can of water to keep it soft and left, admiring the fact the cockpit now looks a load better.

Tomorrow is a shopping day. I need solely bolts to lock the drawers shut. I might also get more brushes and rollers. I know I have several brushes but it was all I could do today to find just one!

Of one thing I am certain - the way I'm rip-roaring along, the bus will be painted by the end of the week. Meanwhile, some weeks ago, I glued two pieces of PVC plank together. Looking at it today, that joint is now rock solid. I know exactly what I'm going to build my shower base mount out of! Yup - PVC planks glued together and glued to my PVC floor!

Sunday, August 2, 2015

Taking stock of what can be done

Today was a day when nothing much was done. The sum total of today's effort was to install two looks on cupboard doors, make a video and implement the final solution to the toilet problem.

Interspersed with that were requests from m'lady to feed the chickens since they had apparently not been fed and to make trips to the dump with 3 months of household garbage that should have been taken weekly. Kinda smelly!

The cupboard door catches can be a little iffy. I've had them undo themselves when I thump the doors. That might or might not be an issue. If it is, well, I'll face that when and if it occurs. They're probably not the best latches but were what I could get. Having these latches now makes me wonder whether it's even worth putting handles on the doors. If I can avoid that then I can save some money. The drawers need knobs. Knobs are better than handles because they need just one hole. So much easier to draw a line from each corner and drill a single hole where the lines intersect!

The toilet had a problem. The way I'd put the lid meant the whole lid had to be lifted. Given that the lid raising is blocked by the emergency exit door handle, I couldn't be opening that door all the time. Thus, the solution was to cut the lid in two and have two separately hinged sections. The toilet side is easy to lift. The grit bucket side has a hatch to use to get grit. Should that side absolutely need to be opened then I have no problem opening the door or moving the toilet to do so now there's no risk of tipping the slop bucket.

Tomorrow has to be a painting day. Aside from electrics, plumbing and putting knobs on drawers, its time to paint. That means masking tape, rollers, brushes and old clothes! The area requiring attention is the cockpit (primer paint), bedroom table (primer), bathroom (green), dinette (purple). The dinette will be left til last because its full of supplies.

Thinking of electrics, it makes sense to have a 50 Amp socket outside and 3 or 4 sockets at 15 A inside. I can't imagine needing more than 3 sockets. Microwave, fridge and another appliance. I'll see if I can get switched sockets so I can switch unneeded stuff off. No point having the microwave burning up power displaying that silly little clock!

Sunday, July 19, 2015

I'm not an expert

Definitely not an expert at putting on window privacy film! Having said that, it doesn't really matter how it looks from the outside as long as people can't see in easily. I think I'm going to have to order more because the roll is too narrow do do my side windows width wise and too narrow to cut in two and do length wise over two windows. In other words, there's a lot of waste. It's also not going on all that well. It's crinkly and very hard to separate from the backing film so its going on with crinkles and air pockets no matter what I try.

Some would say that I should produce money from my imaginary cornucopia to pay somebody to do it. I say, its an old bus. It's only ever going to be an old bus. It doesn't matter as long as it gives me privacy!

From the inside it really doesn't look too bad. I did another window and then darkness fell together with torrential rain and a thunderstorm. That put an end to work for today. I returned to the house, drenched in sweat because though it was cool outside, it was hot inside the bus.

It's clear to see the difference privacy film has made to the bedroom. It's also freeing my sheet of hardboard that I'd had over the windows for privacy. I'll have to see how long this film lasts before fading.

The paint in the bathroom is dry and today I attacked the cockpit, putting up the last metal sheet and caulking gaps in the closet. I also tidied the cockpit and swept out a lot of sawdust. Everything in there needs a good wipe down with a wet rag and I mean everything. Drivers seat, controls, floor, walls, dashboard etc.

Without a shadow of a doubt I'm rapidly coming toward the end of internal construction! I can't wait to take her out to get her registered as a motor home!

For the first time in 2 months I started the engine. It started in around two seconds! For the first time in 4 months I moved the bus. As the front has single wheels, they tend to sink into the ground so I backed her up, turned the wheel and drove her forward. It appeared she'd sunk 1.5 inches into the ground.

I had a look at changin over the alternator belt but wasn't sure how to so I didn't try. Closing the hood, I felt something prick my arm, looked down and saw a big black fly. I shook my arm and it flew away, leaving me with a puncture mark and a sore arm. There's probably a hornets nest somewhere. I noticed several dead hornets in the cockpit. I'll bet they're either in the air ducts or underneath the bus.

While it rained, I noted I have a leak from one of the windows that I moved. Not a big leak but one that I'll look into tomorrow. The cockpit leak isn't bad since I taped a bag over the roof vent.

Tomorrow? More of the same... Cleaning and window tinting.

Saturday, July 18, 2015

Air conditioning!

It would be lovely to be able to work in a well lit air conditioned garage or bus. Just think how much more work I'd be able to get done in a day. Today, for a long time, I was working clearing stuff from the bathroom which during construction became the general storing and dumping ground.

Amidst all the clearing, I found a soda can full of some strange beverage. I took a break and hurled the thing at the ground, up in the air but all it did was bulge. Not terribly exciting. Then I sought out my old air pistol to shoot it with. I know I had a ton of boxes of pellets but could I find any? Heck, no. That was disappointing.

I swept the floor, noting that the grain side of the plastic planks which was uppermost and which seemed to offer more grip, trapped dirt in the grain. Perhaps I should have put them in, flat side up.

Then I took a break and located another hard brush. This I used to paint the other side of the steel I cut and painted yesterday. I decided i might install that later should the paint be dry enough.

If I was starting the bus from scratch, I'd probably have been better getting one with seats rather than working with an already converted bus. I'd also have taken a different direction in the light of things learned. As the seat back contains a decent sheet of steel, those would have been used to replace unneeded windows.

After sweeping, I sprayed the silver side of the OSB with water then wiped the dust off. I hope this means I won't get a repeat of the experience I had some days ago when a sheet of latex paint just peeled off. Again, if I was starting from scratch, I think I'd have been better off just using ordinary OSB rather than this silver coated thermal stuff. Then I caulked the gaps with llatex caulk for a change.

The next thing was painting. Thank the Lord I had two roller handles because the first one disintegrated, trying to remove the roller. I looked at my roller tray and simply peeled the hardened latex paint out of it. That doesn't exactly fill me with confidence in latex paint!

Painting seemed to take forever as I slowly broiled in my tin oven in the midday sun. Eventually I had covered everything I could reach with a roller. The next thing is to try to get the corners I missed, with a brush.

The skies darkened and thunder began to roll. That pretty much was the end of that for today. Tomorrow I need to touch up what I did today. This is just primer so it doesn't have to be perfect. It just has to cover everything.

Tomorrow, assuming the storm abates, I might start cleaning the cockpit and possibly put primer on. As part of that I might also put the metal sheet on and put insulation behind it. I'm definitely getting to the point of needing blue and green paints for the respective areas.

With all the stuff moved into the dinette, there's little space left. Any more wood cutting and trimming will have to be done outside the bus because of dirt and dust.

The mixing tub that will become my shower base is a little taller than my PVC plank is wide. I had thought of putting the tub in a box made of PVC plank. I'll have to rethink that now. I want to keep wood, steel and water separate for obvious reasons though I'm wondering whether wood might be the answer with wide planks being available fairly cheaply.

No picture today. The storm was upon me before I had a chance to take one. Now it's as dark as midnight despite being but 8pm!

Thursday, July 9, 2015

Hot stuff or how to cut a curve

Today was pretty warm on the bus. The thermometer rose to an interesting 120F as measured out of direct sun, in the dinette. Fortunately,most of the day was spent attending to other matters though I did get time to complete my closet wall. The closet door might be next on the agenda together with priming the closet.

The first thing I did was to carry on from yesterday when I cut a board slightly wider than the closet wall and the same height as the gap (14.25 inches high). I secured the newly cut board to the 2x4 beam installed yesterday to bridge the gap. Then hanging a ruler at 1 inch intervals and marking off 14.25 inches each time, I marked out a curve parallel to the roof. I had to make sure the board was level. Fortunately, I'm pretty sure the bus is level.

After cutting the board, joining the dots with a straight hand saw, the curve was pretty close. A few minutes with a power sander in between trying it in place got the board to the closest match to the roof that I've ever achieved. I'll defy any air molecule to squeeze between the ceiling and the board!

That as a point of interest was the 9th curve I've cut. I never bothered with a template for two reasons. The first is that I don't trust Carpenter's workmanship to be that consistent. The second is that each partition is a different width.

Aside from the closet door, I have drawers and doors to make for the dinette, a table for the bedroom then a toilet and handbasin stand for the bathroom. Then it's pretty much just painting. Electrics and plumbing are simple tasks.

Monday, June 29, 2015

Massive strides, bigger than the small step!


Today was a continuation of yesterday. I completed the cutting, shaping and installation of the metal sheeting on both sides of the bus. I'll have to do another two, smaller sheets on the other side of the partition. I also completed the last piece of the infilling under the seat rail in the bathroom.

Again I wore out a cutting disk on my angle grinder. With luck, I won't have to buy more cutting wheels but knowing me, I probably will. They're not expensive but it costs probably about as much in fuel to drive to the store to get them as they cost.

I filled in the large gap where the bathroom wall doesn't quite meet the support. I partly did that yesterday with the quarter round. Today I filled in from the other side with wood filler. Now it looks far better.

Painting is a task that's coming up. The aisle is filled with lumber so I sat and had a little think. Then I went to the bedroom and studied where I want the end partition and desk. Looking at it, putting a solid partition will be nothing short of awkward. Thus I'm now thinking of installing a fairly lightweight desk. I won't be able to sit on the desk! I'll also install a curtain. This will have the advantage that I'll be able to put my phone down on the desk and pick it up from the desk without getting out of bed! Thinking further, the partition could well be a bead curtain.

Studying the wood problem further, I realised that I need to build the toilet and handbasin mount. Those can both be built using 2x2 and OSB. No need for ultimate strength. I had some surplus 2x4 taking up space so I started work on the front closet. That'll use up most of my surplus OSB and 2x4. That should give me room to paint!

After the closet is done and the bedroom desk, it'll be time to paint and do the bathroom. There is a plan for extra cupboards in the kitchenette/dinette but I think that the focus is now on getting the bus ready to register as a motorhome. Extra cupboards can be added later!

Once the second set of metal sheets are installed, I'll have to inject foam insulation. Believe it or not but I'm out of great stuff again! I'm out of Styrofoam but I have enough bits to make a reduction in the great stuff I'll need to inject.

I had a go at installing the catch on the cockpit door. Massive fail! My 1/2 inch drill was too small! I remeasured the lock with a micrometer and its 16.2mm. That's somewhere between 1/2 and 3/4 inch. I'll have to get a bigger drill bit.

Tomorrow will probably be a lost day because I should be doing my voluntary work. It's a crack of dawn start. I might couple it with a trip to harbor Freight. It's so nice to finally feel I'm getting somewhere!