Thinking more about water tanks, it makes sense to use purpose built fresh water tanks as opposed to repurposed tanks. The bigger they are, the more costly they are - whoever said building an RV is cheap?
I measured before but had forgotten why I wanted smaller tanks. Others use the big 55 gallon tanks but after having measured the depth of the skirt as being 14 inches between the bottom of the body ribs and the bottom of the skirt, it became obvious that if I want things not to be vulgarly on display them they cannot be deeper than 14 inches. There's just no reason why anybody should look at my bus and see it not as a bus.
There are 15 gallon drums available at $40 each new. If they're more than $10 secondhand, they're not worth having. Looking on eBay at RV water tanks, they're not that expensive. A 40 gallon grey tank is $130 + $43 shipping. I'd need 3 blue drums of 15 gallons each to match that. That sounds very possible and the lower the price, the better they are.
Out of curiosity I paused at an RV store and priced white water tanks. Some of the prices were a little eye watering.

Online, via eBay, the prices are a lot lower but shipping is the killer, adding a lot to the cost. Thus, I had a look at a scrapyard at secondhand beer barrels. They're stainless steel but the good ones go like greased lightning. Those that they had, had bullet holes in them (it IS America and Americans put bullet holes in everything given half a chance). While the holes could easily be plugged, the problem is the lead fragments inside the barrel plus contaminants that had crept in through the holes.
The next thing I looked at was coolers, bearing in mind the idea that coolers could hold warm water too. I took measurements and thought while I was doing so of using plastic storage boxes for water. The lids could be sealed with inlet and outlet put through the lid. Clearly they'd need support from the bottom, sides and ends to stop them collapsing but that's a possibility.
RV water tanks are neat but as they're rectangular and have no visible method of attachment could be interesting to mount. In an emergency, a plastic tote sitting inside the vehicle with rope and wooden slats tied to it could be used.
Following that, I had a look for plastic 15 gallon barrels for waste water. I found a sign with some samples but could not locate the place selling them. Whichever way I went looked the wrong way so I gave up on it.
Fortunately the weekend is not a dead loss. I did get another fire extinguisher and some velcro to hold up some shower curtains over the bathroom windows. Predictably I forgot to get the shower curtain. I'll have to have another go at getting the barrels. They're only for waste water so it's not important what was in them as long as it wasn't something like pure sodium!
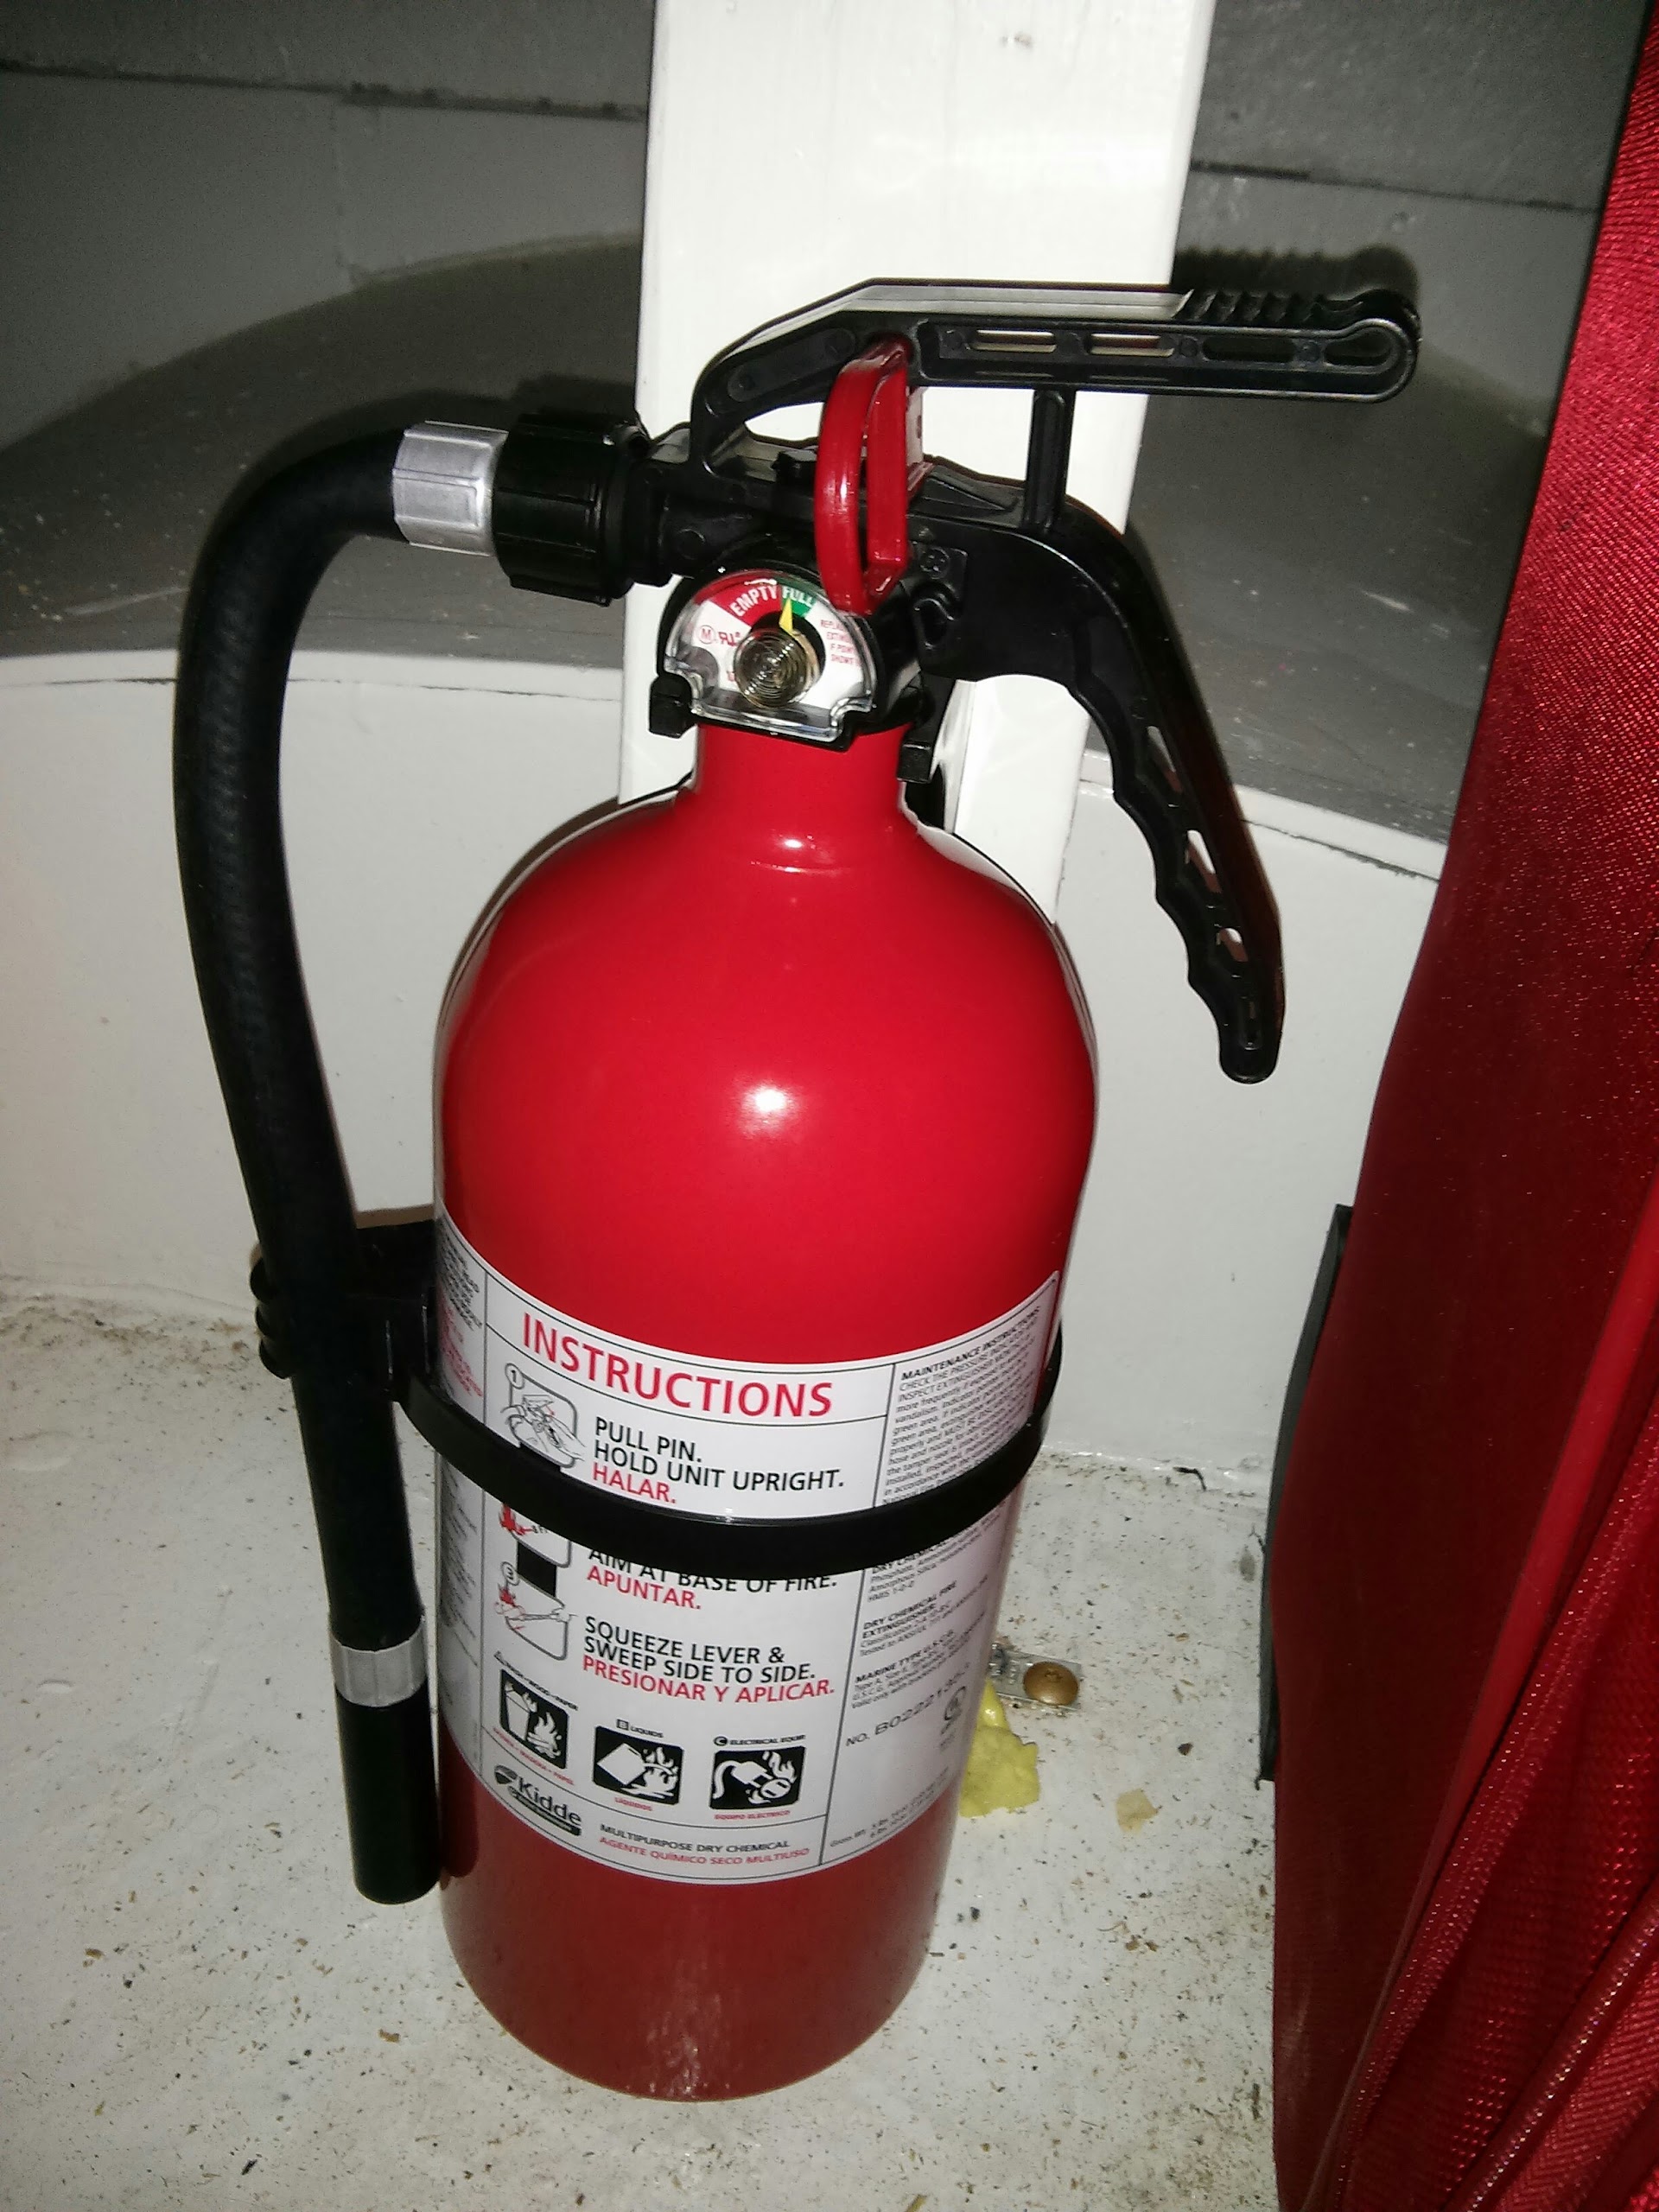
The first thing done inside the bus today was to install a new fire extinguisher. This means I have three, two installed by myself. This one being a little larger went into the bedroom.

The next thing was to install the cutlery tray in the cutlery drawer. The tray was wider than the drawer so the edges had to be cut off the tray. In the end, it fitted nicely.

In order to install the shower base, it appears I need a 1.5" hole saw for the outflow. As I don't have one, that means a trip to Lowe's. It also means having to go underneath the bus to locate a good spot to put a 1.5" hole.
A suggestion was made that if the water tank was generated from 3" PVC piping, that could be an economic solution. On the whole, it does look interesting. Indeed tubing would be easy to bundle and hold together with steel straps and easy to sling under the bus. To carry 50 gallons at 0.36 gallons per foot, it'd take 138 feet of piping but in 5 foot lengths, that'd be 27 lengths. Laid with reducing numbers of pipes 7 - 6 - 5 - 4 - 3 - 2 - 1 would get the job done. The cost though works out at $12 per 10 foot section or 14 x $12 which works out at $170 which is pretty expensive!
Meanwhile, I realised that if I'm at an RV park, I can just plumb straight in for white and grey water with no need for tanks. Despite all that, I plugged on with the shower base mount. One end is now completed. The other I'll complete tomorrow.

As I did that, my eye alighted on the cooler I bought a few weeks ago. It's only 3 gallon but could hold enough hot water for a good all over wash.

I looked at the old fridge that was in the original motorhome conversion and would have plugged it in in order to test it. I didn't though as it was in a tricky place to access.
Having got this far, I've been thinking about some way of keeping my plates, dishes etc from rattling against each other in the drawers. I'm low on wooden dowels so I'll probably have to get some. The idea is to build a dish rack into the drawers. Perhaps one might be available to buy which would simplify things a lot!
I measured before but had forgotten why I wanted smaller tanks. Others use the big 55 gallon tanks but after having measured the depth of the skirt as being 14 inches between the bottom of the body ribs and the bottom of the skirt, it became obvious that if I want things not to be vulgarly on display them they cannot be deeper than 14 inches. There's just no reason why anybody should look at my bus and see it not as a bus.
There are 15 gallon drums available at $40 each new. If they're more than $10 secondhand, they're not worth having. Looking on eBay at RV water tanks, they're not that expensive. A 40 gallon grey tank is $130 + $43 shipping. I'd need 3 blue drums of 15 gallons each to match that. That sounds very possible and the lower the price, the better they are.
Out of curiosity I paused at an RV store and priced white water tanks. Some of the prices were a little eye watering.

Online, via eBay, the prices are a lot lower but shipping is the killer, adding a lot to the cost. Thus, I had a look at a scrapyard at secondhand beer barrels. They're stainless steel but the good ones go like greased lightning. Those that they had, had bullet holes in them (it IS America and Americans put bullet holes in everything given half a chance). While the holes could easily be plugged, the problem is the lead fragments inside the barrel plus contaminants that had crept in through the holes.
The next thing I looked at was coolers, bearing in mind the idea that coolers could hold warm water too. I took measurements and thought while I was doing so of using plastic storage boxes for water. The lids could be sealed with inlet and outlet put through the lid. Clearly they'd need support from the bottom, sides and ends to stop them collapsing but that's a possibility.
RV water tanks are neat but as they're rectangular and have no visible method of attachment could be interesting to mount. In an emergency, a plastic tote sitting inside the vehicle with rope and wooden slats tied to it could be used.
Following that, I had a look for plastic 15 gallon barrels for waste water. I found a sign with some samples but could not locate the place selling them. Whichever way I went looked the wrong way so I gave up on it.
Fortunately the weekend is not a dead loss. I did get another fire extinguisher and some velcro to hold up some shower curtains over the bathroom windows. Predictably I forgot to get the shower curtain. I'll have to have another go at getting the barrels. They're only for waste water so it's not important what was in them as long as it wasn't something like pure sodium!
The first thing done inside the bus today was to install a new fire extinguisher. This means I have three, two installed by myself. This one being a little larger went into the bedroom.
The next thing was to install the cutlery tray in the cutlery drawer. The tray was wider than the drawer so the edges had to be cut off the tray. In the end, it fitted nicely.

In order to install the shower base, it appears I need a 1.5" hole saw for the outflow. As I don't have one, that means a trip to Lowe's. It also means having to go underneath the bus to locate a good spot to put a 1.5" hole.
A suggestion was made that if the water tank was generated from 3" PVC piping, that could be an economic solution. On the whole, it does look interesting. Indeed tubing would be easy to bundle and hold together with steel straps and easy to sling under the bus. To carry 50 gallons at 0.36 gallons per foot, it'd take 138 feet of piping but in 5 foot lengths, that'd be 27 lengths. Laid with reducing numbers of pipes 7 - 6 - 5 - 4 - 3 - 2 - 1 would get the job done. The cost though works out at $12 per 10 foot section or 14 x $12 which works out at $170 which is pretty expensive!
Meanwhile, I realised that if I'm at an RV park, I can just plumb straight in for white and grey water with no need for tanks. Despite all that, I plugged on with the shower base mount. One end is now completed. The other I'll complete tomorrow.

As I did that, my eye alighted on the cooler I bought a few weeks ago. It's only 3 gallon but could hold enough hot water for a good all over wash.

I looked at the old fridge that was in the original motorhome conversion and would have plugged it in in order to test it. I didn't though as it was in a tricky place to access.
Having got this far, I've been thinking about some way of keeping my plates, dishes etc from rattling against each other in the drawers. I'm low on wooden dowels so I'll probably have to get some. The idea is to build a dish rack into the drawers. Perhaps one might be available to buy which would simplify things a lot!


