Today as yesterday, the major problem was rain showers. Even with my wonderful LED lantern, it was hard to see to work. The plan for the weekend was perhaps a little ambitious. The intent was to:
1. Finish painting the countertops
2. Install the shower base.
3. Complete the window tinting.
4. Install the closet chain.
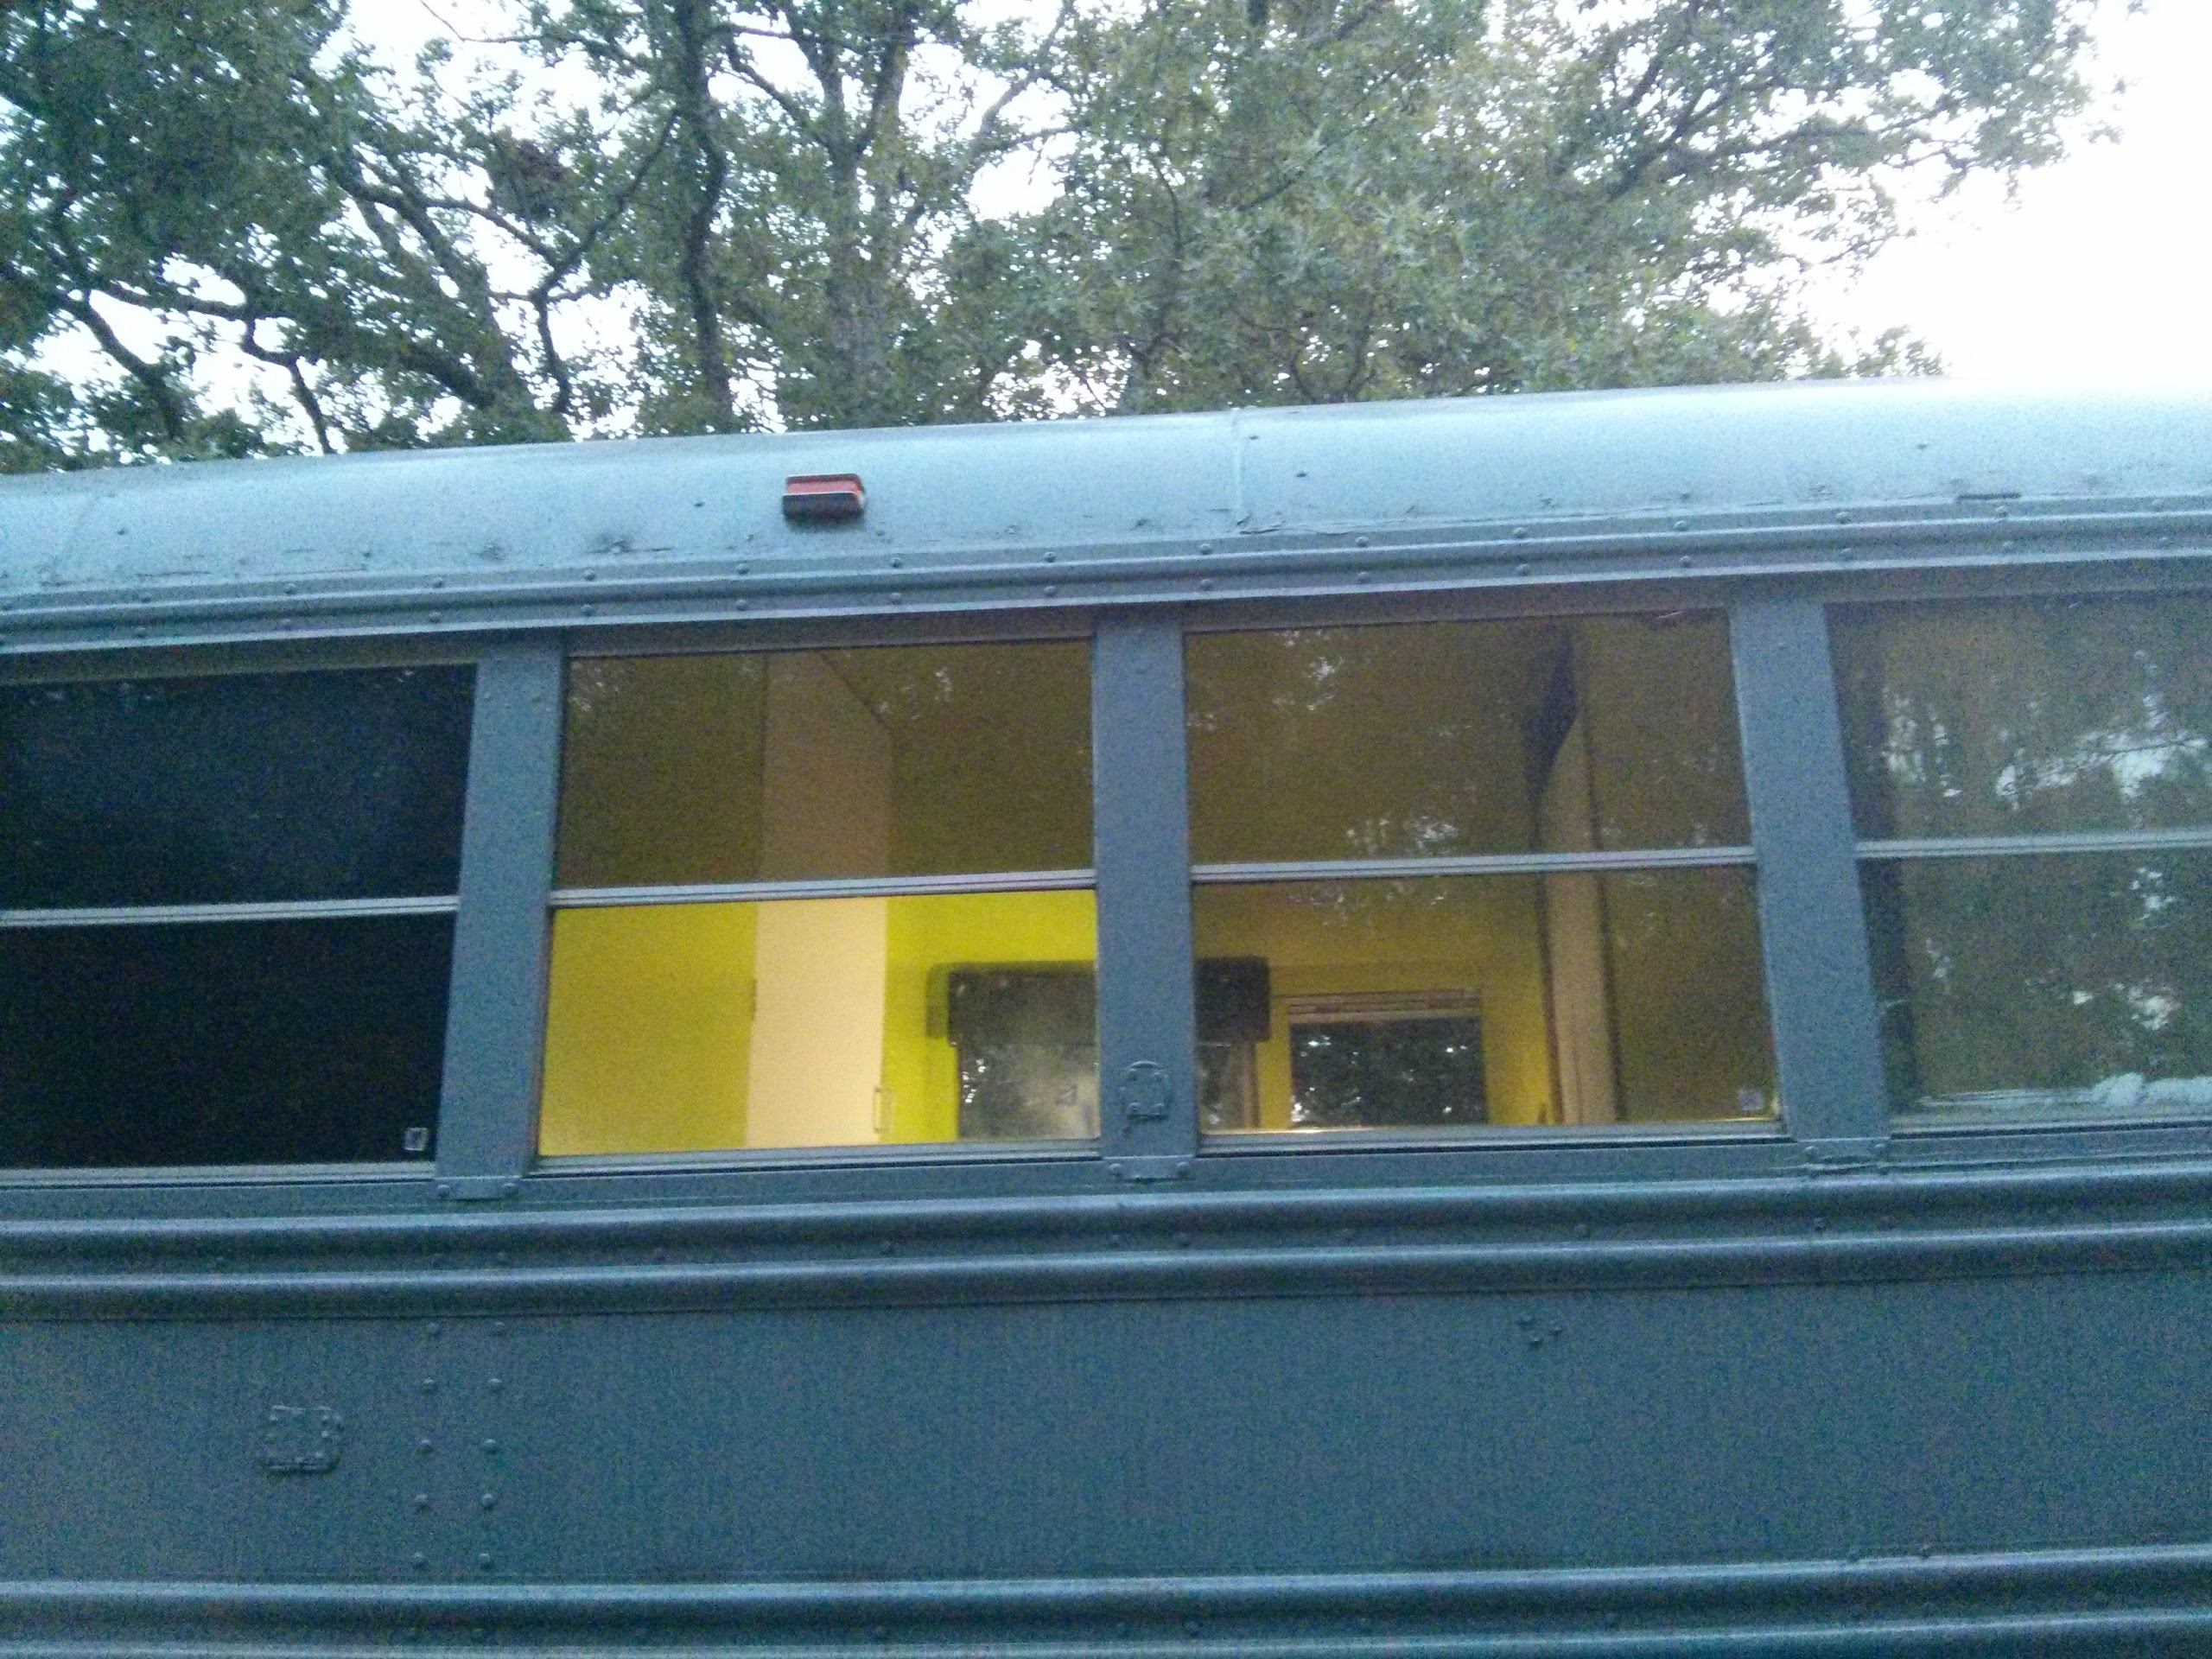
The countertops never were completed. One was as was the bathroom vanity. Only one countertop was screwed down. All the windows were tinted and now look fantastic!


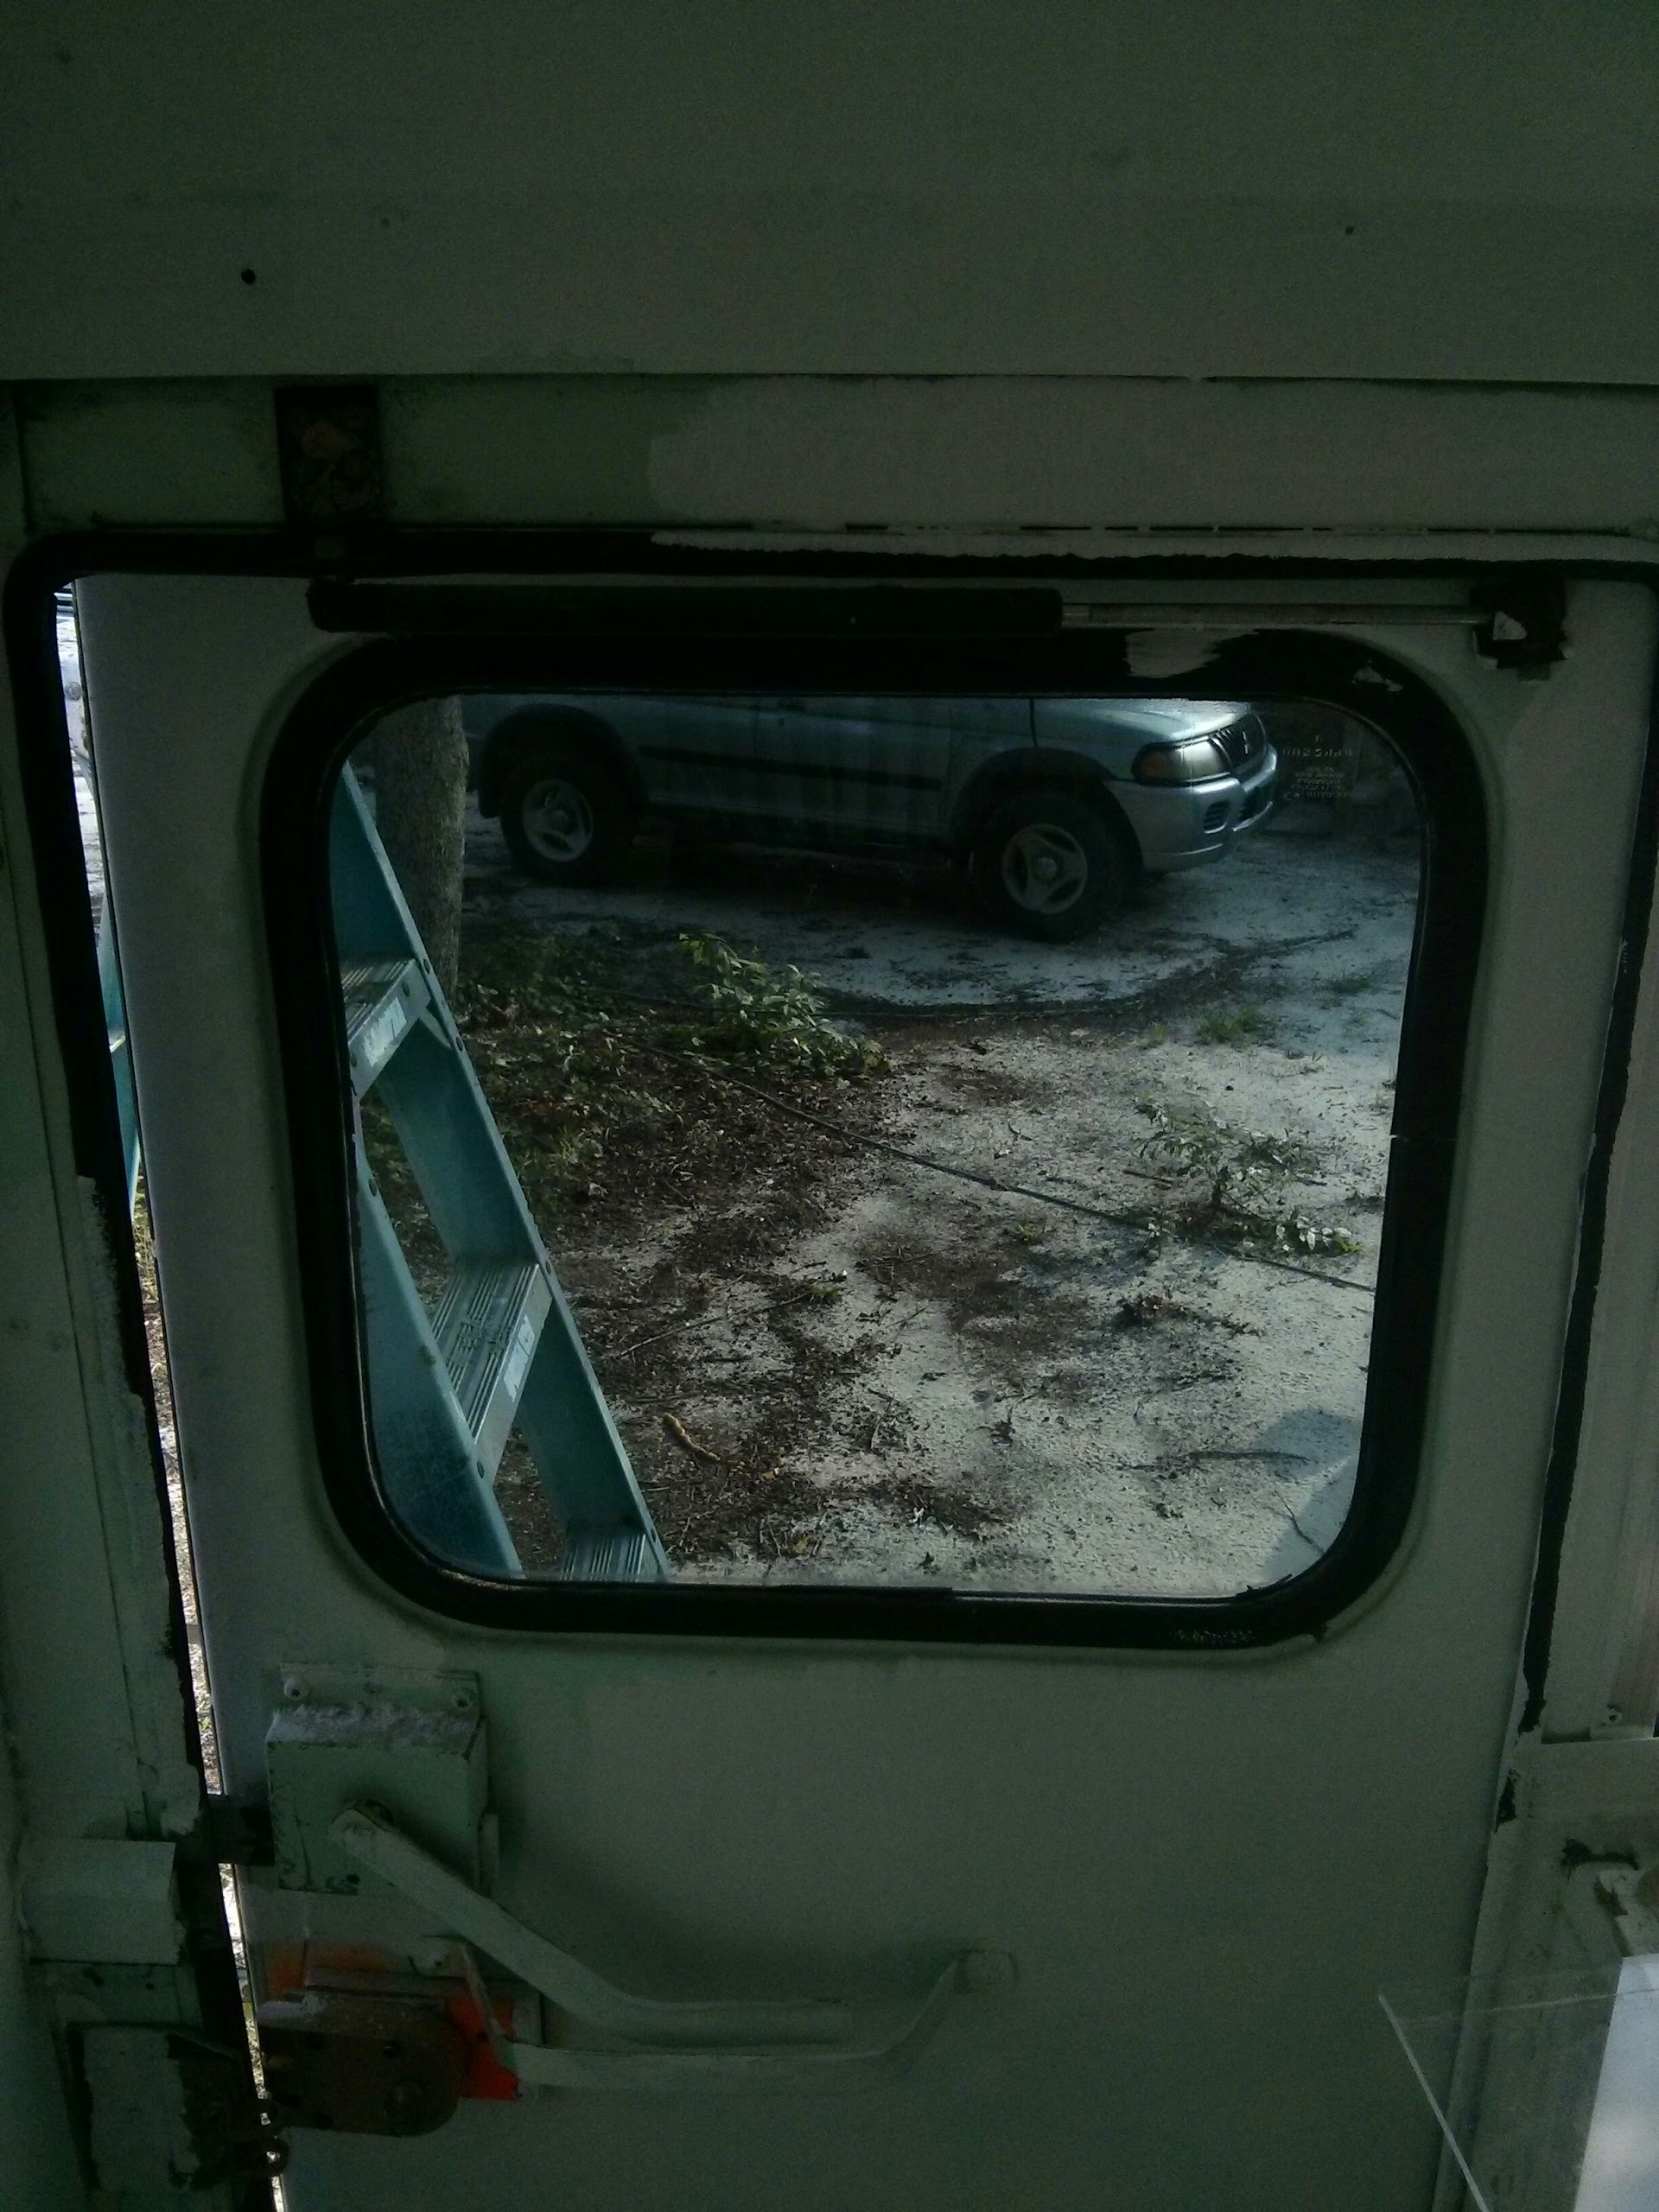
The batwing doors had a second coat of white on the edges. I'll still have to touch up areas where I screwed up with the white but that's small stuff.
One of the small plans had been to paint the wood floor inside the cockpit black to match the existing floor. It just smartens things up a little. I'd bought a small pot of black paint to do this but as I tidied the countertop a little, I found a bigger pot so I used it to paint the cockpit floor. It might need a second coat. That seems to be the way of things but it's beginning to look quite tidy.

That, of course, has to dry thoroughly before I dare walk on it. It's Rustoleum black anti rust paint but it should work and be more durable than my white latex paint. Inside the galley I had put a coat of latex primer. I'm not sure whether to put a latex top coat and just lay a black vinyl mat over it as I have in the bedroom or what. I suspect the mat will be the cheapest and most durable option.

After that, I had a look at my hand basin for the bathroom. The mixer tap is quite low so it looks very much as though it's not really suitable to fill jugs, bowls or kettles. That'll have to be done elsewhere. I did check on a spare mixer assembly lying in the yard but the holes were further apart. I'm still of the opinion that hot and cold water tanks might be barking up the wrong tree and that I might be far better off with a single hand pump, a bucket and a kettle full of hot water. If my ancestors could do it then so can I!
My thought is that simple is usually best. One drain for waste water, one source for fresh water. Here's my latest idea. Under the bus I have several 15 gallon water tanks, plumbed together for fresh water and another set for waste water. I choose 15 gallon because they can't be seen underneath the bus skirt.
Rather than having an electric pump to pump water, I have a hand pump. This eliminates problems with power supplies etc. Having just one water source eliminates many sources of potential leakage too. Having a suction pump eliminates wastage through leaking pressure seals and the big bonus - its cheaper!

The water can go into a bucket from which it can be used directly or even pumped straight into a kettle. Once in a kettle, it can be heated either electrically in an electric kettle or over a fire as a camp kettle. I could even connect a 120v bucket heater to heat it when the bus is connected to the mains or via a 12v heater such as this.

Once the water is heated to an appropriate temperature, it can be used straight from the bucket or via a shower attachment such as this.

Of course, its important to realise that as with a house, every option can be changed, improved upon or developed before or after implementation. With a drop-in heated element (the one depicted is for a static hot water tank), either a 12v or a 120v element could be used.
The element depicted is of interest on the basis that I could put a small vertical tank in the bus, fill it with cold water in the morning, let the power from a solar panel heat the water during the day and have hot water for an evening shower.
This all seems much preferable to pressure pumps etc. For the moment I have painted the existing bathroom vanity top. There's nothing to say I can't just put an ordinary plastic bowl and a straight, ordinary top instead. In fact, I would consider that to be far more hygienic!
As far as 120v power goes, I can't squeeze my breaker box into the space available. The new plan is to install the breaker panel in the rear storage closet with the input socket at the back, on the passenger side. The 120v 20A wires (all four) go in a conduit from the back of the bus to the front with the conduit riveted to the body skeleton (not the chassis).
The existing hatch the hillbillies built into the bus will be retained. A new battery compartment will be built that will house two 12v 105ah marine deep cycle batteries. These will power solely 12v equipment such as 120w 12v heating coil, fans and charging phones etc. Maybe a 12v cooler unit too.
Eric suggested a 12v fuse panel from a GM Astra but the guy in car parts store didn't have a clue. Maybe I'll have to visit a scrapyard when I next visit my parents in Britain and get a couple off scrapped Vauxhall Astras (same car, different country).
My diesel mechanic is still around so I might have him change my alternator belt and fix my rev counter. With luck, I might even get him to put in some trailer wiring and a tow hook. As I said to him, we'd have to wait until the hornets are asleep as there seems to be a nest under the bus.
1. Finish painting the countertops
2. Install the shower base.
3. Complete the window tinting.
4. Install the closet chain.
The countertops never were completed. One was as was the bathroom vanity. Only one countertop was screwed down. All the windows were tinted and now look fantastic!


The batwing doors had a second coat of white on the edges. I'll still have to touch up areas where I screwed up with the white but that's small stuff.
One of the small plans had been to paint the wood floor inside the cockpit black to match the existing floor. It just smartens things up a little. I'd bought a small pot of black paint to do this but as I tidied the countertop a little, I found a bigger pot so I used it to paint the cockpit floor. It might need a second coat. That seems to be the way of things but it's beginning to look quite tidy.

That, of course, has to dry thoroughly before I dare walk on it. It's Rustoleum black anti rust paint but it should work and be more durable than my white latex paint. Inside the galley I had put a coat of latex primer. I'm not sure whether to put a latex top coat and just lay a black vinyl mat over it as I have in the bedroom or what. I suspect the mat will be the cheapest and most durable option.

After that, I had a look at my hand basin for the bathroom. The mixer tap is quite low so it looks very much as though it's not really suitable to fill jugs, bowls or kettles. That'll have to be done elsewhere. I did check on a spare mixer assembly lying in the yard but the holes were further apart. I'm still of the opinion that hot and cold water tanks might be barking up the wrong tree and that I might be far better off with a single hand pump, a bucket and a kettle full of hot water. If my ancestors could do it then so can I!
My thought is that simple is usually best. One drain for waste water, one source for fresh water. Here's my latest idea. Under the bus I have several 15 gallon water tanks, plumbed together for fresh water and another set for waste water. I choose 15 gallon because they can't be seen underneath the bus skirt.
Rather than having an electric pump to pump water, I have a hand pump. This eliminates problems with power supplies etc. Having just one water source eliminates many sources of potential leakage too. Having a suction pump eliminates wastage through leaking pressure seals and the big bonus - its cheaper!

The water can go into a bucket from which it can be used directly or even pumped straight into a kettle. Once in a kettle, it can be heated either electrically in an electric kettle or over a fire as a camp kettle. I could even connect a 120v bucket heater to heat it when the bus is connected to the mains or via a 12v heater such as this.

Once the water is heated to an appropriate temperature, it can be used straight from the bucket or via a shower attachment such as this.

Of course, its important to realise that as with a house, every option can be changed, improved upon or developed before or after implementation. With a drop-in heated element (the one depicted is for a static hot water tank), either a 12v or a 120v element could be used.
The element depicted is of interest on the basis that I could put a small vertical tank in the bus, fill it with cold water in the morning, let the power from a solar panel heat the water during the day and have hot water for an evening shower.
This all seems much preferable to pressure pumps etc. For the moment I have painted the existing bathroom vanity top. There's nothing to say I can't just put an ordinary plastic bowl and a straight, ordinary top instead. In fact, I would consider that to be far more hygienic!
As far as 120v power goes, I can't squeeze my breaker box into the space available. The new plan is to install the breaker panel in the rear storage closet with the input socket at the back, on the passenger side. The 120v 20A wires (all four) go in a conduit from the back of the bus to the front with the conduit riveted to the body skeleton (not the chassis).
The existing hatch the hillbillies built into the bus will be retained. A new battery compartment will be built that will house two 12v 105ah marine deep cycle batteries. These will power solely 12v equipment such as 120w 12v heating coil, fans and charging phones etc. Maybe a 12v cooler unit too.
Eric suggested a 12v fuse panel from a GM Astra but the guy in car parts store didn't have a clue. Maybe I'll have to visit a scrapyard when I next visit my parents in Britain and get a couple off scrapped Vauxhall Astras (same car, different country).
My diesel mechanic is still around so I might have him change my alternator belt and fix my rev counter. With luck, I might even get him to put in some trailer wiring and a tow hook. As I said to him, we'd have to wait until the hornets are asleep as there seems to be a nest under the bus.