Showing posts with label screw. Show all posts

Tuesday, March 1, 2016

Let there be a place to stick it!


There is a photo of progess so far. The power inlet cover is in place. The grey doesn't match the grey of the bus but there is something I have in my possession that will resolve this - a paintbrush and a pot of paint. "A paintbrush" I hear you exclaim! Well, yes - a paintbrush - because spray cans contain so little actual paint and I have at least 3 or 4 lying around that represent about $20 - $30 of money wasted because the nozzzles won't allow paint out. Even switching nozzles has no perceivable effect. Spray cans are handy for quick touch-ups but only as long as you can use the entire can in one session. A paintbrush and a pot of paint is far less sexy but works far better and costs far less.

As you can see,the breaker box is lying on the ground, still attached to the cable coming through the floor of the bus. If you remember, I buggered up the inlet box that I was going to use on the back of the inlet - behind the skirt - the other day by snapping off two screws in the threaded holes. That was me just not thinking and using an electric screwdriver. Had I used the manual screwdriver I was too tired to find, this would not have happened.

Looking at the point where the cable enters the bus, I rivetted a steel plate around the area. As I installed that with a hand riveter and aluminium rivets while being unable to see what I was doing because of the hillbilly compartment that is now not in existence, that went a bit cockeyed. I'll see about drilling out those aluminum rivets and redoing that entry point. I rather think that replacing the rivets with screws might be a better solution. Instead of using rivets, to use rivnuts and screws. Of couse I'll have to use 10-24 rather than my preferred M5 screws on the basis that America is not all that good at metric stuff. I'll also have to use thread lock or silicone goop to ensure the bolts don't vibrate loose when I'm driving. I'd wondered why the area above felt cold and drafty. Now I know - there's airflow though my badly fitted plate. I can fix that though!

Monday, July 27, 2015

Problems, problems and more problems. Days like this stimulate my creative juices!

The first thing I did was to finish putting one drawer together or rather putting the back and sides on. Looking at it, I'll have to move the runners forward about half an inch as it protrudes somewhat. No great rush to do that though.

I didn't start on the drawers that need plywood sides and backs because I had a 20 minute task to do - namely build my cupboard door. Well, it should have been a 20 minute task. It ended up taking all day...

My initial design for the hinge post would have resulted in an oddly shaped door. By the time I had discovered I had no spare 2x4 to redo my post and gone through several redesigns a couple of hours had passed. My final design should work and echoes my design for another cupboard door post.

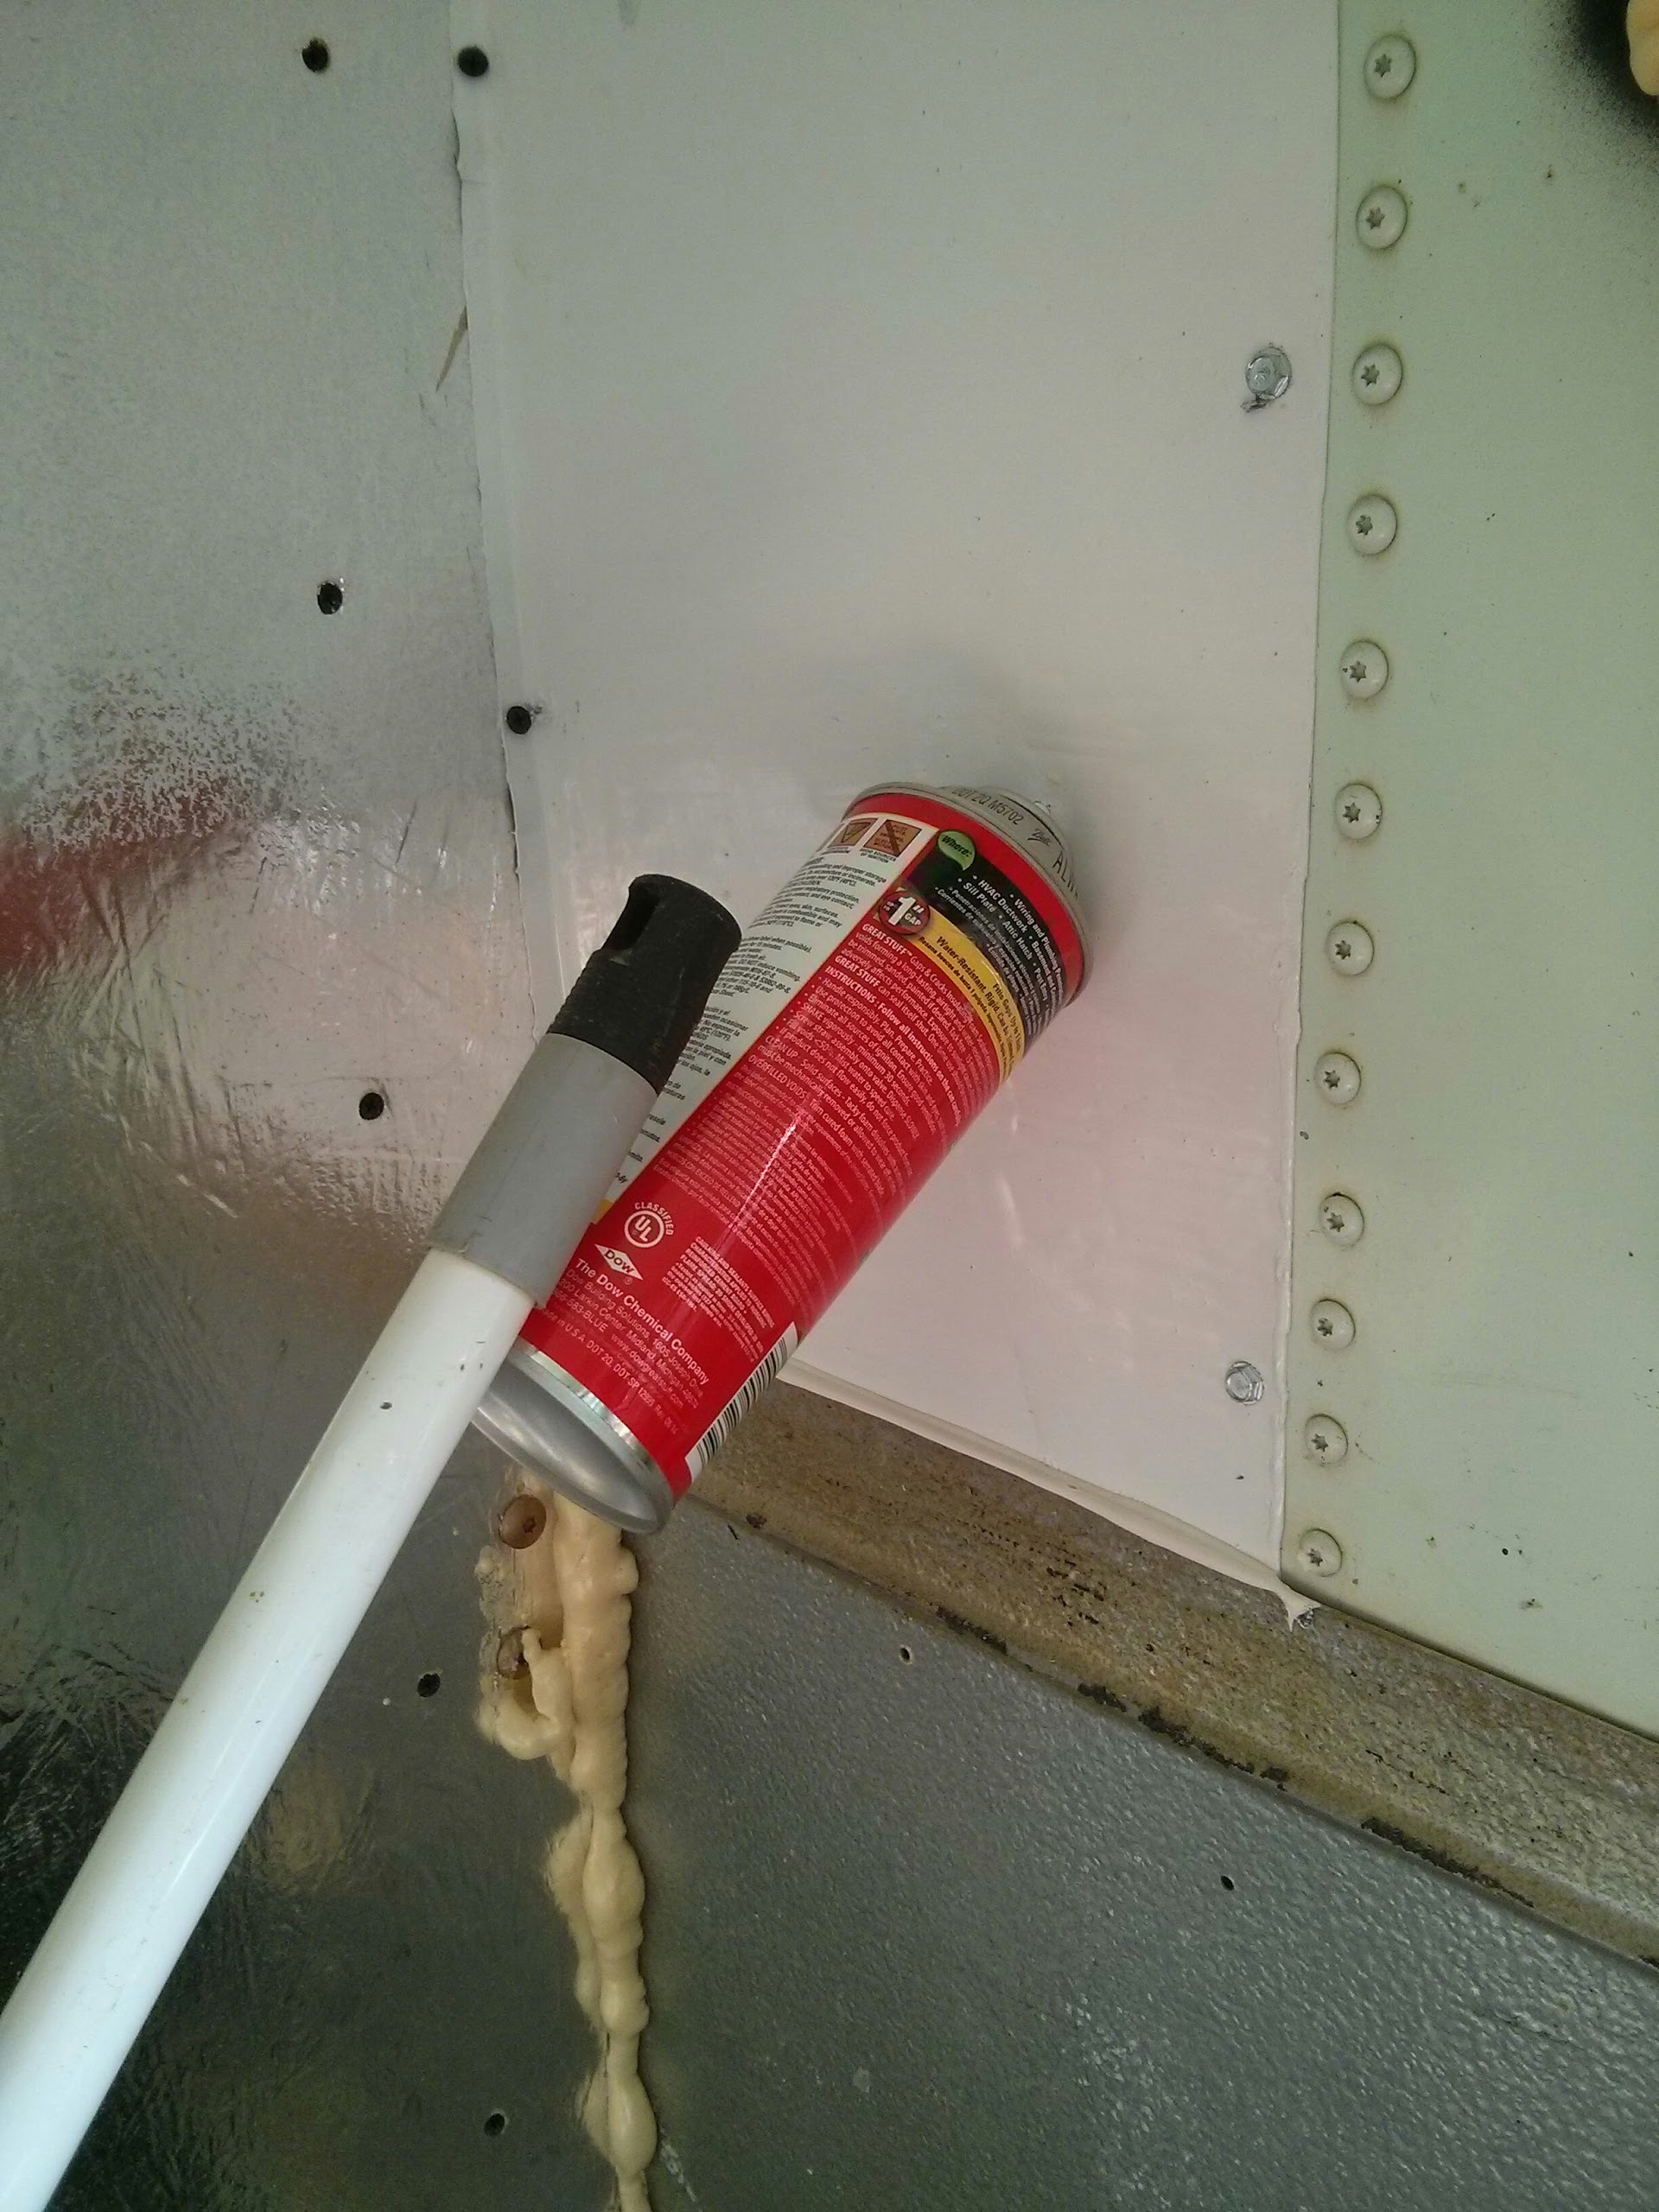
After that, I took a break to squirt Great Stuff into an air gap between panels. I took the easy route and simply drilled a hole big enough to accommodate the can nozzle and leaned a broom on it so it would keep squirting while I did something else. I finished off one can and put the whole of another in. To be honest, while Great Stuff isn't as bad as DapTex, its really not all that great and I shall not be purchasing any more. It expands when it has a mind to, only.

I installed hinges on the hinge post and commenced building my cupboard door. I really like that I'm running out of supplies and that I have no desperate need to get more. Not feeling very much like fighting the door, I simply glued it together. I can add screws tomorrow if need be. Right now its laid flat on the floor with beams placed across it and a gallon container of antifreeze keeping it pressed down.

As I was on my way out of the bus tonight, I made note of the things I need to buy. I'm out if inch and a quarter drywall screws and need a 16 inch drawer runner. Then I noticed a design cock up!

Can you spot it? It's really obvious! Well, when I built this, I was going to put a hinge on the visible side of the rightmost beam. I can't get in there to put a hinge! All is not lost though.

I measured my hinges and found the thread has a core of 4.5mm and an outer diameter of 5.7mm. Thus, any drill between 4.5 and 5mm should be fine. The solution will be to obtain a drill bit about 8 to 12 inches long and drill through two beams. Alternatively to lift off the cabinet top (which isn't yet secured) and drill the holes from the inside. I don't think this is insurmountable though it's interesting. I'll try drilling from the inside, first, rather than buying a new drill bit.