Showing posts with label drain. Show all posts

Tuesday, December 22, 2015

Small achievements building toward success

That's the way to do it! Today of note were several achievements in an otherwise dismal, dreary, wet day. I'd like to be able to claim major success but I didn't do anything major. The major stuff all accomplishes itself as it's all reliant upon the small but insignificant steps.

The first thing I did was to make a coil out of some wire, put my new permanent magnet inside and run 6v from 4 D cells through it. The magnet did twitch. Clearly I need to find some copper tubing slightly larger than the magnet in order to wind enamel wire around it. That should allow the magnet to slide easily and should give years of use. I just have to wind the appropriate number of coils around it.

The next success was more basic and less exciting though vital. I tried my old angle grinder without success. Banging it I could get a few spins from the motor before it stopped. I had a brainwave and changed the other carbon brush. I"d already changed one because it was broken. Voila! The thing worked when I plugged it in. Clearly that problem has been solved for the moment. The other one has a problem based around a loose connection. When I need it, I'll tighten that connector.

Lastly, I hunted around in the bushes on m'lady's 4 acres and found a nice piece of steel. It needs some de-rusting but cut with the angle grinder and welded, It;ll make an excellent bottom for my battery compartment. Unlike the hillbillies, I'll drill holes for water drainage. I'll also see about putting a lip over the door to stop water penetration.

The final solution to the power and cooking problem is, unfortunately, going to have to be a gas cooker where the microwave is currently situated. The microwave is rusted and beyond salvation. I"ll have to install an extraction fan - probably a 12v fan running off my small battery. I could run that through the window I blocked up or put a roof vent. On the whole, the window seems more accessible. I thought long and hard about other solutions but this seems to be the only one that makes financial sense. To spend $3,500 on lithium batteries, $300 on a generator or $500 on lead acid batteries to run the microwave or $40 on a gas cooker. That's $10 cheaper than buying a replacement microwave. The big bonus is because I've already done the electrical work, I can still use electrical appliances when plugged in. There's also nothing to say I cannot later just remove the gas cooker and install solar arrays, generators and solar panels.

Tuesday, September 22, 2015

Bolts galore!

A week or so back I ordered some bolts for my drawers. Today they arrived and mightily stout they are too. Way better than I'd expected and far cheaper than the flimsier versions I was considering earlier. I'm very happy! They'll need a piece of hardboard behind them in order to center the bolt in the drawer but that's not a problem. These things are stout and will hold my drawers closed even if an elephant is trying to break out!

For those with short memories, these are the bolts. I took a photo today but for some unknown reason my phone couldn't achieve correct focus. It wasn't worth digging out a camera and a laptop just for a single photo!

I had a good hunt through the junk I removed from the bus to see if I could find an appropriate nut for the shower waste pipe but they were either too big or two small. With my luck, this will be some bizarre size nobody has ever heard of. Danco, the manufacturer, refused to supply a further nut even though I was willing to pay money and postage. Lowe's who weren't helpful in the store suddenly decided to make a show of helping online (for publicity) but that so far has achieved nothing worthwhile.

The economy must be booming with nobody unemployed any more if companies can afford to turn business away! Clearly my eyes must be deceiving me when I see people begging beside the road, banks repossessing homes and people being thrown out of their homes.

The nut needed is probably an oddball size. I measured the pipe at 1.48 inches on the outside of the threads and 1.45 inches on the inside of the threads. Clearly this is either going to be an undersized 1.5 inch thing or something wacky like 37 or 38 millimeters.

My big gripe about US plumbing is that just about everything is a non standard size. Even two allegedly identically sized things can be way off identical. This is probably why the hillbillies that converted the bus the first time around, gave up!

I did discover a specialist plumbing supply company not far away. It's probably worth paying them a visit. They might even be able to supply something better of a more standard size.

Looking at the heavy angle iron that I have, I'll need something stout to secure that to the bus. Being as heavy as it is, I might be well advised to use rivets rather than bolts. Clearly my little hand riveter isn't up to the task of using rivets the size needed. Thus, after being astounded at the cost of electric and air riveters, I saw a riveter powered by .22 cartridges. It's more expensive in operation but given the small amount of riveting needed, could well work out cheaper. Welding would be the best solution but as I've never welded, now's not a good time to try.

The plan with the cable compartment is to rebuild it properly. I'll probably house one or if possible, two batteries in it. One would be ample to power things like fans and USB power supplies etc. I might visit the scrapyard for some stouter materials.

Sunday, September 20, 2015

It's been a long time


That was how my bus looked in November from the inside.

That was how my bus looked in November from the outside.

Wow! What massive changes have been effected since then. The inside has been gutted and rebuilt to be more home like. The outside looks far less like a school bus.

Reading around, several sites suggest that a Navy shower is the way to go with a motorhome. That's a case of wetting down in the shower, applying soap then rinsing off, turning the water off between wetting down and rinsing off. The same sites suggest that it can all be done with a single gallon of water. I know it can be done with a bucket of water and a flannel washcloth.

At Lowe's today I hunted for plumbing parts and found that just about everything is non standard. I suppose that's the main reason why plumber's putty exists! So, I have parts I can put together. I had a look at dish racks but found only one. It looks very much as though building my own dish rack into my drawers is going to be the sole solution. That'll take some more plywood and some wooden dowel plus time. It's not hard.

After returning from Lowe's, I measured the bathroom between the body ribs in order to drill a hole for my piping. Lo and behold, I got my measurements almost spot on and the pilot hole went into an area well away from body ribs. That makes me very happy.

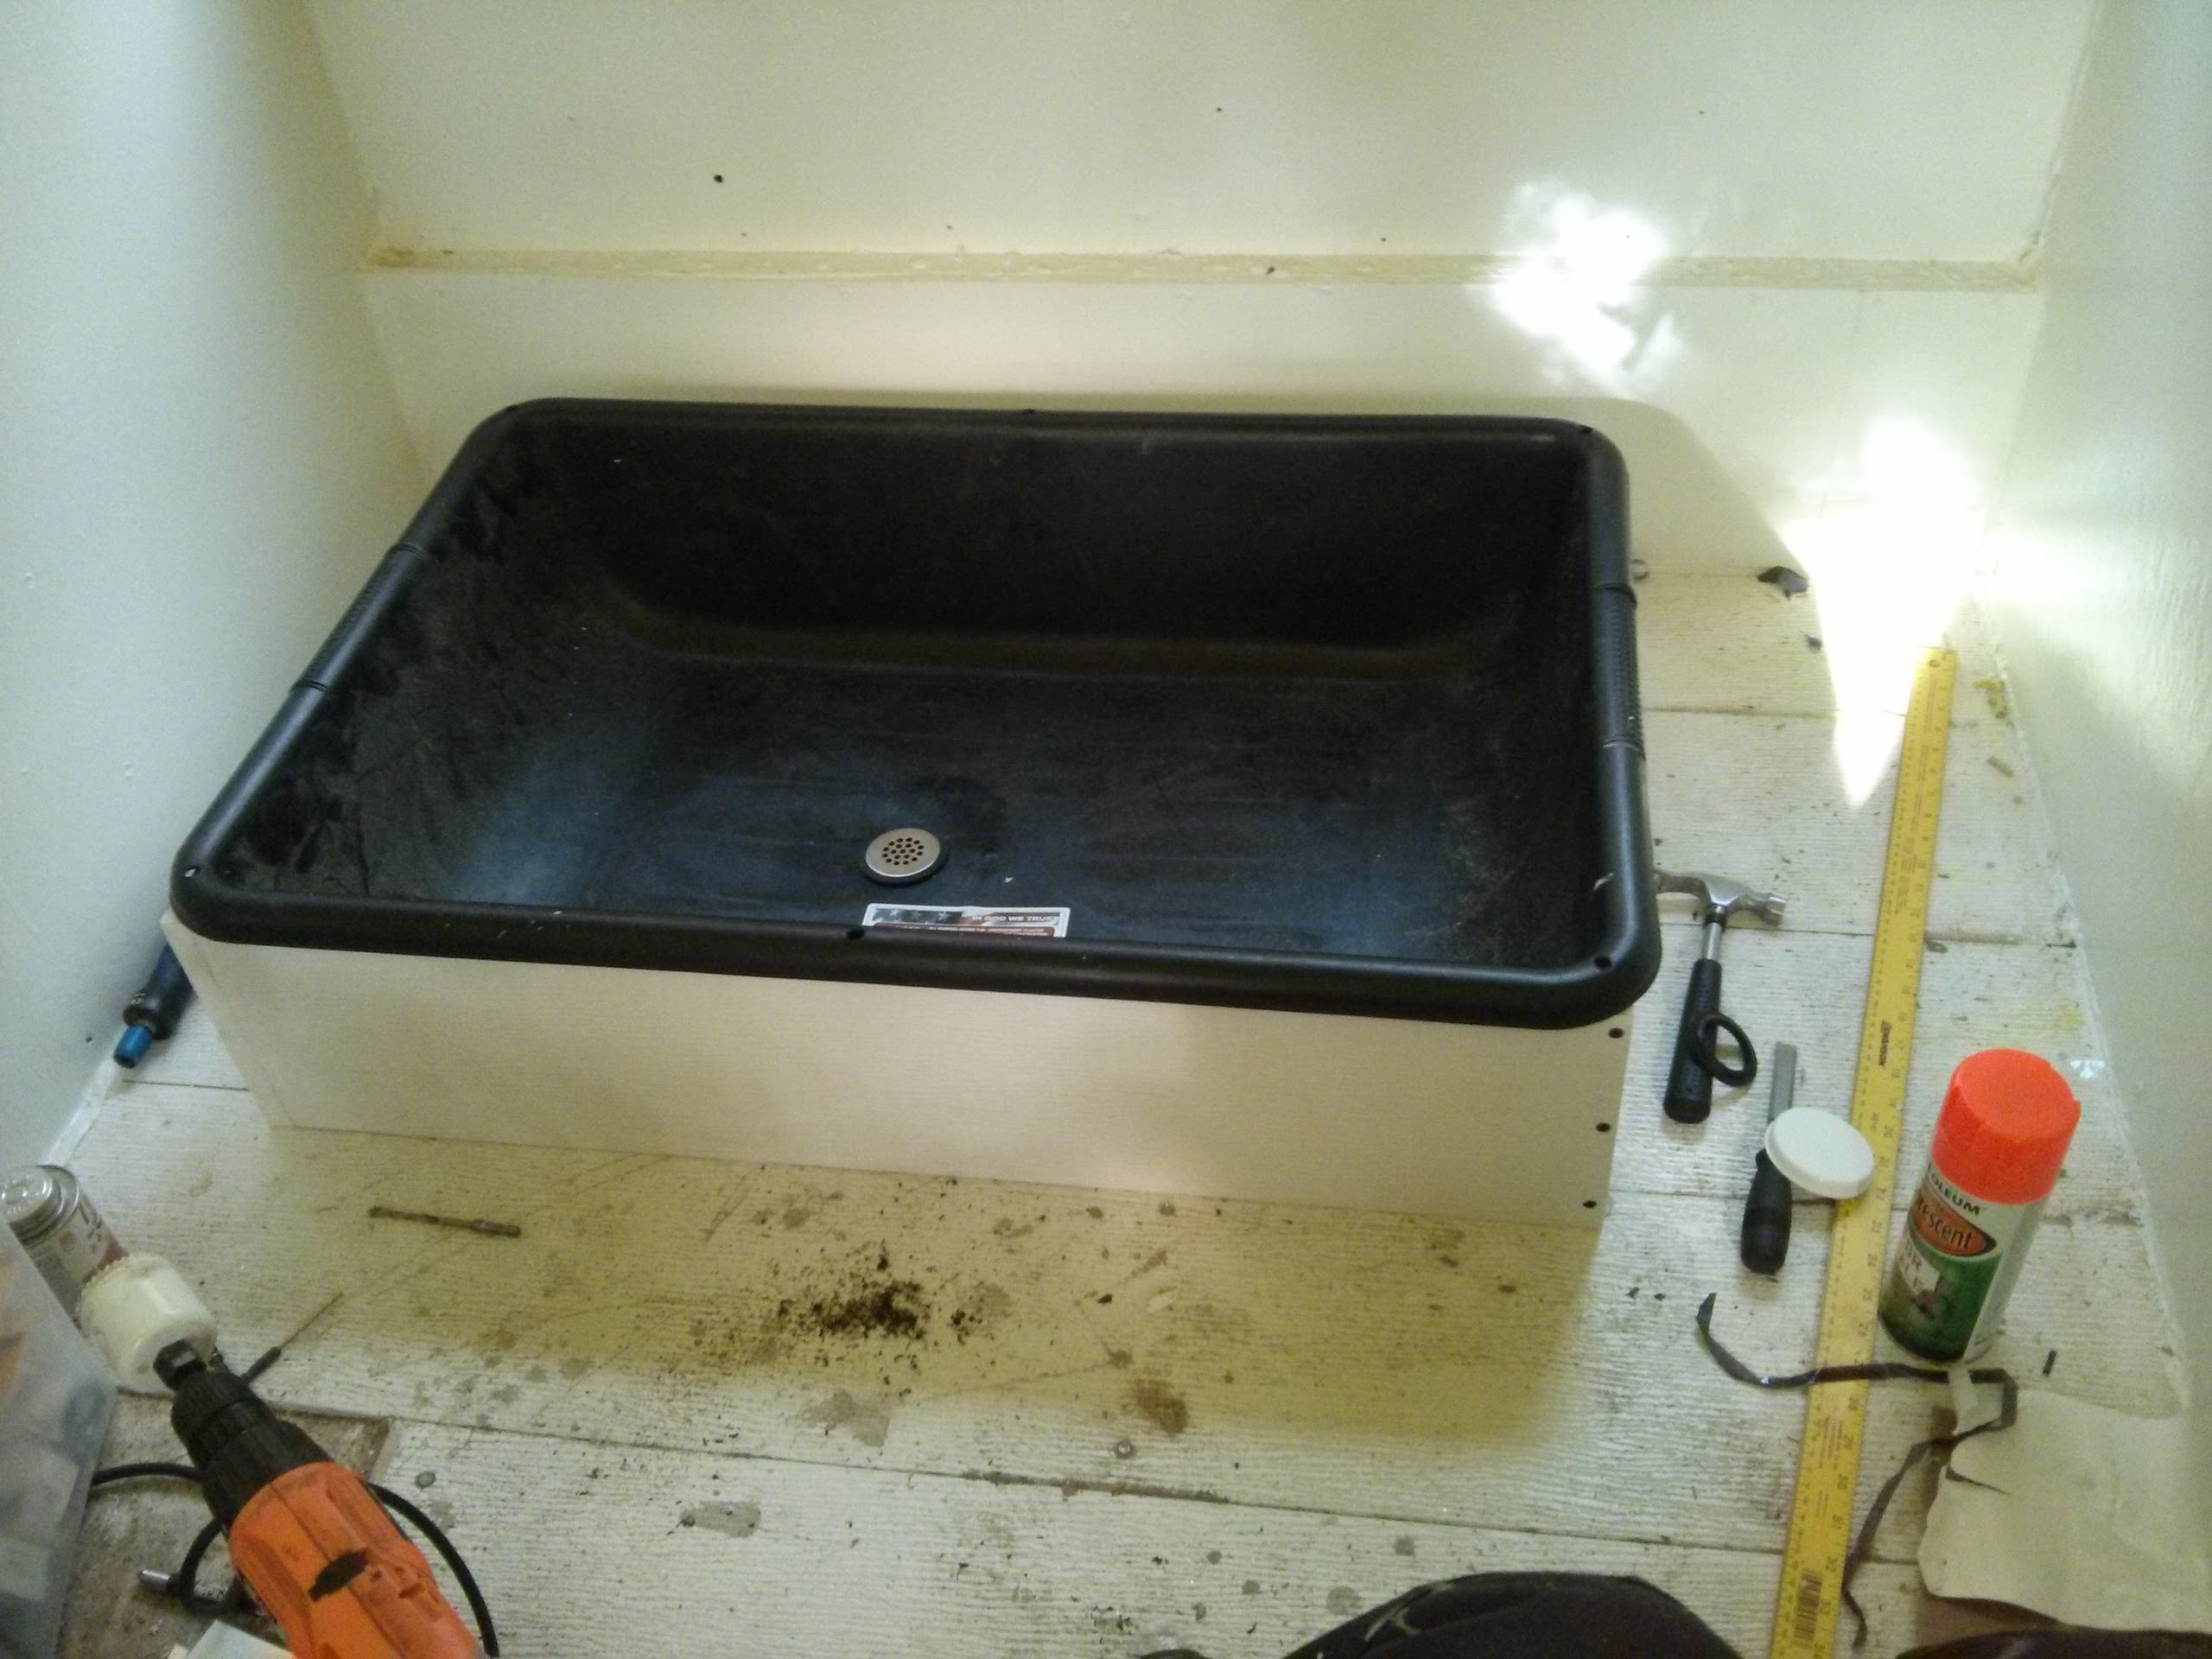
Before I did that, I finished putting the shower base support together. One end must have been a shade longer because it's definitely some form of trapezoid. With the shower pan in place though, it won't notice and to be honest, won't make any difference!

The next thing was to drill the hole for the shower waste pipe. That was pretty easy. The time consuming bit was hollowing out a pan around the hole for the nut and flange. By the time I'd finished, the mosquitoes had bitten me pretty thoroughly but the shower base now looks pretty good.

After that I investigated water pumps. It seems the marine galley pump I was advised to consider which is foot operated is actually available locally at West Marine. The hand pump that I'd like so much seems to have a rubber diaphragm which turns me off. Old fashioned hand pumps never used diaphragms so that was an expensive look alike. That killed my interest right away!
Using a water pump means I don't need a faucet on the bathroom sink. I removed the faucet. I was going to empty the water down the shower but the outflow from the shower is a shade higher than the shower base. Water will collect so its probably best not to do that but to cut a new hole for the handbasin outflow. That shouldn't take long at all!

I haven't decided where to put the water pump yet. I don't have it and thus don't know where it would work best. I have a feeling the water outlet will be flexible - some kind of hose maybe with a nozzle.

For water inlet and outlet I'll definitely have to have a drain cock on the grey tank and some kind of input for the white tank. I'm not keen on having the white tank filler accessible to the outside world. There are too many freaks that would slip something in the water for fun. I don't mind them pouring my grey water all over the place though.

I might just have a filler for white water inside and bring water in, in 5 gallon containers or perhaps have a filler cap outside that leads to a faucet above the real filler cap inside. That would allow me to filter the water!

I've started to fill the drawers in the galley. Thus far I found my plates will only just fit in the plate drawer. That was to be expected. This is just the kind of irritating thing that would happen! The drawer will take 9 inch dinner plates. To be honest, I was never keen on the blue & white mainstays plates. I bought them because they were cheap. That was the sole reason. I might just as well sift through my stuff to find the things I actually want in the motorhome and the stuff that can be abandoned. None of it is of high enough value to sell.

The plan for the plates was to put them in a rack, standing edgewise but that plan will have to be abandoned. I really didn't want to have plates lying flat but I suppose bubblewrap would help. Perhaps just having them angled would work through it'd reduce drawer capacity. Its something to think on.