Wednesday, December 31, 2014

The state of play

The countertop for the kitchenette is almost done. The legs and structure need some work now. The idea is to get the kitchenette to be 65 inches wide and 20 - 35 inches deep and 31 inches high which is the height of the window bottoms. A nasty thought came to me that I had forgotten to make space in my plans for a fridge underneath the countertop. Thus, there will now be a slight redesign to accommodate a dorm fridge.

Today I spent an awful lot of time weighing up using metal or wood for the internal structures. In the end, wood won out by virtue of being cheaper and a shade lighter though harder to work. Most of my problem is tied to the lack of a vice. I managed to cut the wood today by bracing it on the remains of the back shelf that I removed from the bus a while ago.

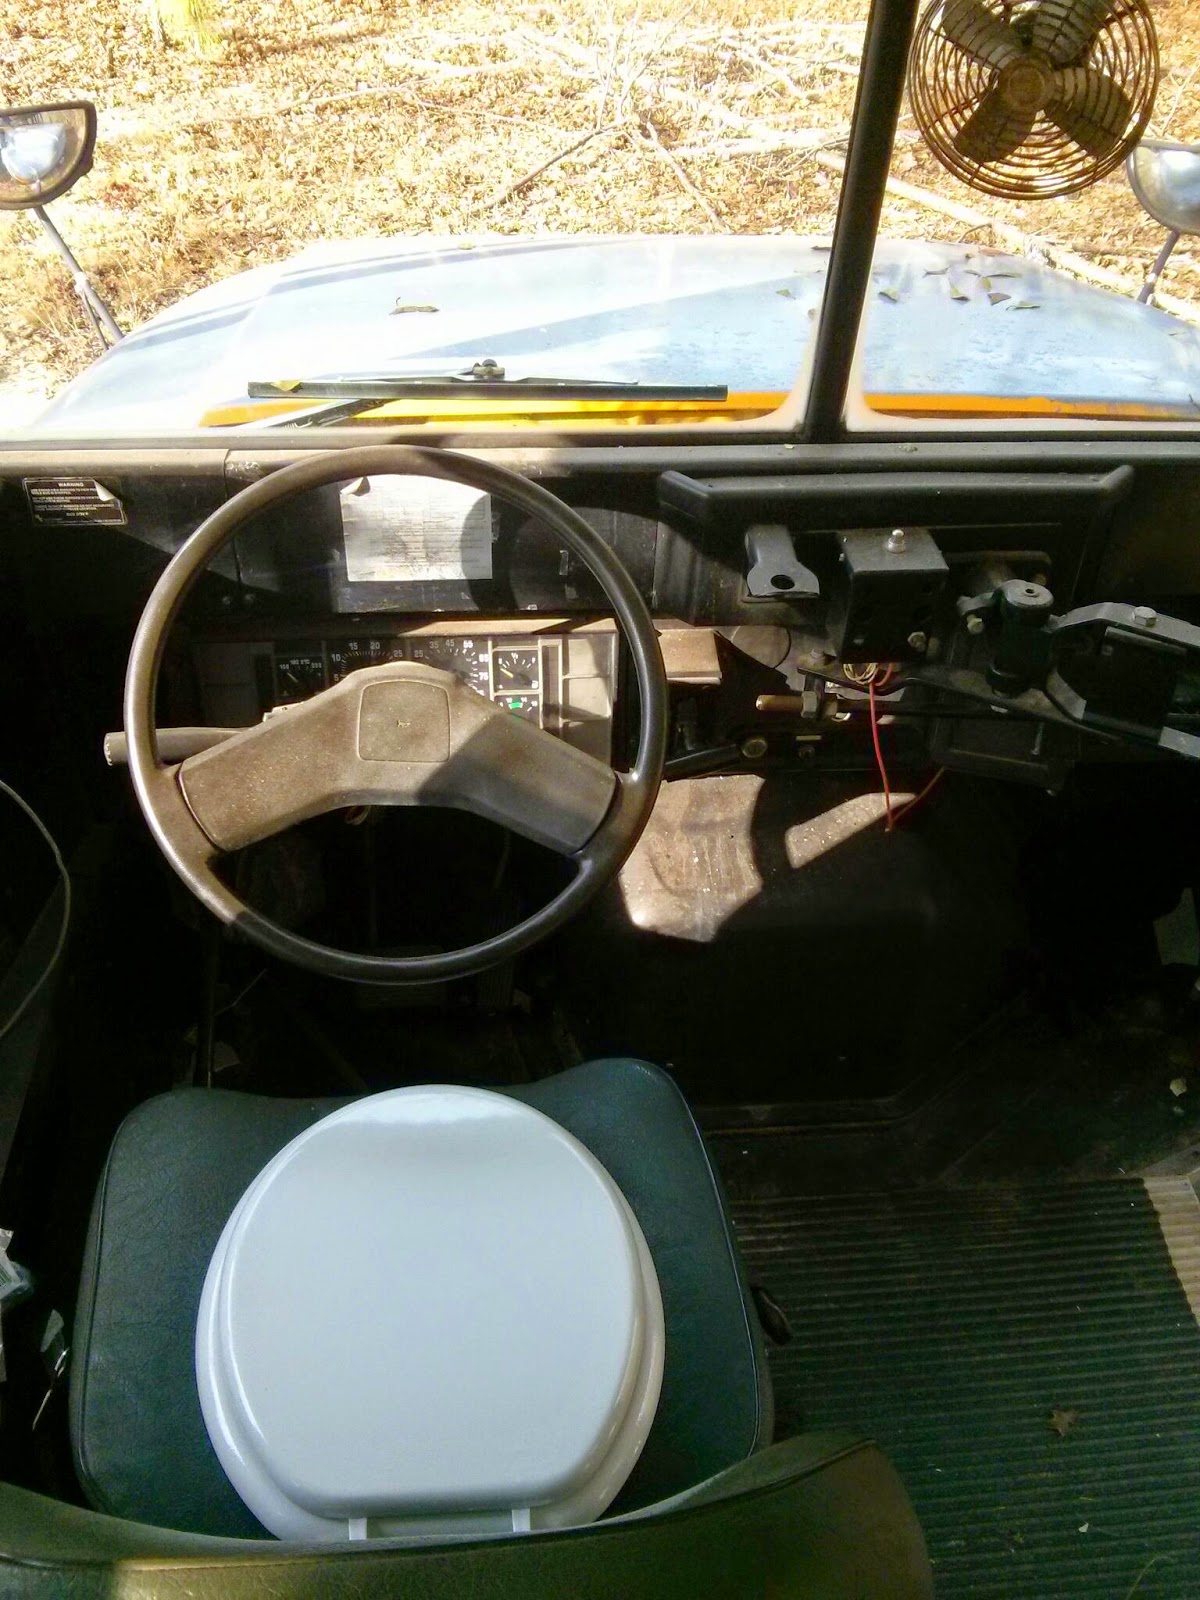
There is a toilet seat available but not quite where its final location will be. I can put the toilet together fairly quickly but after the kitchen is completed. I can simply slap doors on for the insurance photo and afterwards take them off and replace them with drawers. As far as I can tell, it's only the presence of a toilet and a kitchenette that's needed. If they want a bed and a shower later, they're much easier to put together. In fact, the original steel bed frame can be used, from the original installation. The shower is even easier - plastic sheeting and a wide, long shallow container. None of this has to look as if it's made by a professional.

I misted the windows where the toilet and shower will be with a frosting spray. With any luck, that should work. I also sprayed some of the kitchenette with yellow paint but the yellow is a little too severely yellow. That needs to be redone with a more muted yellow. It's not quite school bus yellow but it's somewhat vomit-inducing. All this though is procrastination. I've been holding off carpentry because I didn't have a decent saw until today. Today on my trip to Lowes, I got a nice saw for $10 that really rips through OSB in no time at all.

Tomorrow - as I have been saying for several days - I will have to get down to building the rest of the kitchen cabinet. The heavy point is the side where the microwave will be. That will need more support. For that, I need to measure the fridge that I removed from the first incarnation of the bus. There will have to be a cupboard under the sink. There should be drawers in at least one section. These will eventually hold crockery and cutlery. Food will be stored underneath the seats in the dinette.
Sunday, December 28, 2014

No work today

Today is a day of rest and recuperation. My poor little foot is turning a lovely shade of burgundy from where it was subject to a vicious and unprovoked attack by a vicious, rampaging bedframe. Normal service will be resumed tomorrow with luck.

The plan for the motorhome is simple. There will be a solid partition between the driving compartment and the living compartment. The living compartment will be divided exactly in two. The front half will have the kitchenette on the driver's side and the toilet. The other side will have the dining area, a shower and possibly a bookcase.

The kitchen area will have a small fridge with an inverter because a small fridge and an inverter is a load cheaper than buying a 12v fridge. The kitchen will have a microwave and an inverter - again because this combination is a load cheaper than a 12v microwave. There will be two or three 110v sockets for electric kettles, slow cookers and steamers. There will be no cooktop because quite frankly I never use a cooktop. I've lived for 3 years in my current accommodation and have never used a cooktop. This does not mean I might not have a movable electric ring.

The toilet will be a self-contained unit that will require emptying, hence my decision to position it next to the emergency exit. Exactly opposite will be the shower unit. This will be a unit with a seat on the basis that the ceiling of the bus is not tall enough for me to stand to shower. The seating for the dining area might contain storage. It is hoped there will be sufficient space for a tall yet slender bookcase also containing a USB charging station.

The other half of the bus will be devoted to a bedroom with a bed down one side and a closet down the other side. Beside the rear emergency exit on the bed side will be a small desk - if there's room.

The dining area will most likely be a bright and cheerful yellow with pine-look furnishing. The bedroom will be a cheerful magenta with white or red trim. The exterior of the bus will remain grey with a reflective strip along each side and the back.

Construction materials will be the angle iron that was part of the 4 beds that were originally in the bus, a sink that was already in the bus, some treated 2x2 and OSB. Due to the use of OSB and the fact there is condensation inside the bus, it will be necessary to use a dehumidifier. With luck it might be possible to locate a 12v dehumidifier. Ventilation will be straightforward with plastic tubing and a fan. 

110v plugin input will be provided with the fuse box situated in the toilet area. It is not envisaged that 110v will be supplied to anything other than the kitchen and shower. There will be a 12v line to the bedroom powering LED lighting (which will be used throughout). There will be a USB charging station in the bedroom.

The one afterthought is  garbage disposal - cans, packets etc. That's usually such an afterthought. This will have to be something I will have to work into the system somehow.

Power and water will be things that will be worked in later. The important thing is to get the motorhome livable soon. There will be some small water tanks on board and a small amount of onboard waste water. Below decks there is intended eventually to be a 50 gallon waste water tank, a 25 gallon sewage tank and a 50 gallon fresh water tank. There will be solar panels on the roof and a bank of rechargeable batteries under the bus. It is anticipated that solar might not be sufficient to power a shower, microwave and so on at least in the early phases. Thus a small Harbor Freight generator might be necessary.

It is anticipated construction will recommence tomorrow and that replacing the rotted floor panels might be challenging. None of this is complicated. It's just a matter of persistence and problem solving.

Saturday, December 27, 2014

First construction

Today, after checking various avenues, it was decided to start construction. Certainly sanding the floor would have been a good idea but speed is currently of the essence. After a trip to Lowes to check drop in cabinet prices which turned out to be a horrendous $179 average, the idea of cheating and using drop-in cabinets was shelved. The next idea was to build a countertop and stick a vinyl surface on top. The cheapest vinyl surface was $43 which was ludicrous.

The eventual decision was to cut the steel from the former bedframes and use the steel to support the countertop then steel for the legs and wood/OSB for just about everything else. Needless to say the angle grinder purchased earlier for removing the rear shelf off the bus came in handy for cutting the steel bed frames. Of course that was after I dropped an entire steel bed frame on my foot. Ouch! That had the air colored blue for a few seconds. That's going to be sore tomorrow.

Speaking of sore, my muscles from yesterday's scraping action are tender but bending down in Lowes to pick up a can of paint from the lower shelves. For a bit of fun I decided to make the inside bright and cheerful. The outside is grey. The inside behind the driver's partition (which will be an austere grey) might be sunflower yellow. The bedroom will be largely fuschia color. There will be a partition between the bedroom and the kitchen/dinette area. The toilet & shower will be opposite each other, right between the bedroom and kitchen/dinette area.

Measuring the wheel arches, they protrude 23 inches in from the sides. Thus, the cabinets will all be 23 inches wide. The kitchen countertop will be 31 inches high as that's level with the bottom of the windows. The driver compartment will be large enough to hold bus tools and possibly a spare wheel.

Before it went too dark, the first two girders for the kitchen countertop were cut at 65 inches wide. The plan is to have the kitchen and toilet done by the 7th in order to be ready to beat the insurance companies deadline. The bus needs to be livable fairly soon. 

Friday, December 26, 2014

Scraping by

Today for the first time, I used a Spyder scraper attachment in a reciprocating saw. Having found that scraping vinyl tiles up with a paint scraper is rather hard not to mention time-consuming, on the suggestion of somebody on a bus conversion forum, I invested $7.95 in the scraper attachment. According to the person that suggested it, it would make somebody using a hand scraper look like a fool.

Starting work sometime after midday I started with the intention of just scraping enough away that I could install the required kitchenette. That went so well I decided to scrape both sides of the floor between the cab and the middle emergency door. Well, that went well and it was still only about 2pm so I hastened to scrape as far as the wheel arches. Of course I continued on and didn't stop until all the tiles had been removed.

During the process I had to make room by shifting the wood purchased the other day around. Then It was a case of tidying up. Fortunately when I bought the bus, the rear shelf had a huge tarpaulin and that came in very handy. I placed it on the ground under the back door and simply shoveled and brushed all the debris out before finally setting to with a blower.

Eventually, I had a huge pile on the tarpaulin which I had to use all my strength to drag away. Tomorrow I will probably set to and sand the floor. The floor is a little sticky from the tiles which seem to have been self-adhesive. Needless to say about 15% of the tiles were in no way attached.
It's possible now to see that the rotted plywood on the floors is limited to the side emergency door which has no seal, the bit that was underneath the old water tank and at the back where the door seal had been neglected. Sanding should identify more clearly the plywood pieces so I can replace each partly rotted sheet in its entirety.


Tomorrow also, I might start constructing the new kitchenette cabinets - if there's time.

Thursday, December 25, 2014

interesting issues

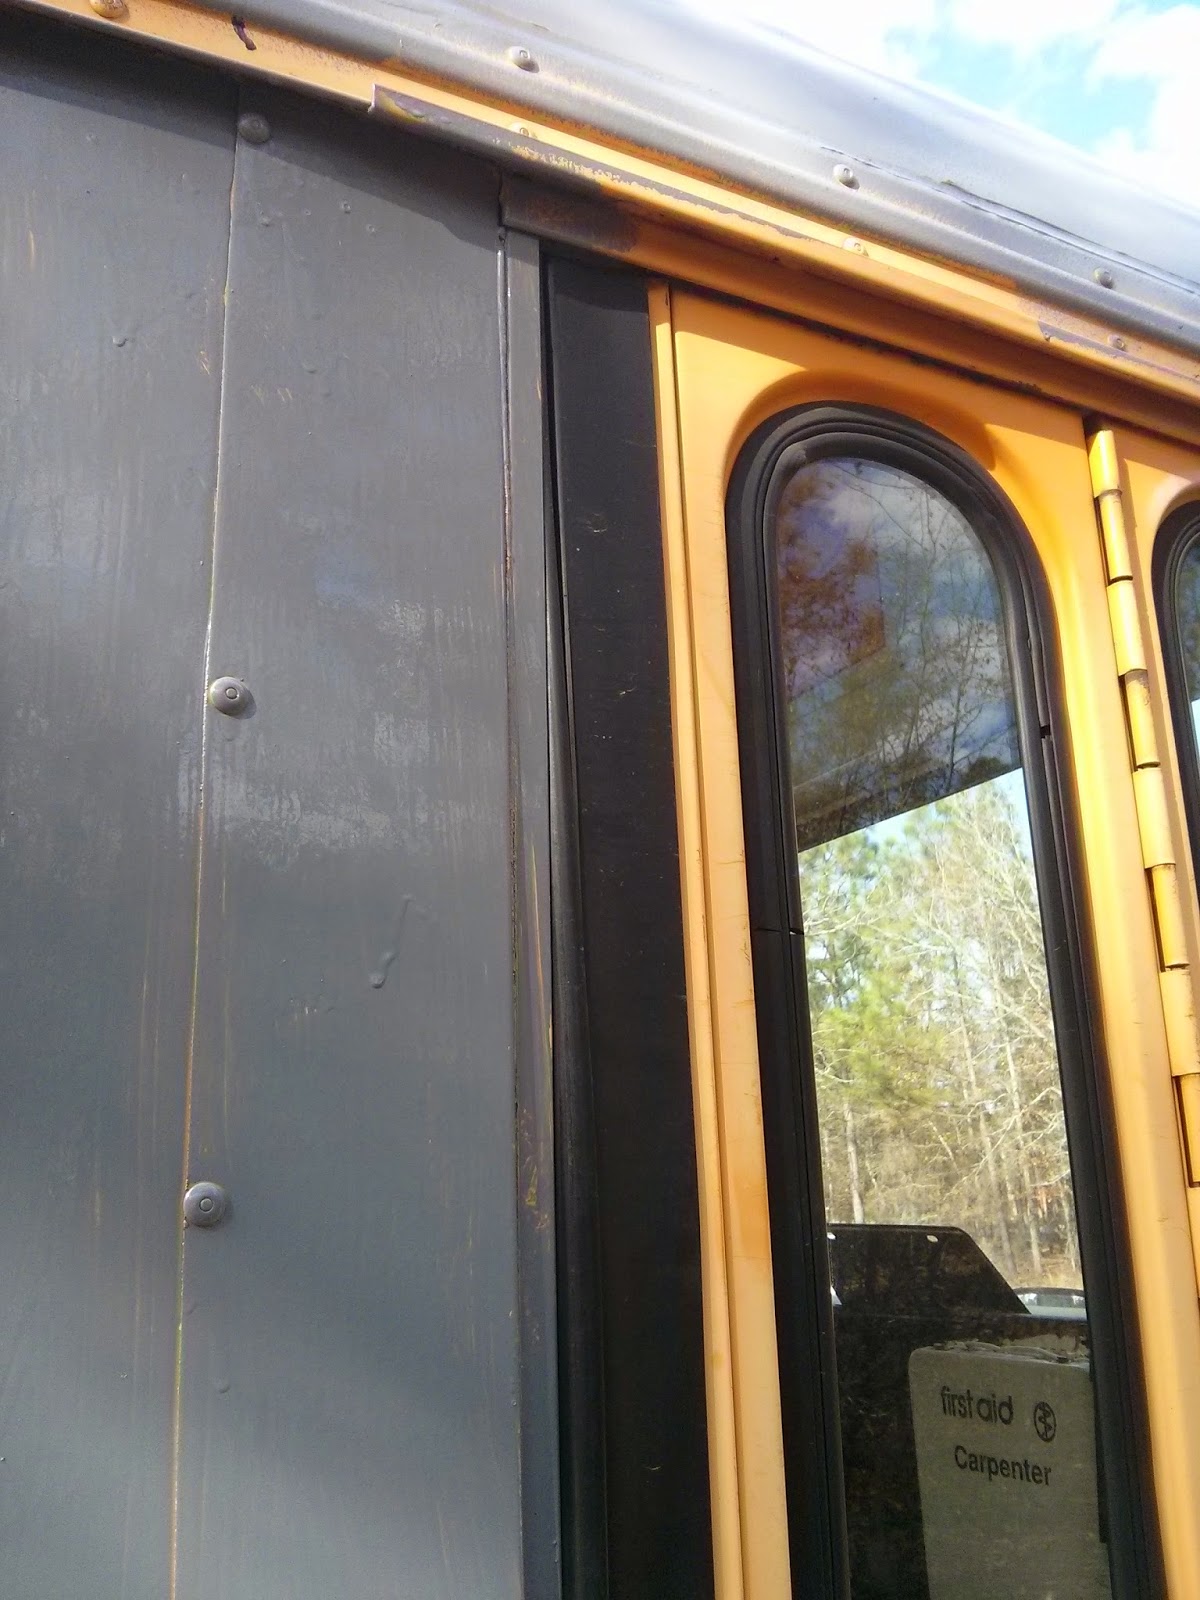
Today I looked at the cab area of the bus and other things. Measuring the windows, it appears the window aperture is around 25.75 inches in each dimension. The folding shelf removed from the side of the bus affords enough aluminum to cut two window replacements. That suits me just fine. The next question is whether the window that I'd like to move, can be moved. If it can, fine. If not then I do have an alternative plan.

Here are a selection of photos from the bus. There are some mysterious looking wires just hanging. My latest discovery is that the strange button on top of the door access is some kind of horn. I pressed it and a horn sounded. That's a bit odd. I still have to fix the real horn. The problem there is the cable's a mite short and thus the connector is broken, having been yanked out so often. Thus, it won't stay connected. That fix is easy - just insert some wire and change the connectors.

There are a couple of leaks inside the bus and, as I said, some odd looking wires. It's going to be interesting to find out what these wires do or did.

I haven't done anything aside from measuring as today above all days is a holiday from work.


Wednesday, December 24, 2014

The dreaded day of planning has arrived

Looking at the inside of the bus, I was filled with a sense of utter bafflement. What to do and how to do it. I lifted one of the metal sheets from one wall and it seems to have been put on by Carpenter. Thus, I replaced it. The problem is how to do the interior.

My original plan was modified toward retaining the existing windows but simply blacking them out. As the hillbillies had managed to make two windows disappear, they need to be replaced. As the folding table from the side of the bus was a decent-sized sheet of aluminium, that might replace at least one, possibly two windows.

An idea popped up of just putting curtains over windows but that just doesn't seem so homey. The original idea is back. There are some tasks to complete before construction can start. The first is fixing the floor - at least as far as the wheel wells. The toilet is something I'm not 100% sure about yet but it could well end up being my favored cat-lit toilet - at last for now.

So, plans for the next few days are to replace one - preferably two windows with metal, fix the floor then start construction of the kitchen and toilet areas.

Photos from the past few days