The main thing today was to work on installing the power inlet in the side of the bus. It took a while but I managed to drill a hole large enough to accommodate the Nema 6-30P inlet (rated 30A at 250v). Now that socket though it's rated at 30A should easily handle 50A at 120V. Having said that, my current cable is 20A and my planned maximum is going to be 30A. I just don't see any need for more than 30A - at least not in a motorhome.
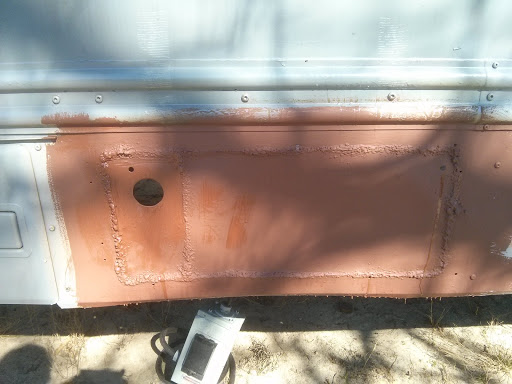
Having drilled the hole, I slipped under the bus (how I detest being in such a cramped space) and painted primer on the inside. It's supposed to be a rust-killing primer so I'll have to see if it works on the small specs of rust that were on the bare steel. Then on with a mission for m'lady for about 30 minutes.
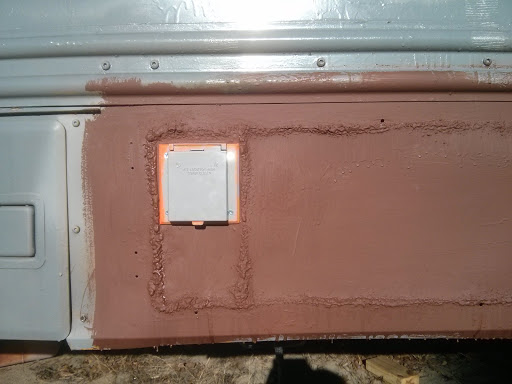
By the time I returned from my mission, the primer was dry and I managed to pop the power inlet cover temporarily into place. It looks pretty darned good, to be honest. There is orange paint on the edges of the cover from yesterday when I used orange spray paint to mark the outline. I love orange paint for just that purpose. It seems to scrape off with my thumbnail so that shouldn't be difficult to clean off.
The next order of the day was to drill a few more holes in order to attach the inlet directly to the side of the bus. The inlet will be secured to the bus and the housing I bought will fit over it. Really and truly, I could have done my own housing using PVC piping but I didn't think of that in time. There's a problem with the housing as only 2 of the 4 screws will work. Two shreared off during a test assembly. Two should hold it though.
Having got all the requisite holes, I again slipped under the bus and painted the inside with topcoat. I'll probably put a rubberised spray over the inside later. Of course it follows that I also painted the outside of the bus too. Both times I used grey Rustoleum. Now if it peels off nicely primed, clean, dry, steel then we will have absolute proof how ghastly Rustoleum is. I await the results with baited breath!
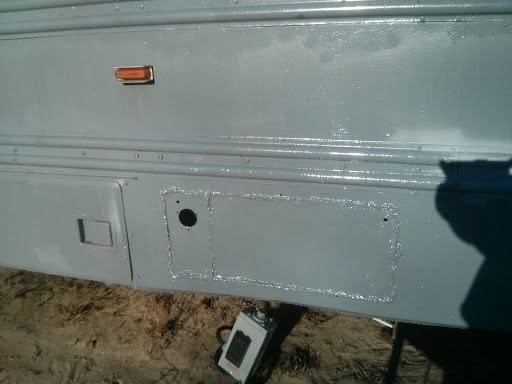
Following this, I bolted the flange on the inlet through holes drilled in the bodywork and through the socket cover that I'd bought. The socket back, I didn't have time to install though seeing as how two of the four threaded holes have bolts broken off in them, I suspect I might be wise to replace it or to follow a different solution. Indeed, the plastic tubing solution sounds lighter, more water-resistent, cheaper and though not squirrel proof, definitely worthy of consideration. Needless to say, I plugged a spare Nema 6-30 plug into the socket and it worked brilliantly.

I'm not sure I got the socket 100% square but it's pretty darned close. Somebody would have to be really anal to notice that!
Next week's task is to build on what I have done today, to install a socket backing and possibly some protective PVC tubing over my electrical cables. Once that's done, I can work on installing the main breaker. It'll mean yet more grubbing around underneath the bus and put me a bit further behind schedule but I want to get this done right! As I always say - a job's not done unless it's done right.
No comments:
Post a Comment